How to Dry Emulsion-Coated Screens Properly Before Exposure
How to Dry Emulsion-Coated Screens Properly Before Exposure
Knowing how to dry screen printing emulsion correctly is essential for reliable stencil making. The surface should not merely feel dry. Moisture must be removed sufficiently from the coating while the screen stays protected from unwanted light, dust, and handling damage.
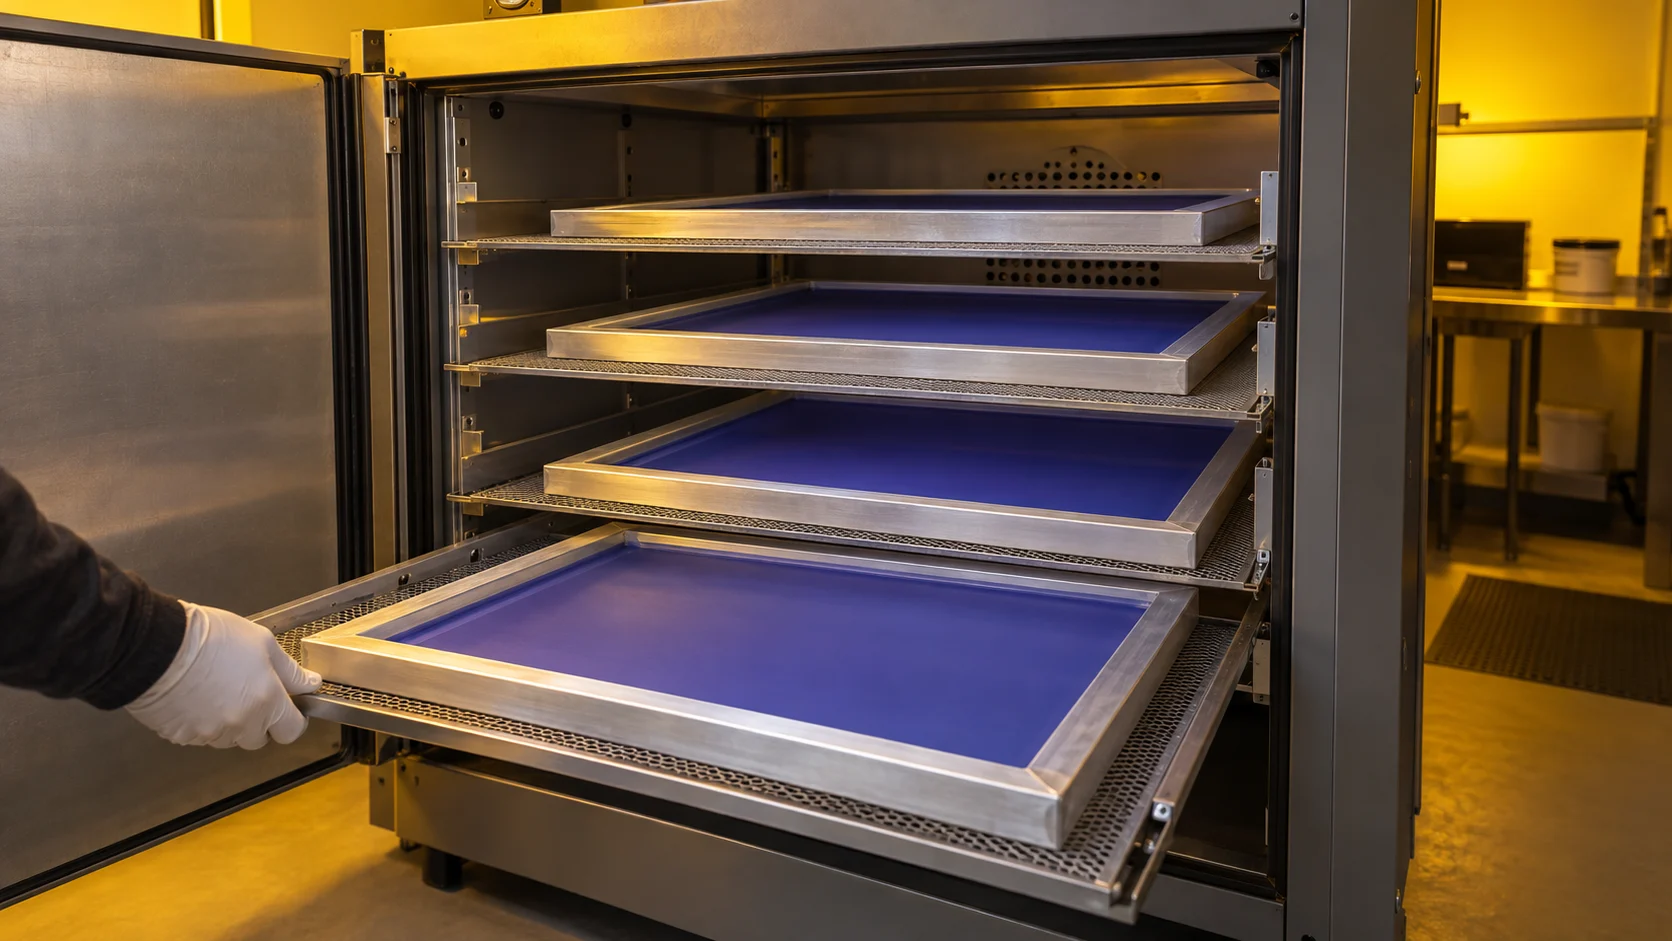
A reliable way to dry a screen before exposure is to move it into a clean, light-safe area immediately. For many direct emulsions, place it horizontally with the print side facing down and the squeegee side facing up, unless the manufacturer specifies another orientation. Use clean, even airflow and only the temperature permitted by the emulsion technical data sheet. Do not expose the screen until the drying cycle has been verified.
Drying is one stage within the complete screen-making process. Coating, drying, exposure, and washout must work as one system.
How Should a Coated Screen Be Dried?
| Process Point | Recommended Practice |
|---|---|
| Drying area | Clean, low-dust, dark, or approved for the emulsion’s safe-light requirements |
| Screen position | Horizontal, normally print side down and squeegee side up for direct emulsion |
| Air movement | Clean, moderate, and evenly distributed |
| Temperature | Within the limit stated in the emulsion technical data sheet |
| Humidity | Monitored and kept stable enough for a repeatable drying cycle |
| Loading | Screens spaced so air can move around them; cabinet or rack not overloaded |
| Completion check | A validated cycle and process check, not surface touch alone |
| Next step | Expose promptly or store in clean, dark, dry conditions |
Important: There is no universal drying time, temperature, or relative-humidity setting for every emulsion. The current technical data sheet for the exact product takes priority over a generic online recommendation.
Why Must the Screen Be Fully Dry Before Exposure?
Photo emulsion contains water that must leave the coating before controlled UV exposure. If moisture remains, the stencil may respond as though it were underexposed, even when the exposure timer has not changed.
Incomplete drying can contribute to:
- tacky emulsion or sticking to the film or exposure glass;
- soft areas after washout;
- inconsistent image development;
- loss of fine detail;
- reduced stencil durability on press;
- different results from screens processed with the same exposure setting.
These symptoms do not prove that drying is the only cause. Incorrect exposure, poor mesh preparation, or weak film contact can produce similar faults. Stabilize drying first, then test the other variables.
What Should Be Prepared Before Drying Coated Screens?
Prepare the drying area before coating. This limits the time that wet, light-sensitive emulsion remains exposed to the room.
You will normally need:
- the current technical data sheet for the emulsion;
- a clean, dark drying cabinet or a light-safe drying rack and room;
- clean screen supports that contact the frame, not the coated image area;
- a thermometer and hygrometer;
- clean gloves and a production record.
Many current direct-emulsion instructions set a maximum drying temperature around 40–43°C (104–110°F). This is not a universal target. The exact product data sheet controls, and the cabinet’s maximum temperature is only an equipment limit.
How to Dry an Emulsion-Coated Screen Step by Step
1. Clean and check the drying area
Remove dust, dried emulsion, lint, and chemical residue from the cabinet, trays, or rack. Check filters and air paths where fitted. Keep dirty reclaimed screens and chemical runoff away from freshly coated screens.
Use only lighting approved for the emulsion. Daylight and unsuitable workshop lighting can begin exposing the coating before the film positive is applied.
2. Inspect the coating before loading
Check for drips, bubbles, heavy edge buildup, or missed areas. Drying will not correct a poor coating. Recoat serious defects rather than carrying a faulty stencil through exposure and washout.
Handle the frame by its edges. Avoid touching the coated mesh.
3. Transfer the screen immediately
Move the coated screen directly into the prepared drying area. Keep the route short and protected from uncontrolled UV or strong white light. Use the same transfer method for each batch.
4. Position the screen horizontally
For many direct emulsions, place the screen horizontally with the print side down and the squeegee side up. The print side is the side that faces the substrate during printing.
This allows the coating to settle toward the print side. Support the frame so the coated mesh does not touch a shelf, tray, or another screen.
Always confirm orientation in the emulsion instructions. Capillary films, thick-film systems, and specialist stencil materials may require a different procedure.
5. Leave enough space for airflow
Leave clearance for air to move around each screen. Keep the load and spacing consistent. Adding wet screens to a nearly dry batch raises moisture inside the drying space, so use defined batches where practical.
6. Use controlled airflow and warmth
Air must carry moisture away from the coating. Use clean, moderate, reasonably even airflow. A strong open-room fan may deposit dust and dry the coating unevenly.
Set the drying temperature within the emulsion manufacturer’s limit. Do not turn the cabinet to its highest setting simply to shorten the cycle. Excessive heat can damage the stencil system or make results harder to repeat.
Measure actual conditions when possible. A controller setpoint may not equal the conditions around a loaded screen.
7. Keep the drying environment closed and stable
Avoid unnecessary door opening, which can introduce light, dust, humid air, and temperature changes.
For repeat production, standardize:
- screen orientation;
- number of screens per batch;
- spacing between frames;
- cabinet or rack location;
- temperature and humidity range;
- drying cycle and completion check.
8. Confirm complete drying
Do not rely on the timer alone. Coating thickness, mesh, humidity, screen size, and load can change the required cycle.
A practical check combines:
- no visible wet areas or tackiness;
- a completed cycle validated for that emulsion and coating method;
- recorded temperature, humidity, load, and screen position;
- consistent exposure and washout results.
For critical work or thick stencils, a suitable moisture meter can add confirmation. Touching the stencil shows only surface condition and may contaminate the image area.
If there is doubt, extend drying within the permitted conditions. Do not compensate by applying uncontrolled extra heat.
9. Expose promptly or store correctly
Once dry, move the screen to exposure under light-safe conditions. If it cannot be exposed immediately, keep it clean, dark, and dry. Emulsion can reabsorb moisture in a humid room, so recheck a stored screen and repeat an approved drying step if necessary.
Common Drying Mistakes and Their Corrections
| Mistake | Likely Risk | Better Practice |
|---|---|---|
| Exposing as soon as the surface feels dry | Moisture may remain inside the coating | Use a validated cycle and recorded conditions |
| Using the cabinet’s highest temperature | Emulsion may exceed its permitted limit | Follow the exact emulsion technical data sheet |
| Drying a direct-emulsion screen vertically | Wet coating may settle unevenly | Use the specified horizontal orientation |
| Pointing an unfiltered fan at wet emulsion | Dust pickup and uneven local drying | Use clean, controlled, distributed airflow |
| Overloading the cabinet or rack | Restricted airflow and longer, uneven drying | Define a maximum production load |
| Opening the cabinet repeatedly | Changing temperature, humidity, light, and dust exposure | Load planned batches and keep the door closed |
| Leaving dry screens in a humid room | Moisture can be reabsorbed | Expose promptly or use clean, dark, dry storage |
Avoid using a hair dryer, flash dryer, heat gun, or other improvised high-heat source for controlled production. Localized heat and uncontrolled airflow make the result difficult to validate.
Is a Drying Rack Enough, or Is a Cabinet Needed?
A rack can work in a clean, dark, climate-controlled room processing a small number of screens. The room must provide the required light protection, cleanliness, airflow, temperature stability, and humidity control.
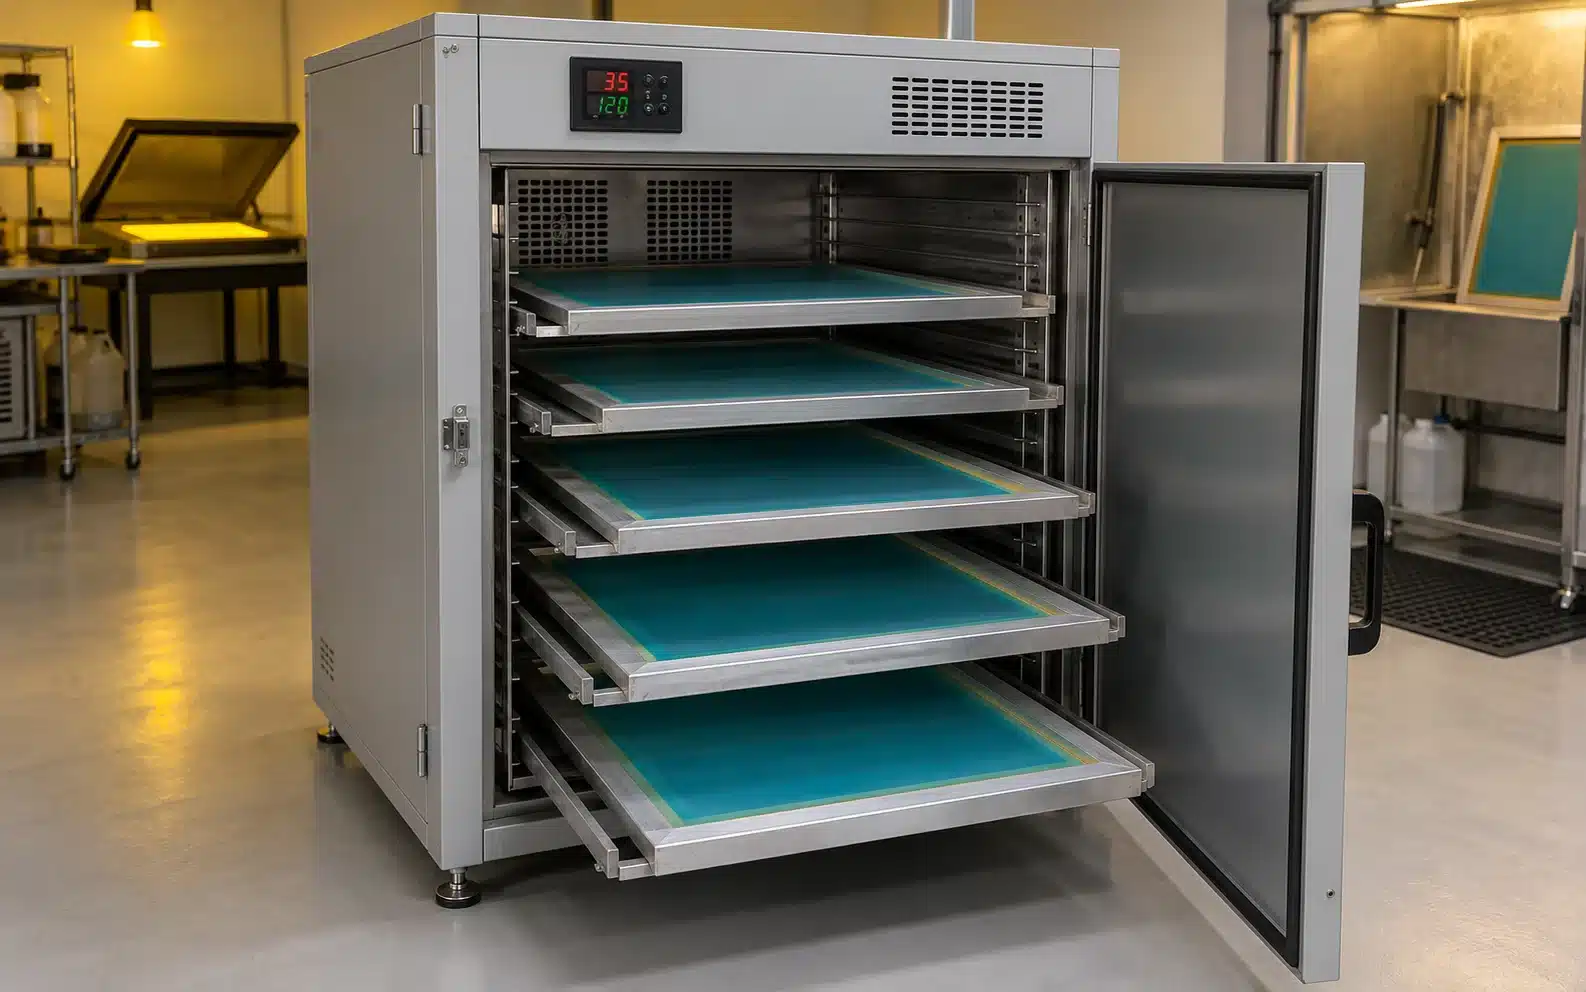
A cabinet becomes useful when weather, dust, volume, or inconsistent drying affects output. It reduces exposure to room conditions and makes loading easier to standardize. See what a screen printing drying cabinet is for its role in stencil preparation.
A cabinet does not repair uneven coating or replace exposure testing. Its value is controlling one critical stage of the process.
What Should a Production Drying Record Include?
Importers, distributors, and print factories should evaluate whether operators can repeat the process, not just whether one demonstration cycle is fast.
Record at least:
| Record Field | Example of What to Capture |
|---|---|
| Material | Emulsion product, batch, sensitizing date, and expiry status |
| Screen and coating | Mesh, frame ID, coating sequence, and coater edge |
| Drying equipment | Cabinet or rack identification |
| Load | Number of screens, positions, and spacing |
| Environment | Actual temperature and relative humidity |
| Cycle and approval | Start/finish time, interruptions, drying check, exposure, and washout result |
This record helps separate a drying change from an exposure, coating, or material problem.
What Comes After the Screen Is Dry?
After drying, keep the screen protected from uncontrolled light and contamination. Position the film positive, establish close contact, and expose the stencil using the tested setting for that screen-making system.
Follow how to expose a screen for screen printing. If stencil results still vary after drying is stable, use the screen printing exposure time guide instead of adjusting the timer by guesswork.
Frequently Asked Questions
How long does screen printing emulsion take to dry?
There is no universal time. It depends on the emulsion, coating, mesh, screen size, temperature, humidity, airflow, equipment, and load. Validate the cycle under actual production conditions.
What temperature should be used to dry emulsion-coated screens?
Use the range and maximum stated in the technical data sheet for the exact emulsion. Many direct-emulsion guides limit drying to approximately 40–43°C (104–110°F), but that limit is not a universal target. Do not use the drying cabinet’s maximum temperature as the default setting.
Which side should face down while the screen dries?
Many direct-emulsion manufacturers specify horizontal drying with the print side down and the squeegee side up. Confirm this in the instructions for your emulsion or stencil material.
Can a coated screen be left to dry overnight?
Yes, if the area stays clean, dark, dry, and within the manufacturer’s storage conditions. Because dry coating can absorb moisture again, verify its condition before exposure.
Can I use a fan or hair dryer to dry the screen faster?
Controlled, clean airflow can support drying. An open-room fan or hair dryer can introduce dust, uneven airflow, and localized heat. These methods are difficult to standardize and are not preferred for repeat production.
Can emulsion-coated screens dry in a normal room?
Only if it is protected from unsafe light and has suitable cleanliness, airflow, temperature, and humidity control. A cabinet is easier to manage when several screens are prepared regularly.
Is a screen ready for exposure when it feels dry?
Not necessarily. A dry surface does not confirm that moisture has left the full coating thickness. Use a validated drying cycle, environmental records, and consistent exposure and washout results.
Build a Repeatable Screen-Drying Process
Correct drying is not about the hottest setting or shortest cycle. It means keeping screen position, light protection, airflow, temperature, humidity, loading, and completion checks repeatable.
If your workshop or distribution project needs dedicated equipment, explore HANZE screen printing drying cabinets. For a suitable configuration, provide the maximum outer frame size, frame thickness, screens per batch or shift, required screen orientation, emulsion temperature limit, local voltage and frequency, plug requirement, and destination market.
Final operating settings must follow the emulsion manufacturer’s current technical data and the equipment manual. Electrical installation and workplace use must also comply with applicable local requirements.