Complete Screen Making Process: Step-by-Step Guide
Complete Screen Making Process: Step-by-Step Guide
A high-quality screen print starts long before ink reaches the printing press.
The condition of the screen directly affects image definition, registration, ink transfer, stencil durability, and production consistency. That makes screen making one of the most important parts of the entire screen printing process.
A complete screen making process includes much more than coating a screen with emulsion and exposing it to UV light.

It normally involves:
Frame Selection
↓
Mesh Selection
↓
Screen Stretching
↓
Tension Measurement
↓
Mesh Preparation
↓
Emulsion Coating
↓
Screen Drying
↓
Film Positive Preparation
↓
Screen Exposure
↓
Washout
↓
Drying and Final Inspection
Each stage affects the next.
Poor mesh tension can create problems on press. Uneven emulsion coating can make exposure inconsistent. A damp screen may not expose correctly. A weak film positive can reduce image definition. Poor film contact can cause blurred stencil edges.
For this reason, professional screen making should be treated as a complete prepress workflow, rather than a series of unrelated operations.
This guide explains every major stage from an empty screen frame to a finished stencil ready for printing.
What Is the Screen Making Process?
Screen making is the process of creating a controlled stencil on a tensioned mesh.
During printing, ink passes through the open image areas of this stencil and is blocked by the closed areas.
The finished screen therefore has to perform several functions at the same time:
- hold the artwork accurately;
- maintain suitable mesh tension;
- provide the required ink opening;
- resist movement during printing;
- withstand contact with ink and the squeegee;
- and maintain image quality throughout the intended production run.
Making a good screen requires control over both the physical screen structure and the photo stencil.
The physical structure consists mainly of:
Frame + Mesh + Tension
The stencil system consists mainly of:
Emulsion + Film Positive + Exposure + Washout
When both parts are controlled properly, screen production becomes much more repeatable.
Screen Making Equipment and Materials
A conventional screen-making department may use the following equipment:
| Process Stage | Equipment / Material | Main Purpose |
|---|---|---|
| Frame preparation | Screen Printing Frame | Supports the stretched mesh |
| Mesh selection | Screen Printing Mesh | Controls image detail and ink transfer |
| Stretching | Screen Stretching Equipment | Applies controlled tension |
| Tension QC | Tension Meter | Measures mesh tension |
| Cleaning | Degreaser / screen cleaning tools | Prepares mesh for coating |
| Coating | Emulsion Scoop Coater | Applies photo emulsion |
| Drying | Screen Drying Cabinet | Provides controlled drying |
| Artwork output | Inkjet Film | Produces film positives |
| Exposure | Screen Printing Exposure Unit | Creates the stencil |
| Development | Washout Booth | Washes image areas open |
| Inspection | Light / magnification / QC tools | Checks final stencil quality |
For shops building a complete prepress department, these pieces of equipment should be selected as one connected system rather than purchased independently.
Step 1: Understand the Printing Requirement
Before choosing mesh or stretching a screen, determine what the finished screen needs to print.
Important factors include:
- substrate;
- ink type;
- print area;
- image detail;
- smallest line width;
- halftone requirements;
- desired ink deposit;
- printing press type;
- registration accuracy;
- and expected production volume.
For example, a screen used for a bold textile graphic may require a different mesh and stencil structure from one used for fine technical markings.
Similarly, industrial screen printing may require tighter control over dimensional stability and stencil thickness than general textile printing.
The correct screen should therefore be designed around the final printing application.
Step 2: Choose the Right Screen Printing Mesh
The mesh is one of the most important components of a screen.
It affects:
- resolution;
- open area;
- ink deposit;
- stencil support;
- durability;
- and exposure behavior.
The main specifications to consider include:
Mesh Count
Mesh count refers to the number of threads within a defined linear distance.
A higher mesh count generally provides smaller openings and can support finer image detail.
A lower mesh count generally provides larger openings and allows a heavier ink deposit.
However, mesh count should never be considered alone.
Thread Diameter
Thread diameter affects:
- open area;
- mesh strength;
- ink passage;
- and available space for the stencil.
Two meshes with the same mesh count may behave differently if they use different thread diameters.
Mesh Material
Monofilament polyester mesh is widely used because it provides a practical balance between strength, stability, flexibility, and cost.
Stainless steel mesh is also used in applications that require high dimensional stability, fine technical control, or specialized industrial printing.
Mesh Color
White mesh is common for many general printing applications.
Dyed mesh, often yellow or orange, can help reduce internal UV light scattering during stencil exposure and may be useful for higher-resolution work.
Changing mesh color can also affect exposure behavior, so exposure settings should be verified whenever the screen specification changes significantly.
For detailed mesh selection, link this section to your dedicated Screen Printing Mesh Guide.
Step 3: Choose a Suitable Screen Printing Frame
The frame supports the mesh during every major stage:
- stretching;
- coating;
- drying;
- exposure;
- washout;
- printing;
- cleaning;
- and storage.
A suitable frame should provide sufficient structural stability for the required mesh tension and screen size.
Consider:
- outside dimensions;
- inside opening;
- frame profile;
- wall thickness;
- printing area;
- squeegee travel;
- press compatibility;
- and exposure-unit compatibility.
Common screen frame options include:
- aluminum screen printing frames;
- textile printing frames;
- draw-bar frames;
- self-stretching frames;
- and other retensionable systems.
For general production, aluminum frames are widely used because they are lightweight, durable, reusable, and dimensionally stable.
Larger screens or applications requiring higher tension may need a stronger frame profile.
The frame should always be matched to the mesh and tension requirement rather than selected by outside dimensions alone.
Step 4: Stretch the Mesh
After the frame and mesh have been selected, the mesh needs to be stretched to the required tension.
This can be done using:
- manual stretching equipment;
- mechanical stretching systems;
- pneumatic stretching clamps;
- retensionable frames;
- or automated stretching systems.
The purpose is not simply to make the mesh feel tight.
The real objective is:
stable and reasonably uniform tension across the usable printing area.
A typical stretching procedure includes:
- Position the mesh correctly.
- Secure the mesh in the stretching system.
- Apply tension progressively.
- Measure tension across several areas.
- Allow the mesh to stabilize when required.
- Correct excessive tension variation.
- Fix or bond the mesh to the frame.
- Trim excess mesh.
- Measure tension again after completion.
Applying excessive tension can damage the mesh or distort the frame.
Applying insufficient tension can reduce screen stability during printing.
The correct level depends on the specific mesh, thread diameter, frame construction, and printing requirement.
Step 5: Measure Screen Tension
Mesh tension should be measured, not estimated by touch.
A screen printing tension meter provides a numerical measurement, normally expressed in N/cm.
This allows the screen maker to check whether:
- the target tension has been achieved;
- tension is reasonably uniform;
- the screen has changed after stretching;
- or an older screen has lost too much tension for a demanding print job.
Do not measure only the exact center.
A better procedure is to measure several areas such as:
- center;
- upper section;
- lower section;
- left side;
- right side.
For demanding applications, measurements may also be taken in different thread directions.
The goal is to understand both the average tension and the variation across the screen.
Why does tension matter?
Controlled mesh tension can contribute to:
- better screen stability;
- more predictable snap-off;
- improved registration;
- cleaner ink release;
- and better repeatability.
It becomes particularly important in multi-color and precision printing.
Step 6: Clean and Degrease the Mesh
A stretched screen should be cleaned before applying photo emulsion.
Even new mesh may contain:
- dust;
- oil;
- fingerprints;
- manufacturing residue;
- adhesive contamination;
- or other surface contaminants.
These can interfere with stencil adhesion.
A basic mesh-preparation procedure is:
- Wet both sides of the mesh.
- Apply an appropriate screen degreaser.
- Work the cleaner gently across the mesh.
- Rinse thoroughly.
- Check the surface for remaining contamination.
- Allow the screen to dry completely.
After cleaning, avoid touching the printing area with bare hands.
Skin oils can re-contaminate the mesh.
Poor mesh preparation can contribute to:
- fish eyes;
- pinholes;
- uneven emulsion coating;
- poor adhesion;
- and premature stencil breakdown.
If these problems appear repeatedly, investigate screen preparation before automatically changing the emulsion.
Step 7: Dry the Clean Screen
After degreasing and rinsing, the screen should be completely dry before coating.
Water remaining in or around the mesh can interfere with uniform emulsion application.
The drying area should be:
- clean;
- protected from dust;
- reasonably controlled;
- and separated from dirty production processes where possible.
A dedicated screen drying cabinet can make this stage easier to manage, especially when multiple screens are being prepared every day.
Do not move a freshly cleaned screen through dusty areas before coating.
Screen cleanliness at this stage directly affects stencil quality later.
Step 8: Coat the Screen with Photo Emulsion
Photo emulsion forms the stencil on the mesh.
A scoop coater is commonly used to apply it evenly.
The coating process should produce a smooth and consistent stencil layer.
Important factors include:
- scoop-coater edge;
- coating speed;
- coating pressure;
- emulsion viscosity;
- mesh specification;
- coating sequence;
- and operator technique.
A typical coating process is:
- Make sure the screen is clean and dry.
- Prepare the emulsion according to its instructions.
- Fill the scoop coater.
- Hold or position the screen securely.
- Place the coater against the mesh.
- Tilt until the emulsion contacts the coating edge.
- Move the coater smoothly upward.
- Repeat the required number of coating passes.
- Inspect the screen for obvious defects.
- Move it immediately to the drying area.
How many coating passes should be used?
There is no universal answer.
A coating sequence may be described as:
1+1
or
2+1
or another combination.
The correct stencil thickness depends on the:
- mesh;
- ink;
- substrate;
- image detail;
- and desired ink deposit.
A thicker stencil may provide greater ink deposit but normally requires more controlled drying and exposure.
For this reason, coating and exposure should not be treated as separate variables.
Step 9: Dry the Coated Screen
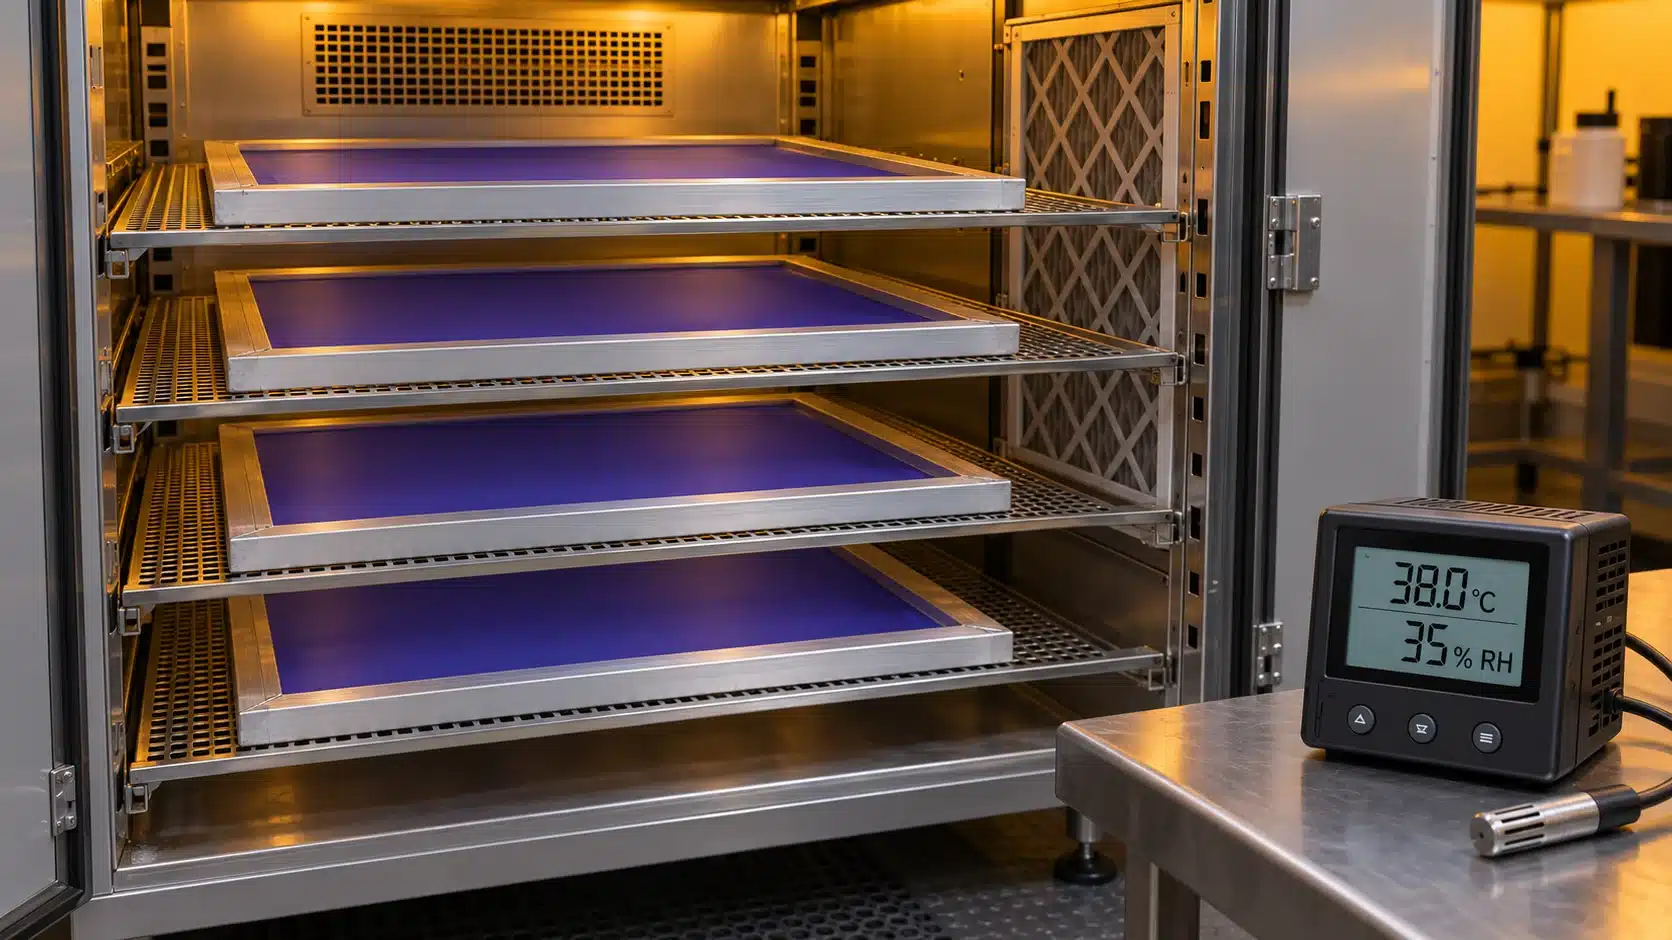
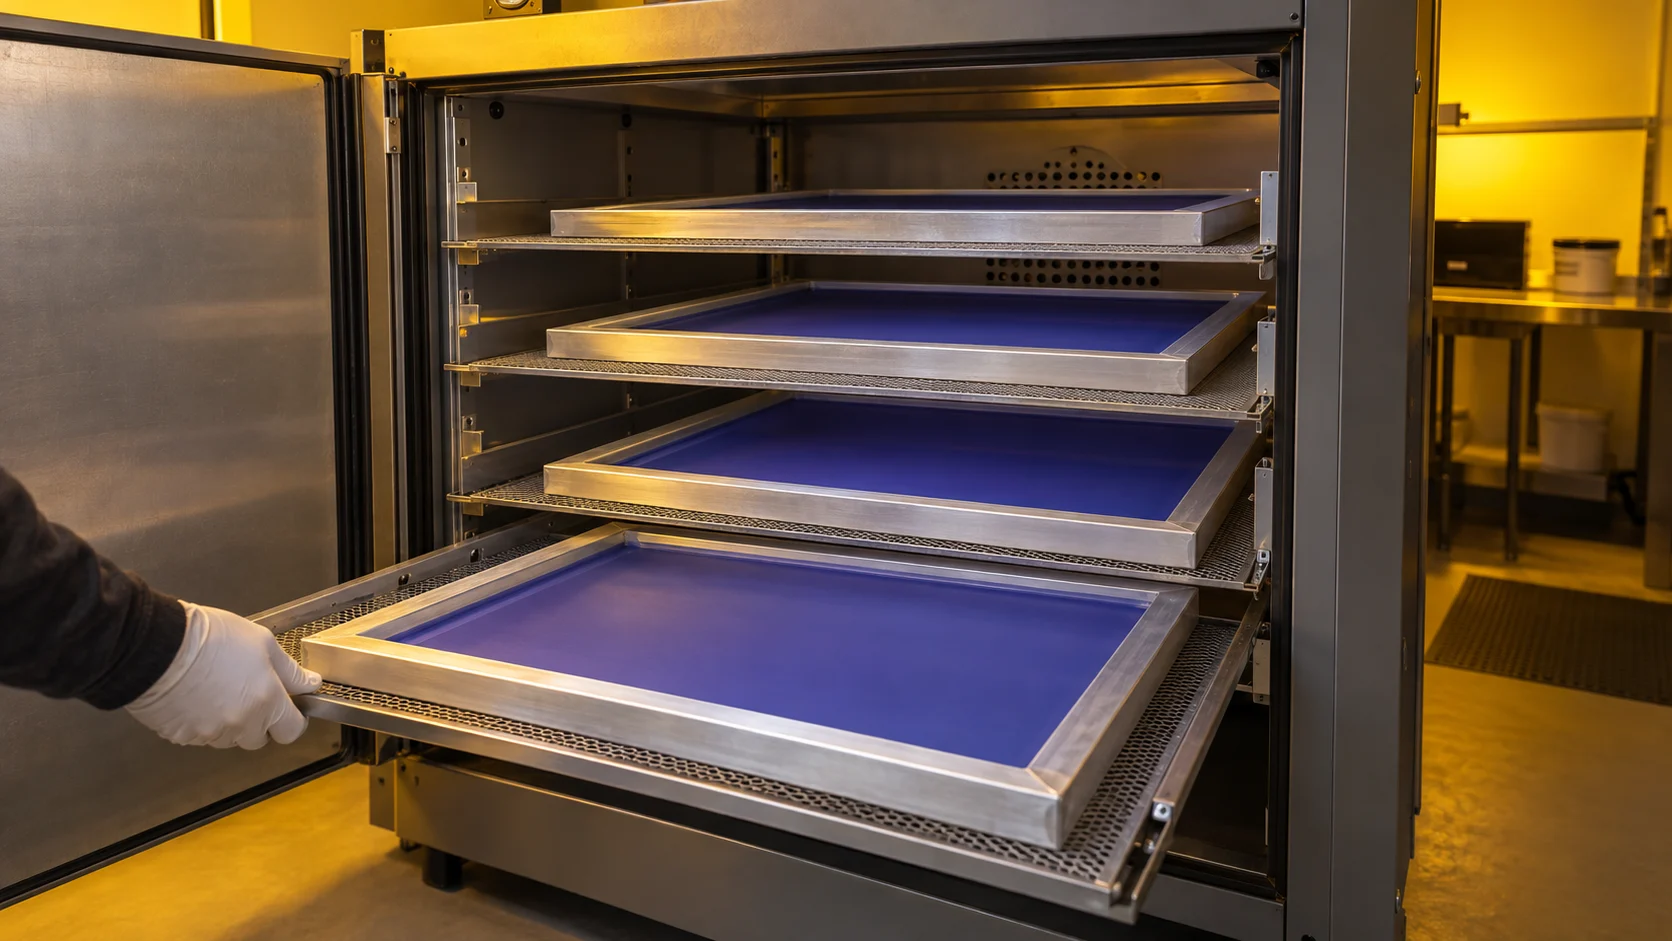
The coated screen needs to dry completely before exposure.
This is one of the most important steps in the entire stencil-making process.
The screen should be dried in a:
- clean;
- dark or UV-safe;
- low-dust;
- controlled environment.
Whenever practical, screens are dried horizontally to help the wet emulsion level consistently.
The exact orientation and drying conditions should follow the recommendations for the specific emulsion being used.
Why does drying matter?
Residual moisture can contribute to:
- inconsistent exposure;
- soft stencil areas;
- poor resolution;
- screen sticking during vacuum exposure;
- and reduced stencil durability.
Drying time is not fixed
Do not assume that:
“Every screen is ready after 30 minutes.”
Drying time depends on:
- coating thickness;
- temperature;
- humidity;
- airflow;
- screen size;
- mesh;
- and drying equipment.
A controlled screen printing drying cabinet helps reduce these variations.
Step 10: Prepare the Film Positive
Traditional screen exposure uses a film positive to control where UV light reaches the emulsion.
The artwork area should be sufficiently opaque to block the exposure light.
The surrounding transparent areas allow UV energy to cure the stencil.
A good film positive should have:
- dense black image areas;
- sharp edges;
- correct scale;
- stable dimensions;
- accurate registration marks;
- and a clean surface.
Why is film density important?
If the black artwork is too transparent, unwanted UV light may pass through.
This can lead to:
- difficult washout;
- partially blocked fine lines;
- small text filling in;
- and lost halftone detail.
Before exposure, inspect the film against a light source.
If black artwork areas appear weak or semi-transparent, correct the film output before adjusting the exposure machine.
Inkjet Film for Screen Making
Specialized screen printing inkjet film is widely used for producing film positives.
Available film types may include:
- transparent inkjet film;
- waterproof inkjet film;
- milky film;
- matte film;
- and other PET-based films.
Film quality should be considered together with:
- printer resolution;
- ink density;
- RIP settings;
- and artwork preparation.
Step 11: Position the Film on the Screen
Place the film positive in the correct position on the coated screen.
For multi-color printing, positioning should be standardized to improve registration consistency.
The film needs close contact with the emulsion surface during exposure.
If a gap exists between the film and stencil, UV light can spread around artwork edges.
This may cause:
- fuzzy lines;
- reduced detail;
- poor small-text reproduction;
- halftone loss;
- or visible undercutting.
For conventional film-positive exposure, a vacuum exposure system helps keep the film and coated screen closely pressed together.
The finer the artwork, the more important contact quality becomes.
Step 12: Expose the Screen
The screen can now be placed in the screen printing exposure unit.
During exposure, UV energy hardens the emulsion in areas that are not protected by the opaque artwork.
The image areas remain sufficiently unexposed so that they can be washed open later.
A normal exposure process includes:
- Clean the exposure glass.
- Position the film positive.
- Position the coated screen.
- Close the exposure unit.
- Activate the vacuum system if available.
- Enter the tested exposure setting.
- Start the exposure cycle.
- Allow the cycle to finish without movement.
- Release the vacuum.
- Move the screen to washout.
How long should a screen be exposed?
There is no universal screen printing exposure time.
Exposure depends on:
- emulsion chemistry;
- stencil thickness;
- mesh;
- mesh color;
- UV source;
- light intensity;
- wavelength;
- film density;
- film contact;
- and screen dryness.
For this reason, use an exposure calculator or step test to establish the correct exposure for the actual screen-making system.
Once a successful setting is found, record it.
For example:
| Mesh | Emulsion | Coat | Exposure Unit | Exposure |
|---|---|---|---|---|
| Spec A | Emulsion A | 1+1 | LED Unit A | Tested Value |
| Spec B | Emulsion A | 1+1 | LED Unit A | Tested Value |
| Spec C | Emulsion B | 2+1 | LED Unit A | Tested Value |
Do not copy exposure times from another screen-printing shop without testing.
Step 13: Wash Out the Image
After exposure, the screen needs to be developed with water.
The image areas protected by the film positive should wash open, while the correctly exposed stencil remains attached to the mesh.
A practical washout procedure is:
- Wet both sides of the screen.
- Allow the image areas to absorb water briefly.
- Begin washing the stencil using controlled water pressure.
- Develop all intended image openings.
- Inspect fine details.
- Rinse the screen thoroughly.
Avoid using excessive water pressure immediately.
Controlled development is particularly important for fine lines and halftones.
A dedicated screen printing washout booth makes the process cleaner and easier to control.
If the image will not wash out
Possible causes include:
- excessive exposure;
- insufficient film density;
- stray UV exposure;
- poor film output;
- or incorrect screen storage.
If the stencil washes away
Possible causes include:
- insufficient exposure;
- incomplete drying;
- poor mesh preparation;
- poor emulsion adhesion;
- or an unsuitable stencil system.
Do not automatically change washout pressure before investigating what happened earlier in the process.
Step 14: Dry the Developed Screen
After washout, remove excess water and allow the screen to dry completely.
The image openings should remain clear.
Avoid using the screen for printing while moisture is still present.
Depending on the emulsion system and printing application, the manufacturer may recommend:
- additional drying;
- post-exposure;
- chemical hardening;
- or another finishing process.
Follow the technical instructions for the specific emulsion.
Step 15: Inspect the Finished Stencil
A finished screen should be checked before it reaches the press.
Look for:
Complete Image Openings
All intended printing areas should be open.
Sharp Edges
Text, lines, and graphics should be well defined.
Fine Detail
Check whether small image elements survived exposure and development.
Halftones
Verify that the required dots are present and open.
Pinholes
Look for unintended openings in non-image areas.
Residual Emulsion
Make sure image areas are not partially blocked.
Mesh Condition
Check for damage or loose threads.
Screen Tension
Confirm that the screen still meets the required working specification.
Registration
Verify artwork orientation and registration marks.
A screen that fails inspection should be corrected before going to press.
It is much cheaper to remake a bad screen in the prepress department than discover the problem after production begins.
Step 16: Block Out Pinholes and Unwanted Areas
Small defects outside the artwork may allow ink to pass through during printing.
Where appropriate, use a suitable screen blockout material to cover:
- isolated pinholes;
- unwanted mesh openings;
- non-print registration areas;
- and exposed gaps around the stencil.
However, blockout should not be used to rescue a fundamentally poor stencil.
If a screen contains excessive pinholes or widespread stencil defects, investigate:
- dust;
- screen preparation;
- coating;
- drying;
- and exposure conditions.
A screen with systemic defects is usually better remade.
Step 17: Final Screen Preparation Before Printing
Before transferring the screen to the press, confirm:
- correct artwork;
- correct frame;
- correct mesh;
- acceptable tension;
- stencil integrity;
- image orientation;
- registration marks;
- and screen identification.
The screen can then move into press setup.
At this stage, a good prepress department should be giving the press operator a predictable production tool rather than another problem to troubleshoot.
Complete Screen Making Process at a Glance
| Stage | Main Objective | Main Equipment |
|---|---|---|
| Select Frame | Support the mesh and print area | Screen Printing Frame |
| Select Mesh | Control resolution and ink deposit | Screen Printing Mesh |
| Stretch Mesh | Establish screen tension | Screen Stretching Equipment |
| Check Tension | Verify stability | Tension Meter |
| Prepare Mesh | Improve stencil adhesion | Cleaning / Degreasing |
| Coat Emulsion | Build the stencil layer | Scoop Coater |
| Dry Screen | Remove moisture | Drying Cabinet |
| Prepare Artwork | Produce opaque film positive | Inkjet Film |
| Expose Screen | Cure the stencil | Exposure Unit |
| Wash Out | Open image areas | Washout Booth |
| Inspect | Confirm stencil quality | QC Tools |
| Prepare for Press | Final production check | Completed Screen |
This workflow shows why screen making should be managed as one complete system.
How Each Screen Making Stage Affects the Next
The most important thing to understand about prepress is that problems can travel downstream.
Frame + Mesh
The frame needs to support the intended mesh tension without excessive distortion.
Mesh + Coating
Mesh structure influences how emulsion is deposited and supported.
Coating + Drying
A thicker stencil generally requires more drying time.
Coating + Exposure
A thicker stencil also changes exposure requirements.
Drying + Exposure
Residual moisture can make exposure less predictable.
Film + Exposure
Weak film density can allow UV light into image areas.
Film Contact + Resolution
Poor contact can reduce edge sharpness.
Exposure + Washout
The stencil must receive enough exposure to remain stable while still allowing image areas to develop.
Tension + Printing
A screen that has lost too much tension may behave differently on press even if the stencil itself is good.
This is why screen-making troubleshooting should begin by identifying where in the process the defect first appeared.
Common Screen Making Problems
| Problem | Check First |
|---|---|
| Uneven mesh tension | Stretching process |
| Frame deformation | Frame strength and tension |
| Emulsion does not coat evenly | Cleaning and coating technique |
| Fish eyes | Mesh contamination |
| Excessive pinholes | Dust and coating conditions |
| Coated screen remains tacky | Drying and humidity |
| Fine lines disappear | Film, contact, exposure |
| Image will not wash out | Film density and exposure |
| Stencil washes away | Drying and exposure |
| Fuzzy image edges | Film-to-screen contact |
| Halftones disappear | Mesh, film, contact, exposure |
| Screen behaves differently each time | Process standardization |
| Registration changes | Tension and frame stability |
Use this table as a starting point rather than a final diagnosis.
Several different process failures can create similar symptoms.
How to Make Screen Making More Consistent
The best screen rooms reduce uncontrolled variation.
Standardize Mesh
Record:
- mesh count;
- thread diameter;
- color;
- material;
- and supplier specification.
Standardize Screen Tension
Create a working tension range for each commonly used mesh.
Measure screens rather than relying on feel.
Standardize Coating
Keep the same:
- scoop-coater edge;
- coating sequence;
- operator procedure;
- and emulsion preparation.
Control Drying
Use a clean, protected drying area with controlled airflow and humidity where practical.
Standardize Film Output
Document:
- printer;
- film;
- ink;
- RIP settings;
- resolution;
- and density settings.
Test Exposure
Create approved exposure settings for frequently used combinations.
Record Production Data
For example:
| Screen ID | Mesh | Tension | Emulsion | Coating | Exposure | Result |
|---|---|---|---|---|---|---|
| A01 | Spec A | Recorded | Emulsion A | 1+1 | Tested | Pass |
| A02 | Spec B | Recorded | Emulsion A | 1+1 | Tested | Pass |
| B01 | Spec A | Recorded | Emulsion B | 2+1 | Tested | Review |
Over time, this becomes a useful internal screen-making database.
How to Organize a Screen Printing Prepress Department
The physical layout of the screen room also affects efficiency and cleanliness.
A logical workflow may look like this:
Screen Storage
↓
Stretching
↓
Tension Inspection
↓
Degreasing / Preparation
↓
Drying
↓
Clean Coating Area
↓
Dark Drying Area
↓
Film Preparation
↓
Exposure
↓
Washout
↓
Final Drying
↓
Stencil Inspection
↓
Ready-Screen Storage
Whenever possible, separate:
clean processes
from
dirty and wet processes.
For example, coating and coated-screen drying should not take place next to reclaiming or aggressive washout operations where water, chemical residue, or dust may contaminate prepared screens.
A well-organized screen room reduces unnecessary movement and lowers the risk of contamination.
Screen Making Workflow for Small and Medium Print Shops
A practical conventional setup can include:
- manual or pneumatic stretching equipment;
- screen printing frames;
- polyester mesh;
- tension meter;
- scoop coater;
- drying cabinet;
- inkjet printer and film;
- vacuum exposure unit;
- washout booth.
This type of workflow remains suitable for many:
- textile printers;
- garment shops;
- graphics printers;
- sign printers;
- packaging printers;
- and general industrial screen-printing operations.
The advantage is flexibility.
Each part of the process can be upgraded individually as production grows.
When Does Screen Making Automation Make Sense?
As production volume increases, manual screen making can become a bottleneck.
Larger operations may introduce:
- pneumatic or automated stretching;
- automated coating;
- controlled drying systems;
- computer-to-screen imaging;
- automatic exposure;
- automated developing;
- and screen reclaiming equipment.
Automation becomes useful when it reduces:
- operator variation;
- preparation time;
- film use;
- registration labor;
- screen turnaround time;
- or overall cost per screen.
However, automation does not eliminate the need to understand the screen-making process.
It simply makes validated process settings easier to reproduce at higher volume.
Film Positive vs Computer-to-Screen
Traditional screen making uses a printed film positive.
Computer-to-screen, commonly known as CTS, can image artwork directly onto the coated screen.
Film Positive Workflow
Advantages can include:
- lower initial equipment investment;
- simple workflow;
- flexibility;
- and suitability for low-to-medium screen volume.
CTS Workflow
Potential advantages include:
- elimination of film positives;
- reduced manual film registration;
- digital job storage;
- and higher automation potential.
CTS may become attractive for high-volume operations, but conventional film-positive exposure remains practical for many screen-printing businesses.
The correct choice should be based on workflow economics rather than assuming that newer technology is automatically necessary.
Screen Making for Different Applications
The basic screen-making process remains similar across industries, but the degree of control required can vary.
Textile Screen Printing
Priorities commonly include:
- fast screen turnaround;
- stencil durability;
- suitable ink deposit;
- practical mesh selection;
- and production efficiency.
Graphic Screen Printing
Greater emphasis may be placed on:
- image resolution;
- fine text;
- line definition;
- and registration.
Industrial Screen Printing
Applications such as:
- electronics;
- overlays;
- control panels;
- glass;
- ceramics;
- automotive components;
- packaging;
- and technical marking
may require tighter control over:
- mesh tension;
- dimensional stability;
- stencil thickness;
- fine-detail resolution;
- and repeatability.
As printing tolerances become tighter, prepress control becomes increasingly important.
Screen Making Quality Control Checklist
Before releasing a screen to production, check:
- Correct frame size
- Correct mesh specification
- No visible mesh damage
- Mesh tension checked
- Tension reasonably uniform
- Mesh properly cleaned
- Emulsion coating uniform
- Screen completely dry before exposure
- Film positive correct
- Film density acceptable
- Film positioned correctly
- Exposure setting verified
- Image fully washed open
- Fine details retained
- Required halftones retained
- No excessive pinholes
- No unwanted emulsion in image openings
- Screen completely dry
- Blockout completed where required
- Registration confirmed
- Screen information recorded
The purpose of this checklist is consistency.
A screen room becomes easier to manage when every operator follows the same basic QC process.
Frequently Asked Questions
What is the screen making process in screen printing?
The screen making process is the complete prepress workflow used to produce a print-ready stencil. It typically includes frame and mesh selection, mesh stretching, tension measurement, cleaning, emulsion coating, drying, film preparation, exposure, washout, drying, and final inspection.
What equipment is needed to make a screen for screen printing?
A conventional screen room may use screen frames, mesh, stretching equipment, a tension meter, cleaning materials, a scoop coater, drying cabinet, inkjet film, an exposure unit, and a washout booth.
Do I need to stretch my own screens?
Not necessarily. Print shops can purchase pre-stretched screens. In-house screen stretching becomes more useful when a shop needs greater control over mesh specifications, screen sizes, replacement schedules, or production costs.
Why is mesh tension important?
Mesh tension affects screen stability during printing. A properly controlled screen can provide more predictable registration, snap-off, ink release, and production repeatability.
Why should a screen be degreased before coating?
Degreasing removes oils, dust, fingerprints, and surface contamination that can interfere with photo-emulsion coating and adhesion.
How many coats of emulsion should I apply?
There is no universal number. The coating sequence depends on mesh, emulsion, required stencil thickness, image resolution, ink deposit, and printing application.
Does emulsion need to be completely dry before exposure?
Yes. The coated screen should be thoroughly dry before exposure. Residual moisture can make the stencil less predictable and may reduce exposure quality.
What makes a good film positive?
A good film positive has dense opaque image areas, sharp edges, correct scale, accurate registration, and sufficient transparency in the non-image areas.
Why is vacuum important during screen exposure?
Vacuum improves contact between the film positive and coated screen. Better contact reduces light spreading around artwork edges and can improve stencil sharpness.
How long should I expose a screen?
There is no universal exposure time. It depends on the emulsion, coating thickness, mesh, film density, UV light source, wavelength, and exposure-unit output. Use an exposure test to establish the correct value.
Why does my emulsion wash away after exposure?
Possible causes include insufficient exposure, incomplete screen drying, poor mesh preparation, or unsuitable stencil conditions.
Why won’t my screen wash out?
Possible causes include excessive exposure, weak film density, stray UV light, or artwork areas that did not block enough exposure energy.
What causes pinholes in a screen printing stencil?
Common causes include dust, contamination, bubbles, poor coating, and dirty drying conditions.
Can screen printing frames be reused?
Many aluminum frames can be reused after reclaiming or remeshing if the frame remains straight, structurally sound, and suitable for the required tension.
What is the difference between screen making and screen printing?
Screen making is the prepress process used to create the stencil. Screen printing is the production process in which ink is pushed through the finished stencil onto the substrate.
Final Thoughts
A reliable screen making process is much more than coating a screen and exposing it.
A complete workflow looks like this:
Screen Frame
↓
Screen Printing Mesh
↓
Screen Stretching
↓
Tension Measurement
↓
Mesh Preparation
↓
Emulsion Coating
↓
Controlled Drying
↓
Film Positive
↓
Screen Exposure
↓
Washout
↓
Final Inspection
Every stage affects the quality of the next one.
Consistent mesh tension creates a more stable screen.
Good mesh preparation helps the emulsion adhere properly.
Controlled coating produces a repeatable stencil thickness.
Complete drying prepares the stencil for predictable exposure.
A high-quality film positive defines the image accurately.
Correct exposure hardens the required stencil areas.
Controlled washout develops the final image.
Final inspection prevents defective screens from reaching the press.
For screen-printing businesses building or upgrading their prepress department, HANZE provides equipment and materials across the main stages of this workflow, including Screen Stretching Equipment, Screen Printing Mesh, Screen Printing Frames, Tension Meters, Emulsion Scoop Coaters, Screen Printing Inkjet Film, Screen Drying Cabinets, Screen Printing Exposure Units, and Washout Booths.
For more detailed information about individual stages, continue with:
How to Expose a Screen for Screen Printing
Learn the complete exposure and stencil-development process.
Screen Printing Exposure Time: Complete Guide
Understand how mesh, emulsion, LED/UV light, coating thickness, and exposure calculators affect exposure time.
How to Choose a Screen Printing Exposure Unit
Compare exposure area, LED technology, vacuum systems, screen size, and production requirements.
Screen Printing Mesh Guide
Learn how mesh count, thread diameter, material, and open area affect printing.
Screen Tension Guide
Understand tension measurement, screen stability, and tension control.
Together, these resources provide a practical framework for building a more controlled and repeatable screen-making workflow.