Screen Printing Exposure Time: Complete Guide
Screen Printing Exposure Time: Complete Guide
“How long should I expose my screen?” sounds like a simple question, but there is no single screen printing exposure time that works for every screen, emulsion, mesh, film positive, and exposure unit.
One shop may expose a screen in seconds with an LED exposure unit, while another system may require much longer. Even two screens exposed on the same machine can need different settings if the emulsion, mesh count, coating thickness, or film positive changes.
The reason is simple: exposure is determined by UV energy reaching and curing the stencil, not by time alone.
Ulano recommends using the exposure information on the emulsion technical data sheet only as a starting point and then verifying the actual setup with tools such as a Stouffer 21 Step Scale or exposure calculator. Chromaline similarly recommends testing the actual combination of emulsion, mesh, coating, and light source rather than relying on a universal exposure number.
This guide explains what controls exposure time, how LED and other UV exposure systems differ, how mesh and emulsion affect exposure, and how to establish a repeatable exposure time for your own screen room.
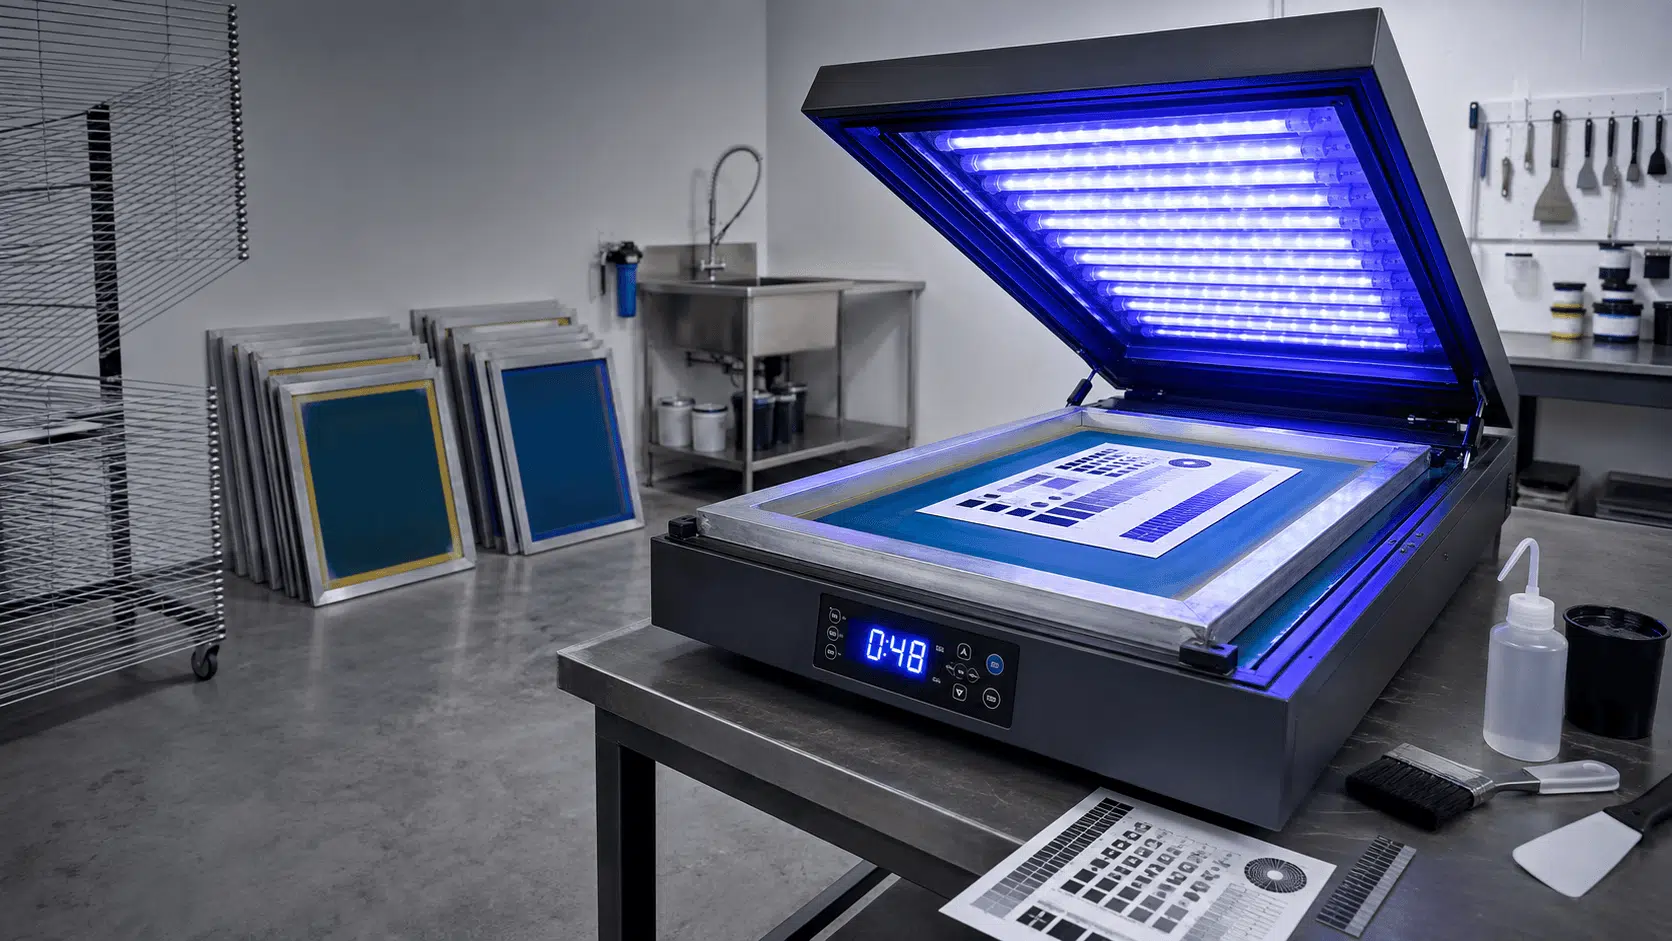
What Is Screen Printing Exposure Time?
Screen printing exposure time is the period during which a photo-emulsion-coated screen receives ultraviolet energy from an exposure source.
UV energy reacts with the photosensitive components of the emulsion and hardens the areas not protected by the film positive. The image areas remain sufficiently unexposed to wash out during development.
The objective is therefore not simply to expose the screen for “as long as possible.”
You need enough UV energy to cure the stencil through its required thickness, but not so much unwanted light in the image areas that fine lines, small text, or halftone detail become difficult to develop.
A practical way to think about exposure is:
Exposure Time + Light Output + Wavelength + Stencil Conditions = Effective UV Exposure
That is why the timer setting by itself tells you very little unless the rest of the process is controlled.
Quick Answer: How Long Should You Expose a Screen?
There is no universal answer such as:
- 30 seconds for 110 mesh;
- 45 seconds for 156 mesh;
- or 60 seconds for every LED exposure unit.
Those numbers can be misleading because exposure depends on the complete screen-making system.
Instead, use this process:
- Check the exposure recommendation for your specific emulsion.
- Identify the light source used by your exposure unit.
- Keep mesh, coating, drying, film, and contact conditions consistent.
- Run an exposure calculator or step test.
- Develop and inspect the screen.
- Adjust the time based on the test result.
- Record the approved setting for future production.
Ulano specifically recommends starting with the manufacturer’s estimated exposure information and then measuring stencil hardness with a 21-step scale before refining the result with an exposure calculator.
The important question is therefore not:
“What exposure time does everyone else use?”
It is:
“What exposure time gives the correct cure and resolution with my specific screen-making setup?”
What Determines Screen Printing Exposure Time?
Several variables have a direct effect on how long a screen needs to remain under the exposure source.
The most important are:
| Factor | Effect on Exposure |
|---|---|
| Emulsion chemistry | Different emulsions have different photosensitivity |
| Stencil thickness | More emulsion generally requires more UV energy |
| Mesh specification | Mesh affects coating deposit and light behavior |
| Mesh color | Dyed mesh changes light scattering behavior |
| Light source | LED, metal halide, fluorescent and other systems differ |
| UV wavelength | Emulsion sensitivity varies by spectral range |
| Light intensity | Higher usable UV output can reduce required time |
| Lamp distance | Important especially with point-source exposure systems |
| Film density | Weak blacks can allow UV into image areas |
| Film contact | Poor contact reduces resolution |
| Screen dryness | Residual moisture can affect stencil performance |
| Lamp condition | Aging or contaminated light sources may reduce effective output |
Changing any major variable can mean that your old exposure time is no longer correct.
1. Emulsion Type Has a Major Effect on Exposure Time
There is no universal emulsion exposure time because different photo emulsions use different sensitizing technologies.
Common categories include:
- diazo emulsions;
- dual-cure diazo-photopolymer emulsions;
- pure photopolymer or SBQ emulsions;
- and specialized emulsions designed for particular ink systems or exposure technologies.
For example, Ulano describes many SBQ photopolymer emulsions as fast-exposing products and offers separate dual-cure systems with their own exposure characteristics.
You should therefore never switch emulsions and automatically keep the old timer setting.
When should you retest exposure after changing emulsion?
Retest if you change:
- emulsion brand;
- emulsion product;
- sensitizer type;
- sensitizer mixing ratio;
- stencil system;
- or emulsion batch when you notice a significant behavior change.
The manufacturer’s technical data sheet is the correct place to begin.
It provides a useful reference point, but it is still only a reference because your mesh, coating thickness, exposure machine, film, and working conditions may differ from those used to produce the manufacturer’s test data. Ulano explicitly describes its published exposure charts as estimated times based on known commercial UV light sources and a specified mesh condition.
2. Emulsion Thickness Changes Exposure Time
A thicker stencil contains more photosensitive material that must be cured through its depth.
That generally means it requires more effective UV energy than a thinner stencil produced from the same emulsion.
This is why coating technique matters.
For example:
1 + 1 coating
and
2 + 2 coating
should not automatically be expected to use exactly the same exposure time.
Likewise, changing from a fine mesh to a coarse mesh may change the amount of emulsion deposited over the mesh structure.
The most useful approach is to standardize coating as much as possible.
Use the same:
- scoop coater;
- coating edge;
- coating speed;
- coating sequence;
- drying orientation;
- and emulsion.
Then establish an exposure time for that specific stencil configuration.
This turns exposure from a guessing exercise into a repeatable production process.
3. How Does Mesh Count Affect Exposure Time?
Many screen printers search for a mesh exposure time chart, but mesh count alone is not enough information to determine exposure time.
Mesh influences exposure indirectly through factors such as:
- thread diameter;
- mesh opening;
- stencil thickness;
- coating deposit;
- mesh color;
- and light scattering.
For that reason, moving from one mesh specification to another may require exposure retesting.
If your shop regularly uses 110, 156, 200, 230, or other common mesh counts, a better strategy is to build your own tested exposure database rather than use a generic internet chart.
For example:
| Mesh | Emulsion | Coating | Light Source | Tested Exposure |
|---|---|---|---|---|
| Mesh A | Emulsion A | 1+1 | LED Unit A | Test and record |
| Mesh B | Emulsion A | 1+1 | LED Unit A | Test and record |
| Mesh C | Emulsion B | 2+1 | LED Unit A | Test and record |
Once tested, this becomes your shop’s actual mesh exposure time chart.
That chart is much more valuable than a universal chart copied from another screen room.
4. Does White Mesh and Dyed Mesh Need the Same Exposure?
Not necessarily.
One reason dyed screen mesh is used in high-resolution screen making is that it helps control internal light scattering.
However, changing mesh color can also change exposure behavior.
Chromaline’s current troubleshooting guidance notes that dyed or tinted fabrics may require increased exposure in situations involving light scatter, giving a broad adjustment range of approximately 25% to 100% depending on the system. That range should be treated as troubleshooting guidance rather than a universal conversion factor.
So if you switch from white polyester mesh to yellow or another dyed mesh, run a new exposure test.
Do not simply assume:
yellow mesh = old time × fixed number.
The correct multiplier depends on the actual mesh, emulsion, coating, and exposure source.
For more detailed discussion of how mesh influences exposure quality, this topic can also connect to a dedicated screen printing mesh exposure troubleshooting guide rather than forcing every mesh issue into the exposure-time article. Hanze already maintains a separate guide covering mesh-related exposure problems.
5. LED Exposure Time vs Traditional UV Exposure Time
One of the most common modern searches is:
What is the correct LED exposure time for screen printing?
There is still no universal answer.
An LED exposure unit can often expose screens quickly because it can direct energy into a useful UV wavelength range efficiently. M&R currently describes its Starlight UV LED systems as reducing exposure time and heat compared with metal-halide equipment.
But that does not mean:
every LED screen should be exposed for 10 seconds, 20 seconds, or 30 seconds.
LED systems can differ in:
- wavelength;
- LED power;
- number of LEDs;
- optical arrangement;
- working distance;
- exposure area;
- light uniformity;
- and design of the vacuum/contact system.
Even two units both marketed as “UV LED exposure units” can therefore require different timer settings.
LED exposure time should always be calibrated to the machine
If you move the same coated screen from:
Exposure Unit A
to
Exposure Unit B
run an exposure test again.
Do not transfer the old timer setting automatically.
The timer measures seconds.
It does not measure the actual quantity and spectral distribution of UV energy reaching the stencil.
Is LED Exposure Different from UV Exposure?
The terms are sometimes treated as if they describe completely different processes, but an LED screen exposure system typically uses LEDs that emit UV or near-UV energy within a selected wavelength range.
So LED exposure time is still UV-based exposure time.
The distinction is mainly the type of light-generation system being used.
Traditional screen exposure equipment may use:
- metal-halide lamps;
- fluorescent UV tubes;
- mercury-based systems;
- cold-light sources;
- or other UV-generating lamps.
Modern systems increasingly use LEDs because they can provide targeted output, fast switching, reduced heat, and long operating life.
The correct exposure still depends on whether the light output matches the photosensitivity of the stencil system.
6. Does UV Wavelength Affect Exposure Time?
Yes.
Photo emulsions do not respond equally to every wavelength.
The spectral output of the exposure unit should be compatible with the photosensitive chemistry of the stencil.
SAATI’s current Pro-Lite systems, for example, use targeted 405 nm LED light sources and emphasize wavelength and light directionality as major factors affecting stencil curing and resolution.
However, that should not be interpreted as:
405 nm is automatically the best wavelength for every emulsion and every exposure unit.
The appropriate wavelength depends on the stencil chemistry and equipment design.
Before buying or changing an LED exposure system, check:
- the emulsion manufacturer’s sensitivity recommendations;
- the exposure unit wavelength;
- the unit’s optical design;
- and actual exposure-test results.
This is especially important when replacing an older metal-halide or fluorescent system with LED equipment.
The old exposure time cannot simply be converted by a universal multiplier.
7. Light Intensity Affects UV Exposure Time
If two systems produce different levels of effective UV energy at the screen surface, they will normally require different exposure times.
A stronger usable UV output can reach the required exposure dose faster.
A weaker source generally requires longer.
However, more power is not automatically equal to better stencil quality.
Exposure quality also depends on:
- wavelength;
- light direction;
- uniformity;
- film contact;
- and image resolution.
A machine that exposes extremely fast but produces poor contact or uncontrolled light scatter may not deliver the stencil quality required for fine artwork.
The goal is therefore:
correct cure + required resolution + repeatability
rather than simply:
shortest exposure time possible.
8. Lamp Distance Can Change Exposure Time
Lamp distance matters especially with traditional point-source exposure arrangements.
Chromaline provides the following relationship for adjusting exposure when the lamp-to-screen distance changes:
New Exposure Time = Old Exposure Time × (New Distance² ÷ Old Distance²)
For example, Chromaline illustrates that if a point-source exposure requires 3 minutes at a distance of 1 meter, moving the source to 2 meters would theoretically require approximately four times the exposure, or 12 minutes.
This follows the inverse-square relationship for light intensity.
However, do not blindly apply this calculation to every modern flat LED exposure bed.
Integrated LED arrays have different geometry from a single point source, and their working distance is normally fixed by the equipment design.
For those systems, use the manufacturer’s configuration and exposure testing rather than changing lamp distance.
9. Film Positive Density Can Look Like an Exposure-Time Problem
Sometimes the exposure timer is correct, but the stencil still loses fine detail.
The film positive may be the real problem.
The dark artwork areas need sufficient optical density to prevent too much UV energy from reaching the image areas.
If the printed black is weak or semi-transparent, light can partially expose the emulsion beneath the artwork.
Typical symptoms include:
- fine lines that will not wash open;
- small text becoming blocked;
- missing halftone dots;
- stubborn image areas;
- and apparent “overexposure.”
Chromaline’s troubleshooting guidance specifically recommends checking positive density and image quality when a stencil becomes difficult to wash out.
Before reducing exposure time dramatically, inspect the film positive.
Otherwise you may correct the wrong variable.
10. Film-to-Screen Contact Also Affects the Result
Poor contact is another problem that is frequently mistaken for incorrect exposure time.
If the film positive is not held closely against the coated screen, light can spread around the artwork edges.
The screen may then show:
- fuzzy edges;
- sawtooth detail;
- reduced sharpness;
- poor small-text reproduction;
- or halftone loss.
Chromaline recommends checking complete vacuum-frame contact when poor image definition or undercutting occurs.
A vacuum exposure unit helps keep the positive and stencil in close contact throughout the exposure cycle.
This is especially valuable for:
- fine lines;
- small lettering;
- halftones;
- high-resolution graphics;
- and repeat production.
If exposure time tests correctly but image edges remain soft, investigate contact before changing the timer.
11. Screen Dryness Can Change Exposure Behavior
A coated screen should be completely dry before exposure.
Residual moisture can affect stencil hardening and make results less repeatable.
Chromaline recommends controlled drying and identifies incomplete drying and excessive moisture as possible contributors to weak stencil performance. Its current troubleshooting information recommends a dehumidified drying environment and notes that screen-room moisture should be controlled.
This is why an exposure setting that works in a dry screen room may become less predictable if screens are exposed before they have fully dried.
Instead of trying to compensate with longer exposure time, correct the drying process first.
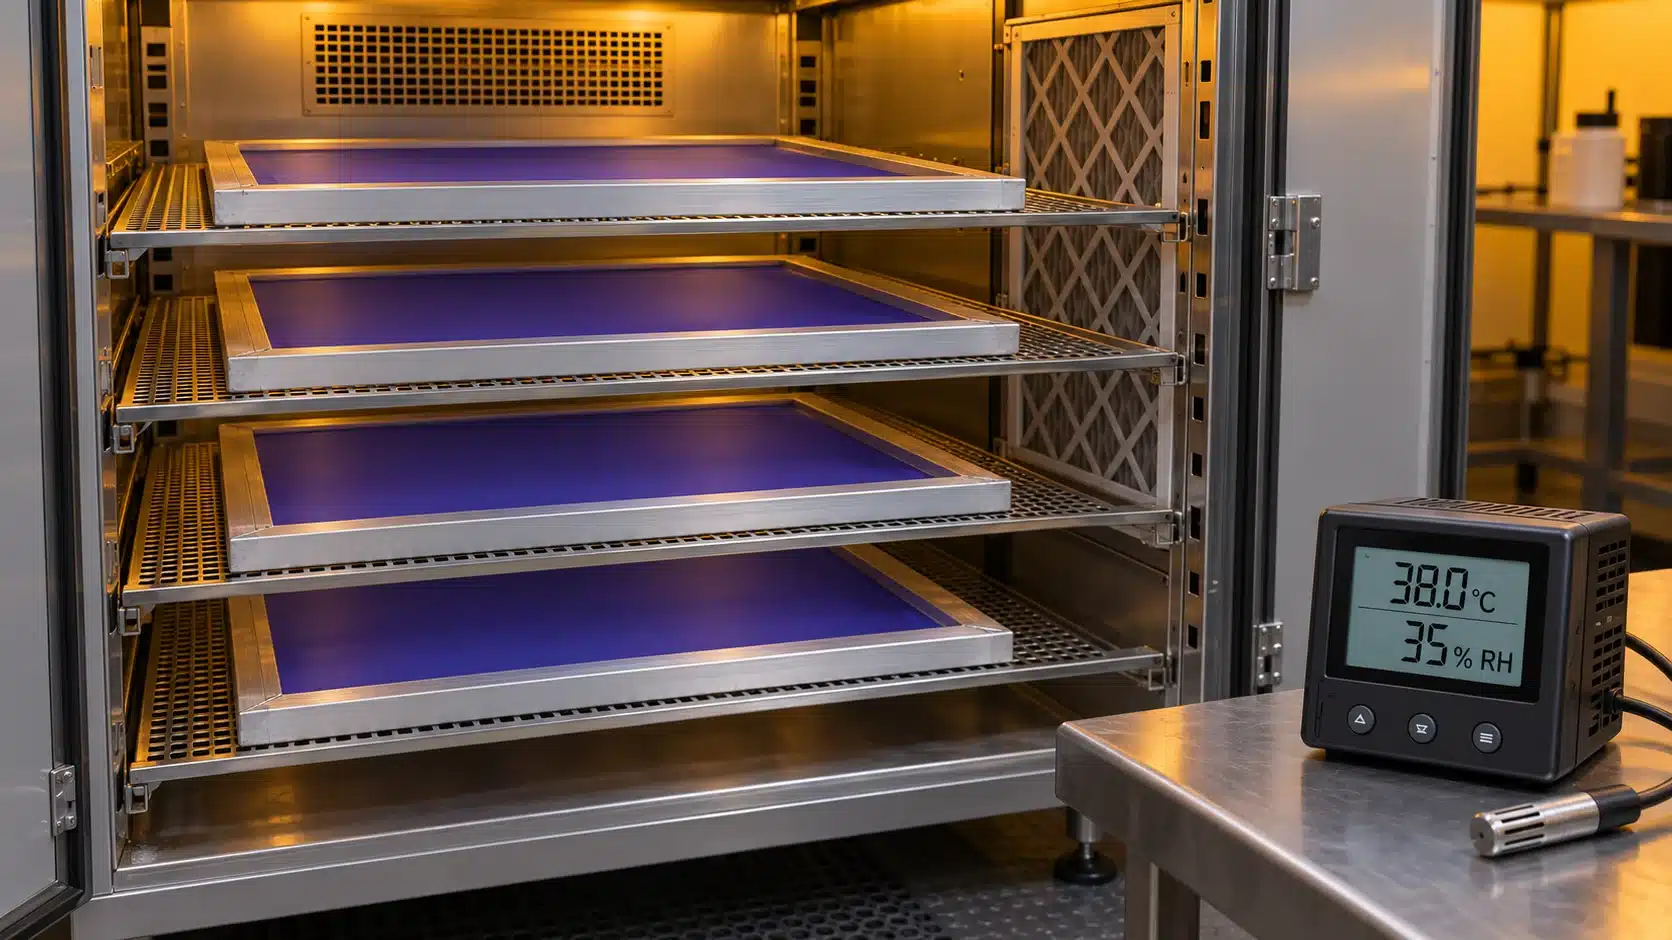
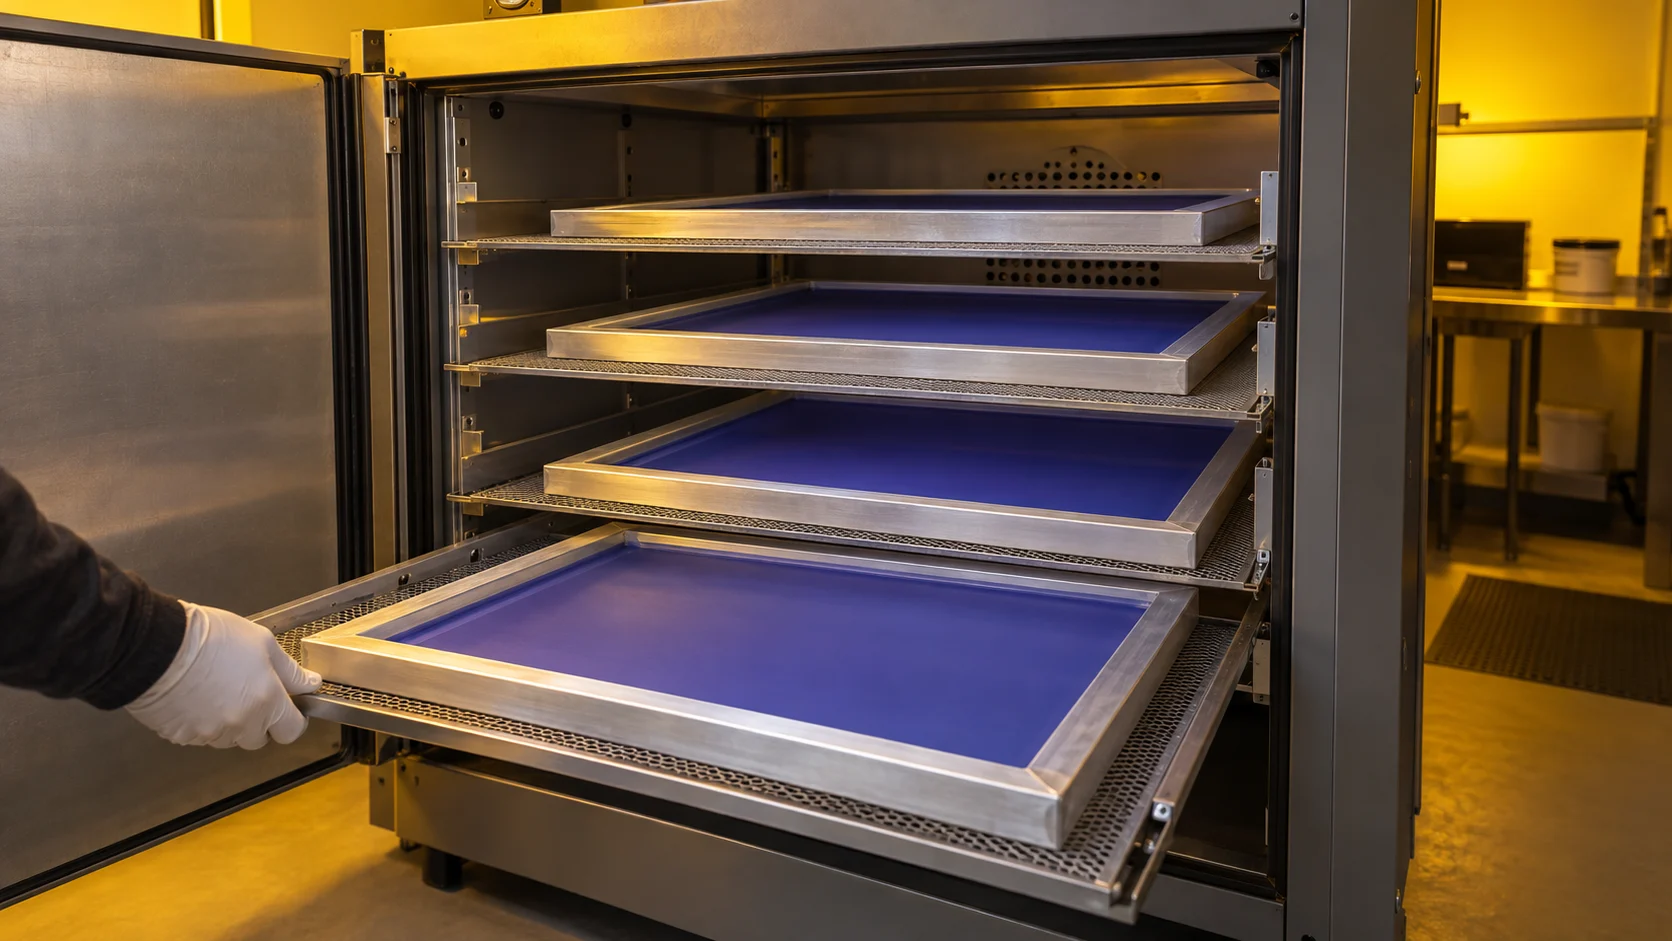
A dedicated screen printing drying cabinet can be useful where production volume or environmental humidity makes controlled drying important.
12. Lamp Age and Equipment Condition Matter
Exposure settings can drift over time when the effective output of the exposure source changes.
Chromaline recommends keeping exposure glass and light sources clean and periodically checking UV bulbs because contamination and bulb degradation can reduce effective exposure.
If a screen that previously exposed correctly at the same setting begins showing signs of underexposure, check:
- lamp condition;
- lamp output;
- dirty exposure glass;
- electrical condition;
- vacuum/contact;
- and process changes.
Do not assume the emulsion is automatically at fault.
How to Determine the Correct Screen Printing Exposure Time
The most reliable approach is to combine:
manufacturer recommendation + exposure test + production records
Here is a practical method.
Step 1: Start with the Emulsion Technical Data
Find the exposure recommendation for the specific emulsion.
Record:
- emulsion name;
- sensitizer type;
- mesh used for the test;
- coating method;
- exposure light source;
- and recommended starting time.
Do not treat the published time as your final number.
Ulano explicitly recommends using the technical data as the starting point and then testing the actual screen.
Step 2: Standardize the Screen
Before running an exposure test, control as many variables as possible.
Use a screen with:
- known mesh count;
- consistent mesh tension;
- standard coating sequence;
- fully dried emulsion;
- clean film;
- good film density;
- and complete contact.
If you test a poorly dried or unevenly coated screen, the resulting exposure time will not be a reliable production standard.
Step 3: Use a Screen Printing Exposure Calculator
An exposure calculator allows several exposure levels to be evaluated on one screen.
This is much more efficient than exposing a complete screen, washing it out, guessing another time, recoating, and starting again.
Chromaline’s Dual Exposure Calculator is designed to evaluate exposure time, line resolution, print quality, and halftone reproduction.
Its test methods illustrate the general principle used by many exposure calculators:
create multiple exposure levels → develop the screen → compare the results → select the best exposure.
How an Exposure Calculator Works
A calculator usually contains different density filters or test targets.
Each area effectively receives a different amount of UV exposure.
After washout, you can compare:
- stencil hardness;
- line resolution;
- small detail;
- halftones;
- and washout behavior.
You then choose the exposure level that provides the best balance between:
full stencil cure
and
required image detail.
This is much more reliable than judging the timer alone.
Chromaline One-Step Exposure Calculator Method
Chromaline’s current instructions provide a useful example.
For its one-step test, the suggested process is:
- Place the calculator against the coated screen.
- Use approximately twice your estimated correct exposure as the test exposure.
- Develop and dry the screen.
- Compare the line-resolution targets.
- Identify the best target.
- Multiply the best target number by the test exposure time.
- Confirm the calculated exposure on another screen.
For example, using Chromaline’s own illustrative method:
If the test exposure is:
120 seconds
and the best target is:
0.50
then:
120 × 0.50 = 60 seconds
The calculated working exposure would therefore be 60 seconds for that tested setup.
This is an example of the calculator method, not a recommendation that your screen should be exposed for 60 seconds.
Step-Test Method for Fast Photopolymer Emulsions
Chromaline also describes a stepped exposure method suitable for evaluating photopolymer emulsions.
An example test might create areas exposed for:
- 30 seconds;
- 40 seconds;
- 50 seconds;
- 60 seconds;
- and 70 seconds.
After developing the screen, you compare the test areas and select the one giving the best stencil result.
Again, the numbers are only an example.
Your actual test range may be very different.
The real value is the method:
test multiple exposure levels on one screen instead of repeatedly guessing.
How to Use a Stouffer 21 Step Scale
Another professional exposure tool is the Stouffer 21 Step Transmission Gray Scale.
Ulano recommends it for evaluating stencil hardness.
The scale contains 21 different opacity levels, allowing multiple effective exposure levels to be evaluated in a single test.
For direct emulsions and direct films, Ulano uses a Solid Step 7 as its minimum exposure-hardness target. It also explains that increasing exposure generally improves stencil durability, while insufficient exposure leaves the stencil weaker.
Ulano additionally provides a useful mathematical relationship:
one Stouffer step ≈ 1.414× exposure
Therefore:
- 1 step ≈ 1.414×;
- 2 steps ≈ 2×;
- 3 steps ≈ 2.83×;
- 4 steps ≈ 4×.
This provides a controlled way to adjust an exposure after evaluating the step scale.
Always follow the instructions of the specific scale or calculator you are actually using.
How to Tell If Exposure Time Is Too Short
An underexposed screen has not received enough effective UV energy.
Common symptoms include:
- soft or slimy emulsion during washout;
- stencil color transferring to your fingers;
- stencil washing away unexpectedly;
- weak image edges;
- poor stencil durability;
- premature breakdown during printing;
- and difficulty curing the stencil fully through its depth.
Chromaline specifically identifies a slimy squeegee-side stencil during washout as an indication of underexposure, while Ulano notes that insufficient UV energy prevents proper stencil crosslinking.
If you suspect underexposure, do not immediately double the timer.
First check:
- Was the screen fully dry?
- Did the emulsion or coating thickness change?
- Did the mesh change?
- Is the exposure glass clean?
- Is the lamp output normal?
- Is the exposure test still valid?
Then retest.
How to Tell If Exposure Time Is Too Long
An overexposed screen receives enough unwanted light in image areas to make development more difficult.
Possible symptoms include:
- fine lines that do not wash open;
- small text filling in;
- missing halftones;
- closed image areas;
- reduced detail;
- and difficult washout.
Chromaline recommends shortening exposure and running an exposure test when overexposure is identified.
However, remember that several other problems can imitate overexposure.
Check:
- film density;
- film contact;
- stray light;
- and image quality.
A screen that will not wash out is not automatically proof that the timer is too long.
Exposure-Time Troubleshooting Chart
| Problem | Possible Cause | What to Check |
|---|---|---|
| Emulsion washes away | Exposure too short | Run exposure test |
| Squeegee side feels slimy | Underexposure | Increase tested UV dose |
| Fine lines won’t open | Excess exposure or poor film | Check calculator and film density |
| Halftones disappear | Exposure/contact/film issue | Check all three |
| Fuzzy stencil edges | Poor positive contact | Check vacuum |
| Same time gives different results | Process inconsistency | Coating, drying, mesh, lamp |
| Exposure time keeps getting longer | Light output may be falling | Lamp and glass condition |
| Stencil is weak on press | Incomplete cure | Exposure test and dryness |
| High-detail jobs lose resolution | Light scatter or contact | Mesh, positive, vacuum, light geometry |
The important principle is:
do not adjust five variables at once.
Change one variable, run the test, and record the result.
When Should You Recalculate Exposure Time?
You do not need to run a completely new exposure test before every screen if your production process is stable.
You should, however, retest whenever a meaningful variable changes.
Chromaline recommends renewed exposure testing when changes occur in areas such as mesh, coating, film density, light source, or environmental conditions.
A practical retesting checklist includes:
Retest when changing the emulsion
Different emulsion systems have different sensitivity.
Retest when changing mesh
Especially when mesh count, thread diameter, or mesh color changes substantially.
Retest when changing coating
More or less emulsion changes the stencil thickness.
Retest when changing exposure units
Even LED-to-LED changes should be tested.
Retest when replacing the light source
New output may differ from the old lamp.
Retest when changing film-positive production
Printer, ink, film, RIP settings, or image density may change.
Retest after major environmental changes
Especially when screen drying conditions are affected.
Retest when quality suddenly changes
A previously reliable timer setting producing weak or blocked stencils is a sign to investigate the process.
Create Your Own Screen Exposure Time Chart
For a commercial screen room, one of the best improvements is to stop relying on memory.
Create your own exposure database.
For example:
| ID | Mesh | Emulsion | Coating | Exposure Unit | Film | Exposure |
|---|---|---|---|---|---|---|
| A01 | 110 | Emulsion A | 1+1 | LED A | Film A | Tested value |
| A02 | 156 | Emulsion A | 1+1 | LED A | Film A | Tested value |
| A03 | 200 | Emulsion A | 1+1 | LED A | Film A | Tested value |
| B01 | 156 | Emulsion B | 1+1 | LED A | Film A | Tested value |
| B02 | 156 | Emulsion B | 2+2 | LED A | Film A | Tested value |
Then record the result:
- stencil cure;
- washout;
- fine detail;
- halftone quality;
- and durability.
After enough controlled testing, operators no longer need to ask:
“How many seconds did we use last time?”
They can retrieve the approved process directly.
How to Reduce Exposure Time Without Sacrificing Quality
Faster exposure can improve screen-room productivity, but reducing seconds should not be the only goal.
Focus on reducing unnecessary process time while maintaining stencil quality.
Useful improvements include:
Use a Light Source Appropriate for the Emulsion
Targeted LED exposure systems can provide efficient output where the wavelength matches the stencil chemistry. SAATI, for example, designs its current Pro-Lite systems around targeted 405 nm LED exposure.
Keep the Exposure Glass Clean
Dust and contamination block useful UV energy and can create defects. Chromaline recommends routine cleaning of exposure glass and light sources.
Improve Film Contact
A vacuum system helps maintain consistent film-to-stencil contact, particularly on fine-detail work.
Standardize Coating
A repeatable stencil thickness produces more repeatable exposure requirements.
Dry Screens Properly
Do not use extra exposure time to compensate for an uncontrolled drying process.
Maintain Equipment
Monitor lamp output and equipment condition instead of waiting until stencil failures become obvious.
Record Approved Settings
A tested 25-second process repeated correctly is better than randomly choosing 20, 30, and 40 seconds for successive screens.
Choosing an Exposure Unit for More Repeatable Exposure Time
A stable exposure process depends partly on the exposure equipment.
When evaluating a screen printing exposure unit, consider:
- exposure-area size;
- UV light source;
- wavelength;
- light uniformity;
- vacuum performance;
- timer control;
- frame compatibility;
- operating voltage;
- and expected production volume.
Hanze’s current exposure category includes cold-light equipment and LED exposure units in several working sizes, including 20 × 24 inch, 24 × 32 inch, and 40 × 48 inch LED models.
For example, Hanze’s current 20 × 24 inch LED exposure machine lists a 0–999 second timer range, UV LED light source, and vacuum system.
The machine timer gives operators repeatable control over the selected exposure duration, but the correct timer value must still be established using the actual mesh, emulsion, coating, and film combination.
An exposure unit does not eliminate testing.
It helps make the tested process repeatable.
Frequently Asked Questions About Screen Printing Exposure Time
What is the average screen printing exposure time?
There is no useful universal average. Exposure can range significantly depending on emulsion sensitivity, stencil thickness, light source, wavelength, mesh, and equipment. Use the emulsion manufacturer’s recommendation as a starting point and verify it with an exposure test.
How long should I expose emulsion under an LED light?
There is no universal LED exposure time. Two LED units may have different wavelengths, output levels, optical designs, and working distances. Test the specific LED unit with your actual emulsion and screen.
Does LED expose emulsion faster?
Many purpose-built UV LED exposure systems are designed for fast screen exposure. M&R, for example, states that its Starlight LED systems reduce exposure time compared with metal-halide technology. Actual exposure speed still depends on the equipment and stencil system.
Is LED exposure the same as UV exposure?
LED screen exposure normally uses LEDs emitting UV or near-UV wavelengths, so the stencil is still being cured by light within the photosensitive range. “LED” describes the light-generation technology, while “UV” describes the relevant part of the spectrum.
Does higher mesh count need longer exposure?
Not automatically. Mesh count affects coating deposit, thread structure, and light behavior, but the direction and size of the required adjustment depend on the complete mesh/emulsion/coating combination. Run an exposure test rather than using a fixed mesh multiplier.
Does yellow mesh need longer exposure than white mesh?
Often the change in mesh color requires a new exposure setting because dyed mesh alters light-scattering behavior. Chromaline’s troubleshooting material notes that dyed/tinted fabrics can require increased exposure, but the actual increase should be determined by testing rather than a fixed universal percentage.
Can I use the same exposure time with a different emulsion?
Do not assume so. Different emulsions can have significantly different photosensitivity. Check the new emulsion’s technical data and run another exposure test.
What is a screen printing exposure calculator?
It is a test tool that places several effective exposure levels and resolution targets onto one test screen. After development, the screen maker compares the results and calculates or selects the exposure that provides the best balance of stencil cure and image resolution.
How do I know if my screen is underexposed?
Soft or slimy stencil surfaces, unexpected washout, weak edges, and premature stencil breakdown are common indicators. Chromaline identifies a slimy squeegee-side surface during washout as a typical underexposure sign.
Why will my image not wash out even when the exposure time seems correct?
Check the film positive, film density, contact, and stray light. Chromaline specifically lists poor positive quality, excessive exposure, and contact problems among the possible causes of difficult washout.
Should I use a timer or a light integrator?
A timer is practical when the exposure system delivers stable output. In systems where lamp intensity changes during operation or over life, monitoring actual exposure energy can improve consistency. Whichever method is used, the final setting should be validated by an exposure test rather than time alone.
Final Thoughts
Finding the correct screen printing exposure time is not about discovering a magic number.
It is about creating a controlled relationship between:
emulsion + coating + mesh + film + UV light + exposure unit + process conditions.
Start with your emulsion manufacturer’s technical guidance.
Then use an exposure calculator or step scale to establish the actual exposure for your setup.
Once the result is correct, record it.
If the emulsion, mesh, coating, film, light source, or major process conditions change, test again.
That approach gives you something far more valuable than somebody else’s exposure chart:
a repeatable exposure standard built around your own screen-making process.
For a complete explanation of positioning the film, exposing the coated screen, developing the stencil, and identifying common exposure problems, see our guide How to Expose a Screen for Screen Printing.
If you are building or upgrading a screen-making department, a stable screen printing exposure unit also makes it easier to reproduce approved exposure settings across repeated production screens. Hanze supplies LED and cold-light exposure equipment for different screen sizes and prepress workflows.