Why Your Spot Cleaning Gun Leaves Rings
Why Your Spot Cleaning Gun Leaves Rings
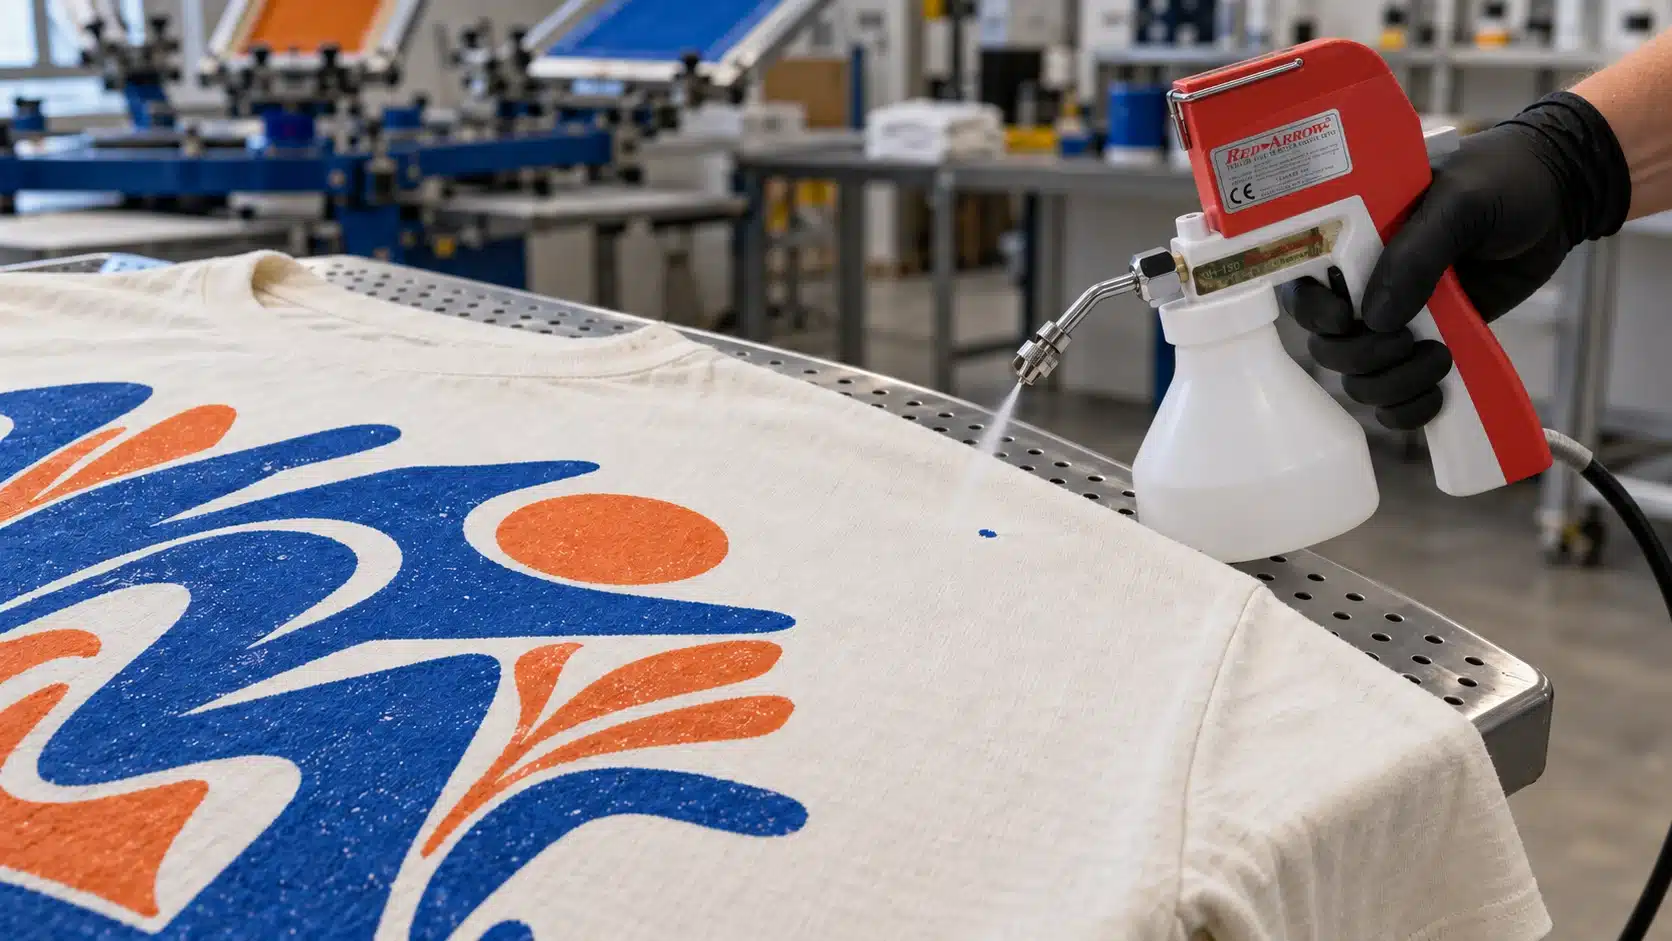
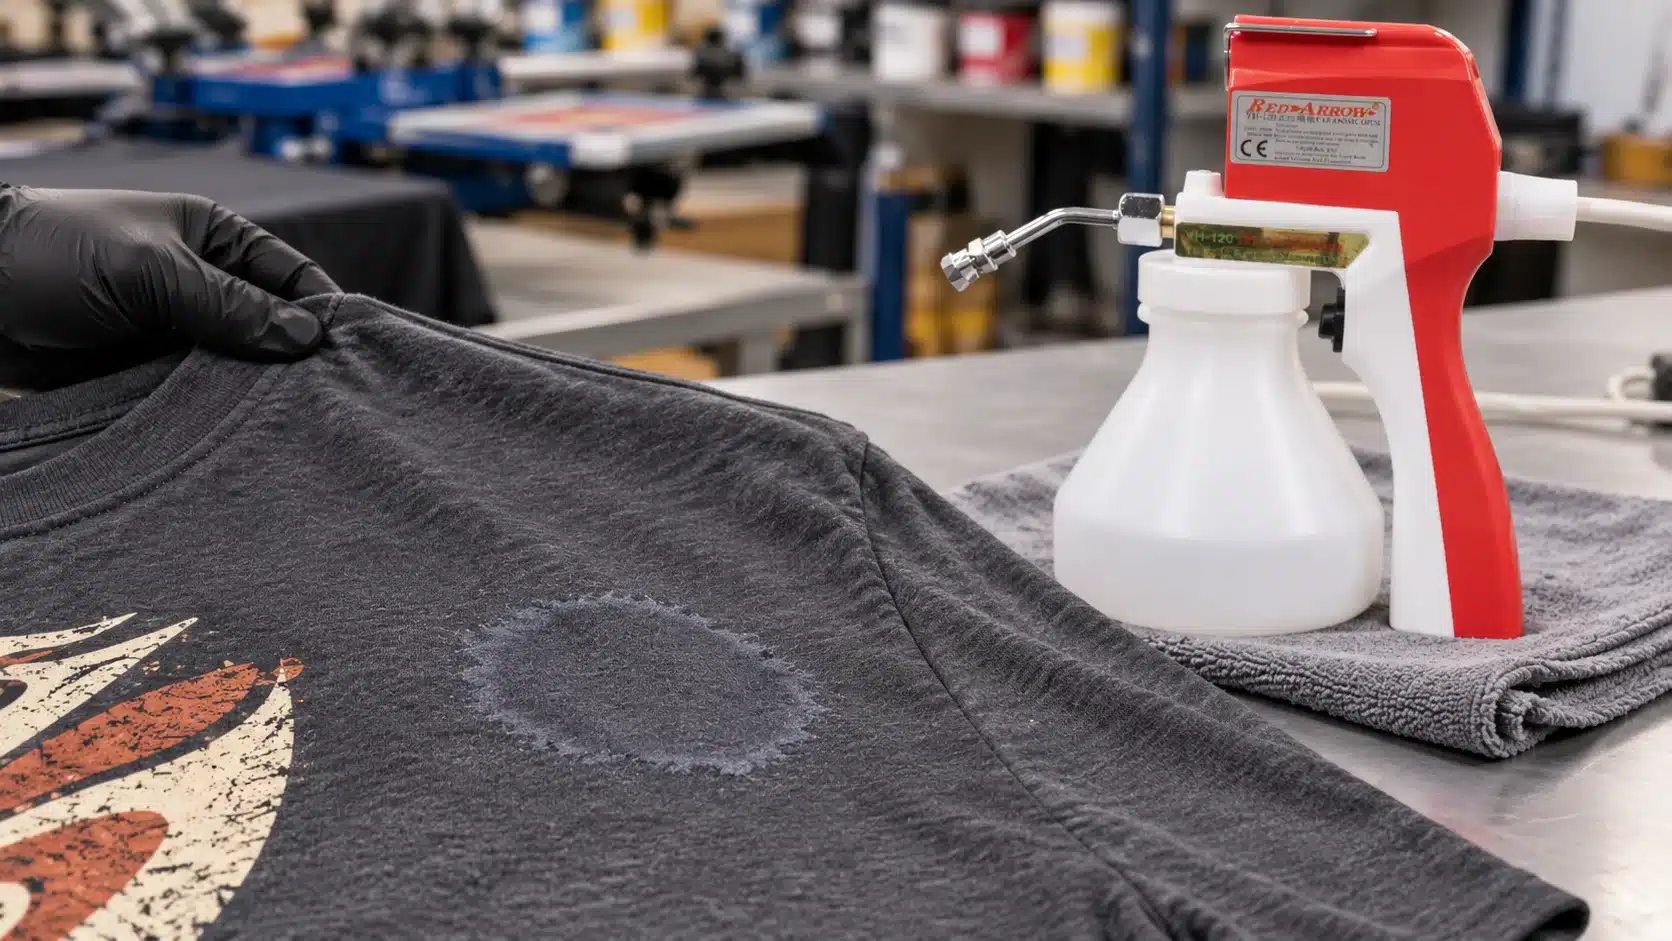
The unwanted ink spot disappears, but a larger outline remains. On a white shirt, it may look like a faint dirty circle. On a dark garment, it may appear as a pale halo or a patch with a different sheen.
Adding more cleaning fluid can seem like the obvious solution. Sometimes further treatment helps. Sometimes it makes the damage more visible.
A spot cleaning gun can leave rings when cleaning fluid carries ink, soil, or fabric finishing materials toward the edge of the wet area. However, a similar-looking mark can also come from dye loss, redistributed pigment, or damaged surface fibers.
Before spraying again, let the garment dry using the approved procedure and examine what remains. The next step depends on whether you are looking at removable contamination or a change to the garment itself.
Why Do Rings Form After Spot Cleaning?
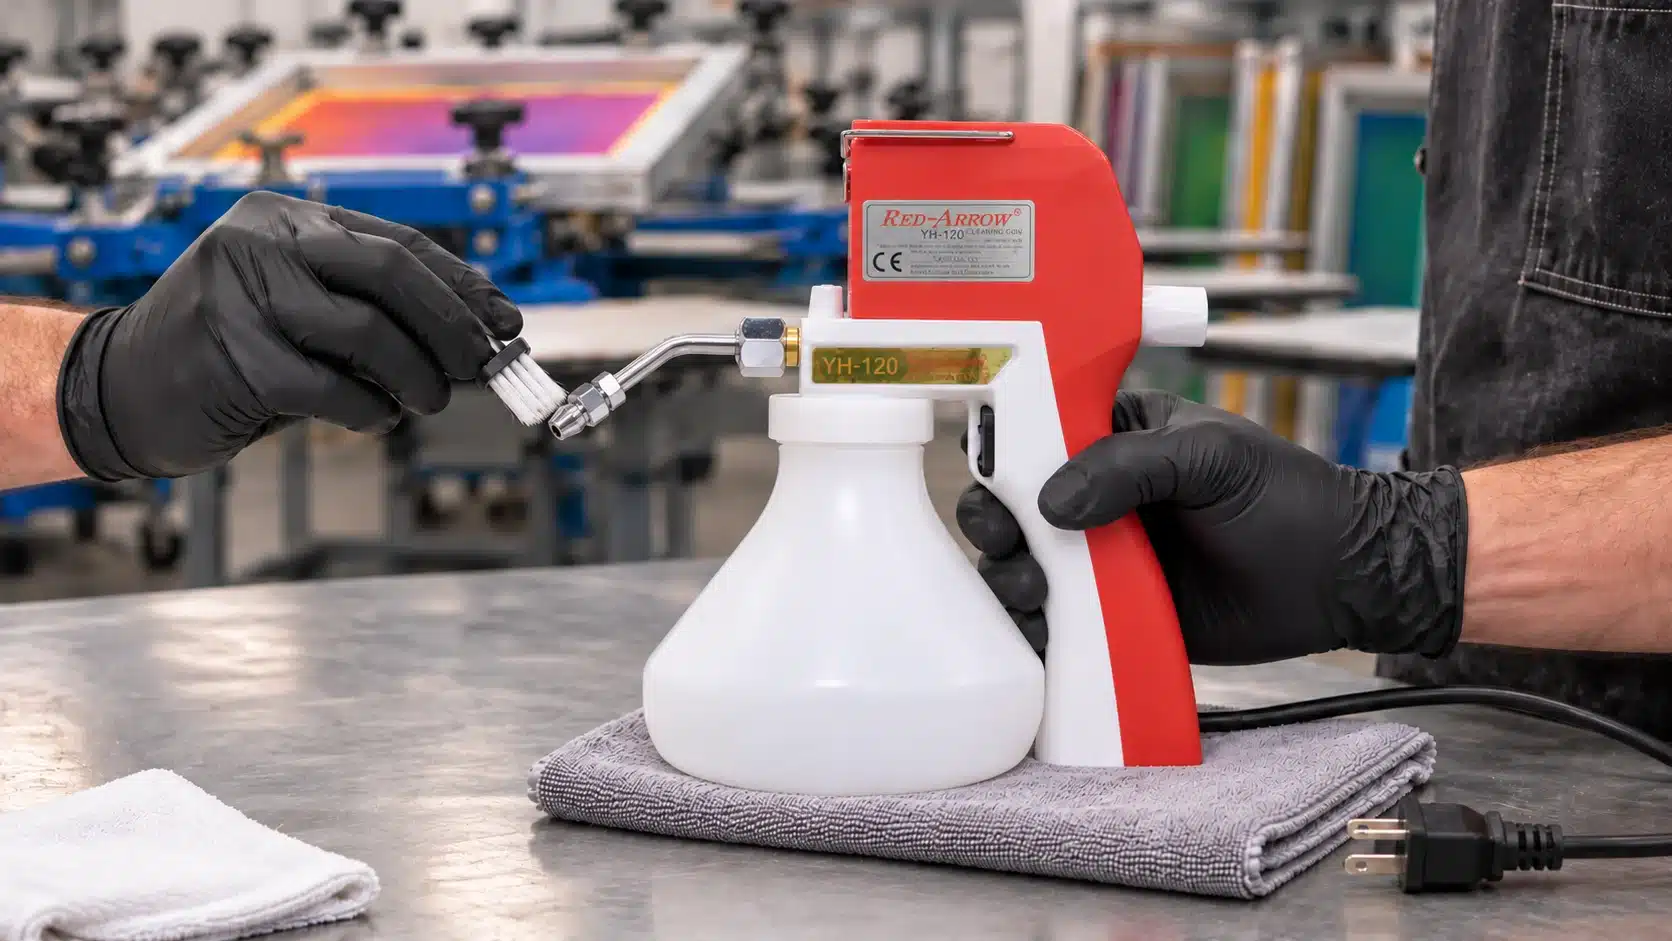
A textile cleaning gun delivers fluid through a small area of fabric. Successful cleaning requires the unwanted material to leave that area and be collected by a clean backing or suitable extraction system.
Problems develop when contaminated fluid spreads sideways instead.
As the treated area dries, material carried by the fluid can remain near its outer boundary. Tekmar describes a cleaning ring as a concentration of ink, dirt, or fabric finishing chemicals at the edge of the wet area. Its guidance emphasizes limiting sideways chemical spread.
That explains a common pattern: the original ink dot becomes less visible, while an outline appears farther away.
However, “halo” describes the appearance, not the cause. A pale area does not automatically contain cleaning residue. Continuing to spray a damaged or discolored panel will not necessarily restore it.
First, Identify the Mark You Are Seeing
Inspect the garment when it is completely dry. Wet fabric can look darker and temporarily hide differences that become visible later.
Use consistent lighting and compare the affected area with an untreated section of the same panel.
| Appearance after drying | Possible explanation | Recommended response |
|---|---|---|
| A darker outline around the cleaned area | Redistributed soil, ink, or finishing material | Check the backing, fluid, and extraction before testing further treatment |
| A colored shadow similar to the removed ink | Remaining pigment or ink spread through the fabric | Reassess the ink and cleaning-fluid combination on a sample |
| A lighter patch with otherwise normal texture | Possible dye loss, finish change, or localized removal of background soil | Stop and investigate; appearance alone cannot confirm the cause |
| A fuzzy, rough, shiny, or distorted patch | Possible fiber damage or surface alteration | Stop spraying and compare with an untreated sample |
| A mark visible only while damp | Possibly temporary wetting contrast | Allow complete approved drying before deciding whether treatment is needed |
These observations guide the investigation. They are not laboratory tests, and more than one problem can occur in the same area.
Residue Rings and Redistributed Soil
A residue ring often follows the edge of the wet patch. It may become clearer as the area dries.
Ask whether the backing was already dirty, whether the stain spread during cleaning, and whether fluid remained trapped beneath the fabric.
Do not assume the ring is entirely “solvent residue.” Material already present in the garment can move during treatment.
Remaining Ink or Pigment
A colored shadow may indicate that some contamination remains, even when the raised ink deposit is gone.
Compare its color with the original stain. Check whether the intended print was also exposed to the fluid, because softened decoration can become another source of contamination.
Avoid treating a broader colored patch as proof that stronger pressure is needed.
Dye Loss
A pale patch can result when the cleaning process affects the garment’s own dye.
The Drycleaning & Laundry Institute notes that some garment dyes are not colorfast to cleaning solvents or water. Localized color loss can therefore occur during cleaning, even when the garment initially appears suitable.
A cleaner cannot replace dye that has been removed. Additional treatment may enlarge the affected area.
Fiber Damage and Changes in Light Reflection
A fabric surface can look lighter because its texture has changed.
Raised fibers, abrasion, or distortion alter how the surface reflects light. DLI identifies rubbing wet fabric and using a spotting gun too close as potential causes of chafing in professional garment care. Its example concerns steam-air spotting, so it should not be treated as a pressure specification for electric textile guns.
Inspect the surface under angled light. A patch that changes appearance strongly with viewing direction deserves closer examination before any more chemical is applied.
Common Process Problems That Contribute to Rings
Too Much Fluid in One Area
A longer spray pass creates a larger wet zone. If the fluid cannot leave the fabric efficiently, it has more opportunity to carry contamination into surrounding yarns.
Use the least fluid required by the validated cleaning procedure. Pause to inspect progress instead of keeping the trigger pressed while waiting for the mark to disappear.
There is no universal number of seconds that works for every gun, fluid, fabric, and stain.
Dirty or Saturated Backing
Backing material should collect expelled contamination. Once it becomes loaded with ink or fluid, it can interfere with that purpose.
Check the backing between garments and reposition or replace it before treating another piece. Separate the garment layers so contamination cannot transfer to the opposite panel.
A clean towel can collect liquid, but it does not replace ventilation or a suitable extraction system.
Poor Support or Ineffective Extraction
Wrinkles, seams, and folded layers can obstruct the path through which the fluid should leave.
Position the affected panel smoothly over the approved support without stretching it tightly. If you use an extraction station, check that its working surface is clear and that it operates as specified.
The extraction equipment must be suitable for the cleaning chemical. An ordinary household vacuum is not an appropriate substitute for a solvent-compatible spotting system.
The Wrong Fluid for the Job
A product suitable for cleaning screens or equipment may be unsuitable for finished garments.
Check compatibility with:
• The cleaning gun.
• The stain or ink system.
• The garment’s fibers, dyes, and finishes.
• Any nearby print, transfer, adhesive, or trim.
Use the current technical data sheet and safety data sheet. Do not add an improvised thinner or mix cleaners in an attempt to make a ring disappear.
An Irregular Spray Pattern
A split stream, unexpected droplets, or unstable flow makes localized treatment harder to control.
Check the pattern in the designated test area before using the gun on a shirt. If it has changed, resolve the equipment problem first.
Do not compensate for an abnormal pattern by moving closer to the garment or repeatedly spraying the same spot.
How to Assess an Existing Ring Before Treating It Again
Step 1: Stop and Allow Complete Drying
Pause the repair and let the garment dry according to the cleaning product’s instructions.
Do not use a heat press, flash dryer, or heat gun to accelerate drying unless the chemical supplier explicitly approves that process.
Assessing a damp shirt can lead to unnecessary treatment. Texas A&M’s stain-removal guidance specifically notes that slight color changes may become apparent only after fabric dries.
Step 2: Compare Color, Texture, and Location
Look at the front and reverse of the panel.
Does the mark follow the wet boundary? Does it match the removed ink color? Is the surface rougher? Has the nearby intended print changed?
Photograph the dry garment under consistent lighting if you need to compare it with a later sample.
Step 3: Review What Happened During Cleaning
Record the fluid used, the ink condition, the spray setting, and the support arrangement.
Also note whether the problem affected one shirt or several.
A recurring outline across multiple garments may point toward a shared process variable. One affected garment still requires investigation; it does not prove an operator error or a defective blank.
Step 4: Validate the Proposed Correction on a Sample
Use a spare garment from the same batch whenever possible.
An unprinted test area helps assess the effect of fluid and spray action. A matching stained sample is more useful for evaluating the complete cleaning process.
Change one variable at a time. For example, replace contaminated backing before changing fluid, nozzle setting, and drying method together.
Let every sample dry before comparing results.
Step 5: Continue Only When the Evidence Supports It
Further cleaning may be reasonable when the sample confirms removable contamination and the revised procedure improves the result without changing the garment.
Stop when the area becomes lighter, rougher, larger, or less stable.
Do not keep spraying solely because a mark remains.
Can Feathering Remove a Spot Cleaning Ring?
Feathering creates a more gradual transition between a wet area and the surrounding dry fabric. Some cleaning systems include it in their application instructions.
CCI’s SR-2000 directions, for example, advise widening the mist and treating around the damp area when ringing occurs. That is product-specific guidance, not approval to use the fluid in every gun or on every garment.
Before applying a feathering technique, confirm that:
• The gun has the appropriate adjustable nozzle.
• The fluid is approved for the equipment.
• The manufacturer’s directions support the method.
• A matching garment sample passes the full process.
• The remaining mark is consistent with contamination rather than dye or fiber damage.
Feathering does not mean repeatedly soaking a larger circle. It also cannot restore missing dye or repair broken fibers.
If your gun has a fixed jet, do not improvise a mist setting by loosening nozzle components.
Cotton, Polyester, and Dark Garments Need Separate Tests
Fabric composition alone does not establish cleaning compatibility.
Two cotton shirts may use different dyes or finishes. Two polyester garments may differ in knit structure, surface treatment, and decoration.
For cotton, monitor how far the wet area spreads and inspect the surface for fuzzing.
For polyester and performance fabrics, compare sheen, texture, shape, and color after complete drying. Stretch fabrics also need support that does not distort the panel during treatment.
On black and other dark garments, examine the repair from several angles. A small change in color or surface reflection can remain noticeable even after the ink has been removed.
Use a sample from the actual production batch rather than assuming that an earlier test on a similar shirt remains valid.
How to Reduce Rings in Future Production
A repeatable process is more useful than a universal pressure recommendation.
Establish a Tested Starting Procedure
Document the gun model, approved fluid, nozzle, starting setting, fabric support, and inspection method.
For general garment positioning and operation, see our guide to using a screen printing spot cleaning gun.
Control the Condition of the Workstation
Keep the support surface and backing clean. Prevent lint and dirt from entering the fluid reservoir during refilling.
Check extraction equipment according to its maintenance instructions. Keep contaminated materials away from clean garments.
Inspect Before and After Drying
A shirt should not pass final inspection only because it looked clean while wet.
Judge the dry repair against the same appearance standard used for the rest of the order. Check the treated area, the reverse side, and nearby decoration.
Select Equipment for Control
When comparing HANZE textile spot cleaning guns, confirm the nozzle type, fluid compatibility, electrical requirements, and available replacement parts for the specific model.
An adjustable nozzle may support a broader range of validated techniques. It does not guarantee ring-free cleaning.
For procurement decisions, our spot cleaning gun buying guide covers the questions to review before ordering.
When Should You Stop Trying to Remove the Mark?
Use clear acceptance limits instead of an arbitrary number of spray passes.
| Observation | Decision |
|---|---|
| A tested correction reduces the ring without changing color or texture | Continue cautiously within the validated procedure |
| The wet zone expands but the dry result does not improve | Stop and reassess the process |
| The garment becomes lighter or its dye transfers during the compatibility test | Stop that cleaning method and investigate colorfastness |
| Fibers lift, the knit distorts, or the surface sheen changes | Stop; further cleaning may increase visible damage |
| The intended print softens, smears, or loses detail | Stop and assess the decoration separately |
| The repair exceeds the agreed time, cost, or quality limit | Remove the garment from routine rework and follow the shop’s disposition procedure |
A successful repair must meet the required garment quality. Removing the original ink spot is only one part of that assessment.
Frequently Asked Questions
Why does a ring appear only after the shirt dries?
Wet fabric can conceal differences in color and surface appearance. As the fluid evaporates, redistributed material or an underlying color change may become more visible. Always assess the fully dried garment.
Does “non-ringing” cleaning fluid guarantee that no halo will appear?
No. A product’s performance description does not establish compatibility with every garment, dye, finish, or cleaning setup. Follow the directions and validate the complete process on a sample.
Can a pale patch simply be cleaner fabric rather than dye loss?
Yes, localized removal of background soil can sometimes create a contrast. Texas A&M identifies that possibility in general garment stain removal. However, a pale patch should not be assumed harmless, particularly on a new production blank. Compare samples before deciding what caused it.
Will washing the shirt remove the ring?
It depends on the material causing the mark and the garment’s approved care process. Do not send a solvent-treated garment directly into a washer or dryer. Follow the chemical instructions first and assess laundering separately. Washing will not reliably reverse dye loss or fiber damage.
Can I cover a pale halo with another print?
Overprinting is a separate rework decision. The garment must first be assessed for chemical residue, surface condition, print adhesion, and customer approval. A new design should not conceal an unresolved quality problem.
Should I replace the gun if several shirts develop rings?
Not without diagnosis. First compare fluid, backing, extraction, garment batches, and spray consistency. Replacement may be justified if a confirmed equipment fault prevents controlled application, but rings alone do not establish that the gun has failed.