Spot Cleaning Gun Maintenance: Care and Storage
Spot Cleaning Gun Maintenance: Care and Storage
A spot cleaning gun may work well at the end of one shift and produce a weak or uneven stream the next morning. Before assuming the pump has failed, consider what happened between those two jobs: contaminated fluid, a blocked pickup filter, an unprotected nozzle, or an incomplete storage procedure can all affect performance.
Good spot cleaning gun maintenance starts with clean fluid, routine inspection, careful nozzle handling, and the correct shutdown procedure. Lubrication and internal servicing must follow the instructions for the exact model.
Not every textile cleaning gun needs the same oil, the same quantity, or the same maintenance interval. Some designs have a lubrication port. Others specify treatment through the fluid path or limit routine user servicing.
The practical approach is to establish a simple daily routine, document the model-specific requirements, and investigate changes before they affect customer garments.
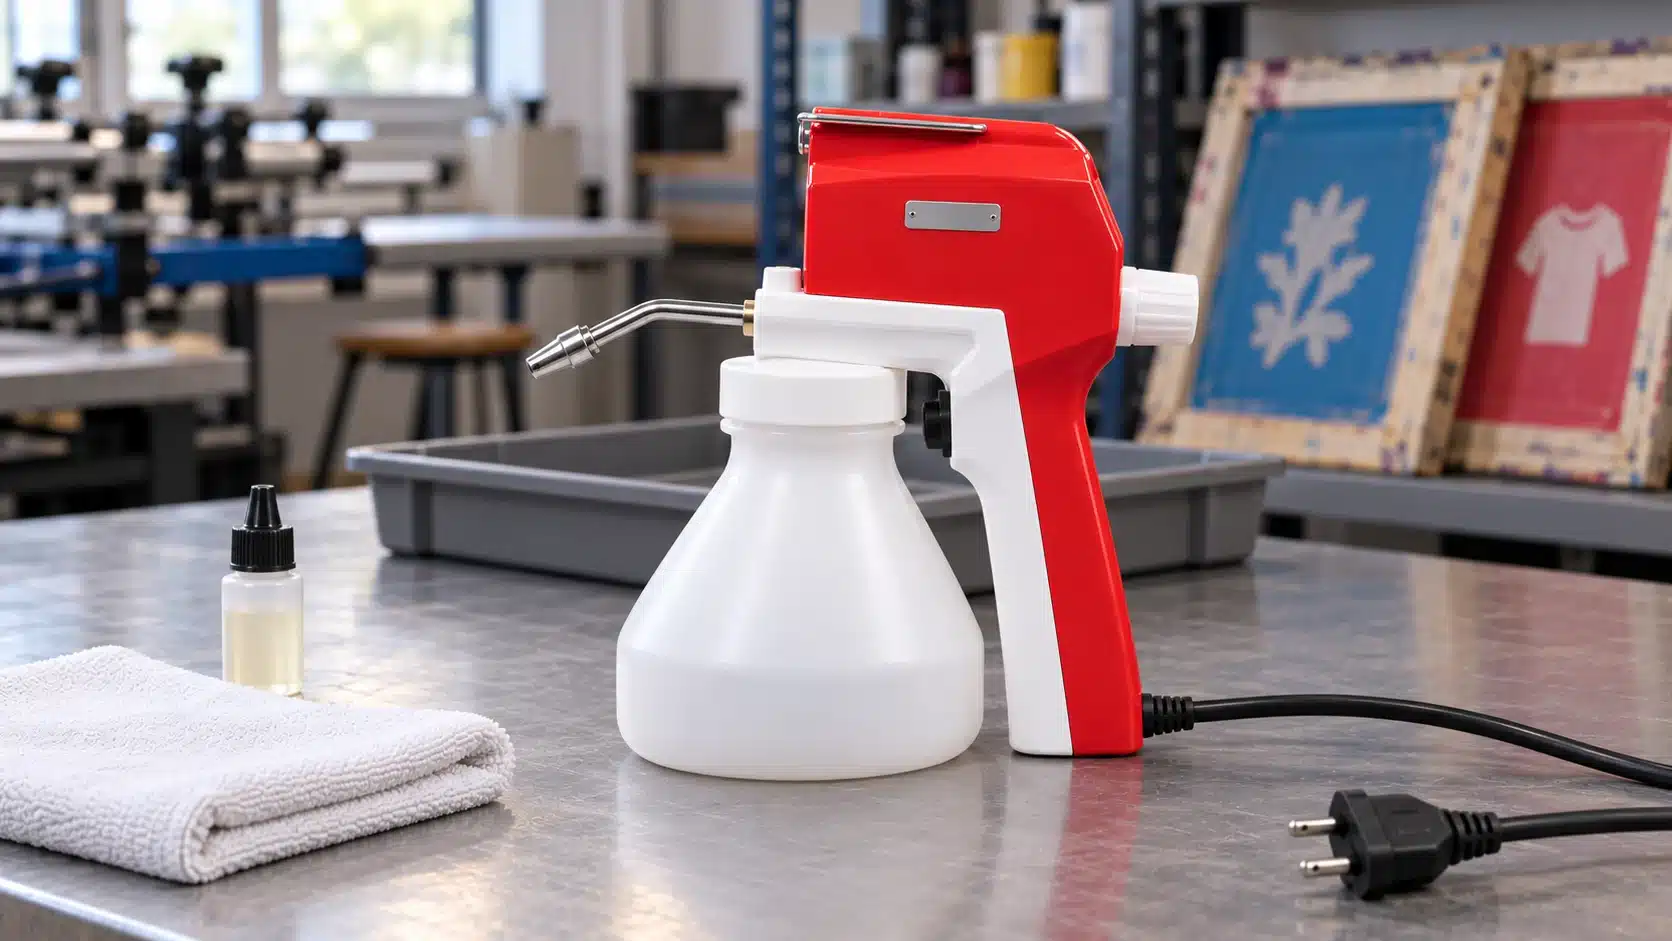
Identify Your Gun Before Choosing a Maintenance Method
Keep the operating manual and parts diagram with the equipment record. Confirm the model and production version rather than relying on the gun’s color or general appearance.
Before preparing a maintenance procedure, find answers to five questions:
• Which cleaning fluids are approved?
• Is there a designated lubrication point?
• What lubricant and quantity are specified?
• Which components may the operator remove?
• What preparation is required before extended storage?
These details matter because fluid compatibility, seal materials, nozzle assemblies, and pump construction can differ between similar-looking units.
Check the manual again after replacing a gun or introducing a new cleaning fluid. An established procedure for an older unit may not suit its replacement.
A Practical Spot Cleaning Gun Maintenance Schedule
Use the following table as a planning framework. The equipment manual determines the actual cleaning method, lubrication interval, and service requirements.
| When | What to check | Purpose |
|---|---|---|
| Before each shift | Cord, plug, housing, reservoir, approved fluid and visible connections | Identify damage or supply problems before operation |
| Before cleaning garments | Flow and spray pattern in the designated test area | Confirm consistent output before touching production goods |
| During refilling | Reservoir cleanliness, fluid condition and accessible pickup components | Keep contamination out of the fluid path |
| At the end of use | Approved shutdown, exterior cleaning and required lubrication | Prepare the gun for its next operating period |
| At documented inspection intervals | Nozzle, pickup tube, filter, reservoir seal and recurring performance changes | Identify wear and arrange timely replacement |
| Before extended storage | Fluid removal, preservation procedure, protective packing and service record | Reduce storage-related deterioration and restart problems |
Avoid assigning an arbitrary weekly pump disassembly or daily oil quantity to every gun. Increase inspection frequency when the workload or operating conditions justify it.
Daily Checks Before Using a Textile Cleaning Gun
Inspect the Electrical Components Externally
With the gun disconnected, examine the cord, plug, cable entry, and housing.
Look for cuts, exposed conductors, heat damage, cracks, or loose components. Keep the cable away from sharp bench edges and routes where carts or chairs can crush it.
Stop using a damaged unit. Tape around a damaged cable is not a substitute for an appropriate repair.
Confirm that the supply matches the voltage and frequency shown on the rating plate. Maintenance cannot compensate for an incorrect electrical supply.
Check the Reservoir and Cleaning Fluid
Inspect the reservoir before adding fluid. Remove visible lint or debris using the approved cleaning procedure.
Check that the reservoir is the correct part, its threads are intact, and its sealing components are properly positioned. Tighten it as instructed without forcing it.
Use clearly identified, approved cleaning fluid. Do not top up with an unknown product or mix old and new chemicals to avoid disposing of the remainder.
Test the Spray Pattern
After completing the external checks and reassembling the gun, test it in the designated ventilated collection area.
Compare the output with the gun’s normal behavior:
• Does fluid arrive consistently?
• Is the stream directed correctly?
• Does an adjustable nozzle produce its expected patterns?
• Are there unexpected droplets or leaks?
• Has the sound or vibration changed?
Keep customer garments away until the output is stable. A spray test is an equipment check; fabric compatibility still needs separate confirmation.
For garment setup and application, see our guide to using a screen printing spot cleaning gun.
How to Clean a Spot Cleaning Gun Nozzle
The nozzle controls where the cleaning fluid goes. A small obstruction or damaged outlet can make precise stain removal difficult.
Disconnect Before Inspection
Switch off and unplug the gun before adjustment, nozzle removal, or maintenance. Follow the model’s pressure-release instructions before loosening any fluid connection.
Never check an outlet with a finger or attempt to clear it while the gun is operating.
Keep the work area clean so small valve components, springs, or seals cannot become contaminated or lost.
Start with External Cleaning
Inspect the outside of the nozzle under good lighting.
Remove accessible lint or deposits using the tool and cleaning method specified for the model. Do not assume that a hard wire, sewing needle, or metal brush is suitable for a precision outlet.
Manufacturer instructions differ: some specify a dedicated cleaner, while others prohibit hard metal needles. The approved method for your exact nozzle takes precedence.
Do not drill, file, or enlarge the opening. A nozzle that has been mechanically altered may still pass liquid while producing an unsuitable stream.
Remove the Nozzle Only When Permitted
If removal is part of the user-maintenance procedure, follow the parts diagram and use the specified tools.
Keep components in order. Do not interchange similar-looking pieces between guns or assume that a valve assembly remains securely inside the nozzle after removal.
Use only an approved cleaning liquid. Soaking may be appropriate for certain removable components, but it is not a general instruction for the complete nozzle assembly, seals, plastic parts, or gun body.
Never immerse the electrical housing.
Inspect Before Reassembly
Look for damage to threads, sealing surfaces, the outlet, and any associated components.
If the nozzle remains distorted after approved cleaning, arrange assessment or replacement. Repeated cleaning will not restore a damaged opening.
Reassemble in the correct order, tighten as specified, and test for leaks and a stable pattern before returning to garment work.
Reservoir, Pickup Tube and Filter Care
A clean nozzle can still perform poorly if fluid cannot reach it reliably.
Keep Contamination Out During Refilling
Use a clean refilling area. Keep reservoir openings and fluid containers away from fabric lint, ink-contaminated tools, and dirty rags.
Close the fluid container after dispensing. Avoid pouring unused fluid back into the original supply unless the chemical-handling procedure explicitly permits it.
A funnel or dispensing attachment should also be compatible with the fluid and kept clean.
Inspect the Pickup Tube
Check accessible tubing for cracks, hardening, kinks, loose connections, or incorrect positioning.
The inlet should remain submerged in the normal operating position specified for the gun. A poorly positioned tube can interrupt supply even when liquid remains in the reservoir.
Replace damaged tubing with the correct material and dimensions. General-purpose tubing may look suitable without being compatible with the cleaning chemical.
Check the Inlet Filter, Where Fitted
Inspect the filter according to the manual.
Clean it only if it is designed to be cleaned. Replace it if damaged or if contamination cannot be removed by the approved method.
Do not remove the filter permanently to improve flow. If a filter blocks repeatedly, investigate the source of contamination rather than treating blockage as a normal operating condition.
Spot Cleaning Gun Lubrication: What Actually Depends on the Model?
Lubrication is one of the easiest maintenance tasks to copy incorrectly.
Some guns require oil at a designated port. Some specify lubricating accessible pump components during service. Others use a different preservation procedure before storage.
Do not add oil until you have confirmed the location, product, quantity, and interval for the exact unit.
Use the Specified Lubricant
“Machine oil” is not a complete compatibility specification.
Do not substitute penetrating oil, grease, silicone spray, compressor oil, or another workshop product without approval. Compatibility must include the pump, seals, fluid path, and intended garment-cleaning application.
If the manual is unclear, request written guidance from the supplier.
Apply Oil Only at the Identified Point
A screw opening, ventilation slot, rear adjustment mechanism, and lubrication port serve different purposes.
Do not pour oil into an opening because it appears to lead toward the pump. If the lubrication point is not clearly identified, stop and confirm it.
Where internal access is required, establish whether the work belongs to trained maintenance staff rather than the operator.
Do Not Increase the Quantity “For Protection”
Extra oil is not automatically beneficial. It can create excess residue and complicate the return to garment cleaning.
Use the stated quantity. If a procedure specifies a fluid-and-oil mixture, do not create your own ratio or transfer that instruction to another gun.
After preservation or lubrication through the fluid path, follow the approved return-to-service procedure. Never purge maintenance fluid onto saleable garments.
End-of-Shift Shutdown
A reliable shutdown routine prevents the next operator from inheriting an unknown equipment condition.
1. Finish at the Designated Workstation
Complete any powered flushing or preservation step only where the equipment and chemical instructions permit it.
Use appropriate ventilation, collection arrangements, and protective equipment selected for the fluid.
Do not discharge maintenance chemicals into open workshop air or onto the floor.
2. Disconnect and Remove Fluid as Instructed
Follow the specified sequence for shutdown, disconnection, pressure release, and reservoir handling.
Where draining is required, collect fluid in a compatible, identified container under the site’s chemical-handling procedure.
Do not keep the trigger pressed after fluid stops flowing in an attempt to “dry out” the pump. Any brief discharge step specified by a manual must remain within that model’s instructions; prolonged dry running is not a general storage method.
3. Clean the Exterior
Use a compatible method that does not allow liquid to enter the electrical housing.
Remove accessible dirt from the grip and reservoir exterior. Keep labels legible and avoid aggressive solvents that could affect the housing, cable, or identification plate.
4. Complete the Required Preservation Step
Apply lubrication or other preservation treatment only where the manual requires it.
Leave a record if the gun contains maintenance oil or requires a restart procedure before garment use.
5. Store the Gun Securely
Use the approved stand, hanger, or protective packing. Do not suspend the gun by its nozzle tube or electrical cable.
Protect the nozzle from impact and keep the cable free from tight bends or crushing.
How to Store a Spot Cleaning Gun for Longer Periods
Extended storage needs more preparation than leaving the gun overnight.
Follow the model-specific instructions for removing cleaning fluid and protecting internal components. Do not assume that leaving solvent in the reservoir prevents corrosion.
Before storage:
• Complete the specified cleaning and preservation procedure.
• Confirm that exterior surfaces and the storage area meet the equipment and chemical requirements.
• Protect the gun from dust, impact, and moisture.
• Use suitable packaging without trapping leaked fluid or residual vapors.
• Attach a service tag showing the date and work completed.
• Note any required checks before restarting.
Keep the unit in the position specified by its instructions. Original protective packing can help prevent transport damage when it remains clean and serviceable.
Restarting After Storage
Before reconnecting the gun, inspect the housing, cord, reservoir, accessible tubing, and nozzle.
Complete the approved procedure for removing preservation material and restoring the cleaning fluid supply. Allow only the priming time permitted by the manual.
Test flow and leaks in the designated area. Then test the cleaning process on a suitable sample garment.
If the gun hums without its normal movement or fails to establish flow, stop repeated attempts and arrange diagnosis.
Wear Parts: What to Inspect and When to Replace
Not every problem is caused by dirt. Cleaning cannot restore a cracked reservoir, damaged seal, or worn nozzle.
| Component | Signs that need attention | Next action |
|---|---|---|
| Nozzle and associated valve parts | Persistent split spray, distorted direction, visible damage or leakage | Confirm the correct assembly and arrange inspection or replacement |
| Pickup tube | Cracking, hardening, kinking or a loose connection | Replace with a confirmed compatible part |
| Inlet filter | Damage or contamination that approved cleaning cannot remove | Replace and investigate the contamination source |
| Reservoir and seal | Cracks, damaged threads, deformation or recurring leakage | Stop use and replace the affected component |
| Piston, cylinder and springs | Suspected internal wear, seizure or persistent delivery problems | Arrange model-specific service |
| Cord, switch and electrical components | Visible damage, intermittent operation, burning smell or protective-device trips | Remove from service for qualified assessment |
Do not replace parts on appearance alone. Confirm the part number, model version, nozzle arrangement, and chemical compatibility.
HANZE product information includes component references for items such as the pickup pipe, nozzle, piston, cylinder, and springs. Use the diagram for the actual unit when identifying a replacement.
Avoid These Maintenance Mistakes
Several shortcuts create more work than they save.
• Using a stronger solvent to clear a blockage without checking compatibility.
• Forcing a needle through the nozzle opening.
• Leaving dirty fluid in the reservoir and continually topping it up.
• Adding oil to an unidentified hole.
• Applying the same oil quantity to different models.
• Adjusting a factory-set mechanism to compensate for wear or contamination.
• Repeatedly operating a gun that hums but does not spray.
• Replacing internal parts without the correct diagram.
• Returning the gun to production without checking for leaks and contamination.
If routine cleaning does not restore normal performance, maintenance has reached the diagnosis stage. Stop changing settings at random.
Maintenance or Professional Repair?
Operators can usually perform the accessible checks and cleaning tasks specifically described in the manual.
Internal electrical repairs, seized pump components, damaged pressure parts, and unexplained recurring faults need an appropriate service assessment.
Remove the gun from use if it leaks near electrical components, develops abnormal heat, shows cable damage, or repeatedly trips a protective device.
When requesting help, provide the model, serial number if available, fluid name, symptom, storage history, and maintenance already performed. Clear photographs of the rating plate and affected part are more useful than a request for a “universal cleaning gun spare.”
Build a Maintenance Record That Helps Production
A short record is enough to reveal repeat problems.
Record the date, gun identification, fluid used, inspection findings, work completed, and replaced part numbers. Add the operator or technician’s name so questions can be resolved later.
For workshops using several guns, keep separate records. Similar appearance makes it easy to confuse a recently serviced unit with one awaiting repair.
When selecting equipment from HANZE’s textile cleaning gun range, review maintenance access and replacement-part availability alongside operating performance. Our spot cleaning gun buying guide covers the wider purchasing considerations.
Frequently Asked Questions
Can two identical-looking guns use different maintenance procedures?
Yes. Production revisions, electrical versions, seals, and pump components may differ. Match the procedure to the model and version rather than transferring instructions based on appearance.
Should I keep a spare nozzle ready?
A confirmed compatible spare can reduce downtime where the gun is important to production. Store it clean and protected, with its part number and associated components identified.
Can I use thread tape to stop a leak?
Only if the equipment instructions specifically permit it at that connection. Some joints seal through a washer or another designed surface. Added tape may interfere with assembly or introduce contamination.
What if the lubricant is not identified in the manual?
Ask the supplier to confirm the lubricant specification, application point, quantity, and interval. “Any oil” is not an adequate maintenance instruction.
Does a maintenance-free gun need no attention?
No. That description does not remove the need for external inspection, approved fluid, nozzle protection, leak checks, or correct storage. Follow the model’s documentation to understand which routine tasks are required.
Can a maintenance test replace a garment test?
No. A stable spray confirms part of the equipment’s condition. It does not establish that a particular cleaning fluid and application method are suitable for the garment, dye, finish, or decoration.