Screen Printing Frame Size Guide: Dimensions and Print Area
Screen Printing Frame Size Guide: Dimensions and Print Area
Choosing a screen printing frame size is not simply a matter of fitting the artwork inside the frame. The frame must also fit the press, clamps, exposure unit, drying cabinet, washout booth and handling system. Inside the frame, there must be enough working room for the stencil, registration marks, ink and the full squeegee or flood-bar stroke.
For most rectangular frames, a size such as 20 × 24 inches refers to the outside dimensions. The inside opening is smaller, and the practical image area is smaller again. A reliable selection therefore checks four measurements: outside dimensions, inside opening, profile size and maximum usable image area.
This guide focuses only on screen size and equipment fit. For materials, construction and frame styles, read The Ultimate Guide to Screen Printing Frames.
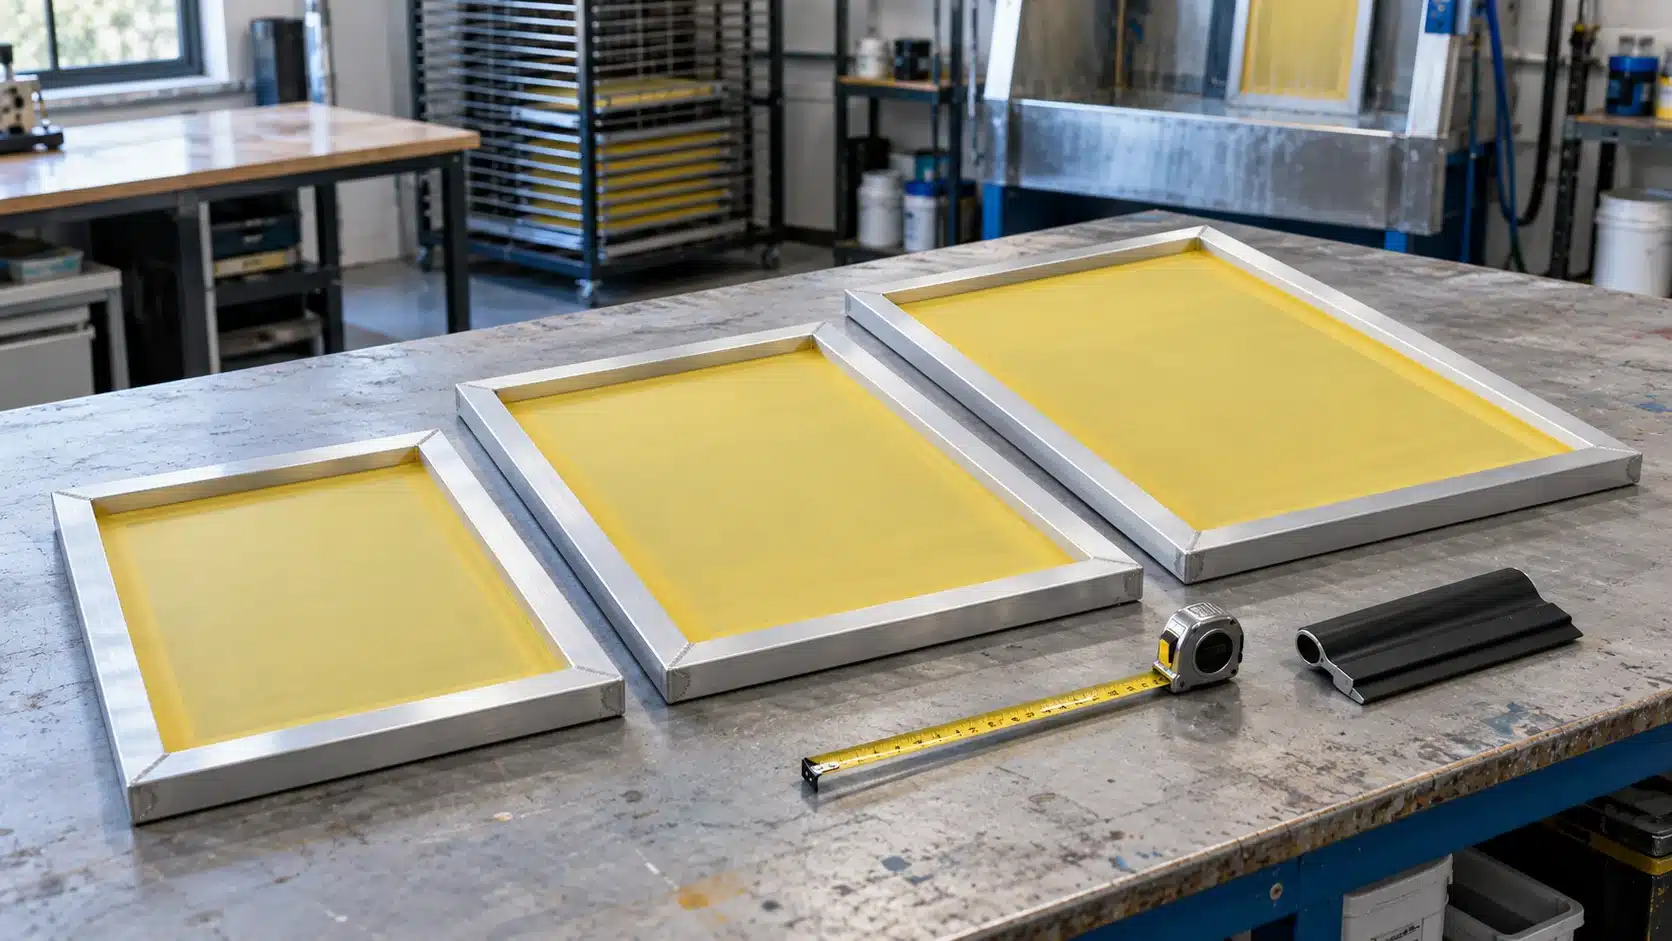
The Four Screen Printing Frame Dimensions to Check
| Measurement | What it means | Why it matters |
|---|---|---|
| Outside dimensions (OD) | Overall width and length measured from the outer edges | Determines whether the frame fits the press, exposure unit, cabinet, booth and rack |
| Inside opening (ID) | Clear opening between the inner edges of the profile | Sets the physical space available for coating and printing tools |
| Frame profile | Cross-section of the frame rail, normally listed as face width × depth | Affects inside opening, rigidity, clamp engagement and total frame thickness |
| Maximum image area | Supplier’s recommended upper limit for the stencil image | Provides a planning limit after allowing for working margins inside the opening |
Do not use these terms interchangeably. A 20 × 24 inch frame does not provide a 20 × 24 inch print area.
How to estimate the inside opening
For a rectangular frame with a uniform profile, the geometric opening can be estimated as:
Inside opening ≈ outside dimension − (2 × profile face width)
Apply the formula to both axes. A 20 × 24 inch frame made with a 1⅜ × 1⅜ inch square profile has an approximate opening of:
- 20 − (2 × 1.375) = 17.25 inches
- 24 − (2 × 1.375) = 21.25 inches
This 17.25 × 21.25 inch result is the geometric opening, not an approved image size. HANZE’s current product table lists a 13 × 16 inch maximum image area for this configuration. The remaining space supports coating clearance, stencil margins, registration and tool travel.
For a non-square profile, use the rail face width that reduces the opening—not automatically the deeper profile dimension. Request a dimensional drawing if the profile orientation is unclear.
Screen Printing Frame Size Chart
The following screen printing frame size chart uses HANZE’s currently published outside dimensions, profiles and maximum image areas. Metric values are rounded conversions for planning.
| Frame outside size | Published profile | Published max image area | Practical planning use |
|---|---|---|---|
| 18 × 20 in (457 × 508 mm) | 1⅜ × 1⅜ in | 11 × 12 in (279 × 305 mm) | Small artwork or a compact setup, subject to press clearance |
| 20 × 24 in (508 × 610 mm) | 1⅜ × 1⅜ in | 13 × 16 in (330 × 406 mm) | Common garment work and standard front or back graphics |
| 23 × 31 in (584 × 787 mm) | 1½ × 1½ in | 16 × 24 in (406 × 610 mm) | More room for larger artwork, registration and tool travel |
| 25 × 36 in (635 × 914 mm) | 1½ × 1½ in | 18 × 28 in (457 × 711 mm) | Oversized graphics on compatible manual or automatic presses |
| 30 × 43 in (762 × 1,092 mm) | 1½ × 1½ in | 23 × 35 in (584 × 889 mm) | Large-format textile or industrial work |
| 36 × 48 in (914 × 1,219 mm) | 1½ × 2 in | 28 × 38 in (711 × 965 mm) | Larger-format production requiring suitable handling and equipment |
Important: These are HANZE product-planning values, not universal limits for every frame brand or printing system. Corner construction, profile geometry, press clamps, stencil layout and stroke requirements can change the usable area. Confirm the final drawing and written specification before ordering.
How to Choose the Right Screen Printing Frame Size
Use the following sequence. It starts with the job, then checks every machine that must handle the frame.
1. Measure the complete artwork envelope
Start with the largest artwork width and height in its intended print orientation. Include any registration targets or control marks that must remain on the film and stencil. Do not select the frame from the garment size alone.
For a multicolor job, use the largest complete separation layout—not just the visible graphic on one color. If several recurring jobs will share one frame specification, size for the largest approved layout.
2. Allow room for coating and print strokes
The squeegee must cover the image and travel without contacting the frame or clamps. A useful initial check for manual work is a squeegee roughly 2 inches wider than the image, leaving about 1 inch beyond each side. This is a starting point, not a universal specification; an automatic press may need additional room for its flood bar, blade holders and carriage path.
The scoop coater must also fit inside the frame with side clearance. See how to choose scoop coater and squeegee size for the tool-specific checks.
3. Compare the requirement with the stated image area
Choose a frame whose published image area contains the entire layout plus the working allowance required by your process. Avoid planning a repeat production job directly at the stated limit without testing the actual screen and press.
For example, a 12 × 14 inch design fits within HANZE’s published 13 × 16 inch image area for a 20 × 24 inch frame. However, the remaining allowance is only 1 inch across one axis and 2 inches across the other. If registration marks, platen placement or the required stroke need more space, a 23 × 31 inch frame may be the safer selection.
4. Verify the press and clamp configuration
Ask for the press model, maximum frame width, maximum frame length, permitted profile depth and the side that enters the clamps. Also check printhead, carousel and adjacent-screen clearance when all heads are down.
Machine limits are model-specific. For example, M&R publishes a 25 × 36 inch maximum recommended frame size for its Sidewinder, while the Short-Arm version is intended for 23 × 31 inch frames or smaller. Vastex lists a 21 inch maximum screen width for its V-100 in a four-color, four-station, all-heads-down configuration. These examples show why “manual press” or “automatic press” is not enough information for approval.
5. Check the complete prepress route
A frame that fits the press can still be too large for another stage. Confirm the outside width, length and profile depth against:
- the exposure unit’s usable glass and lid clearance;
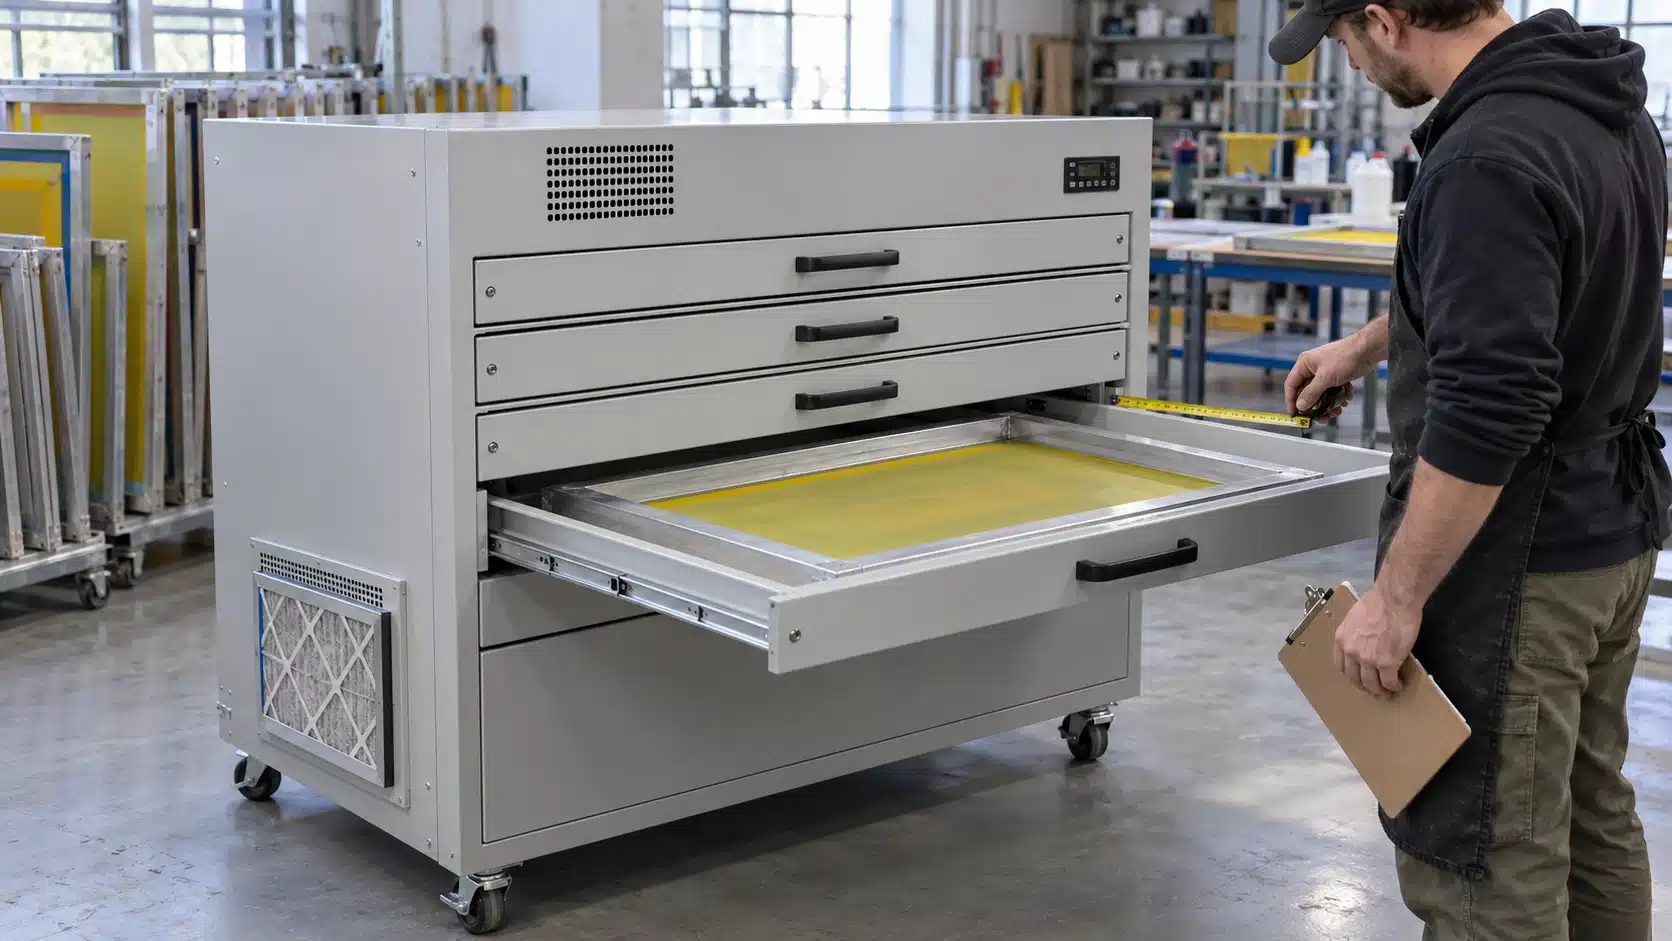
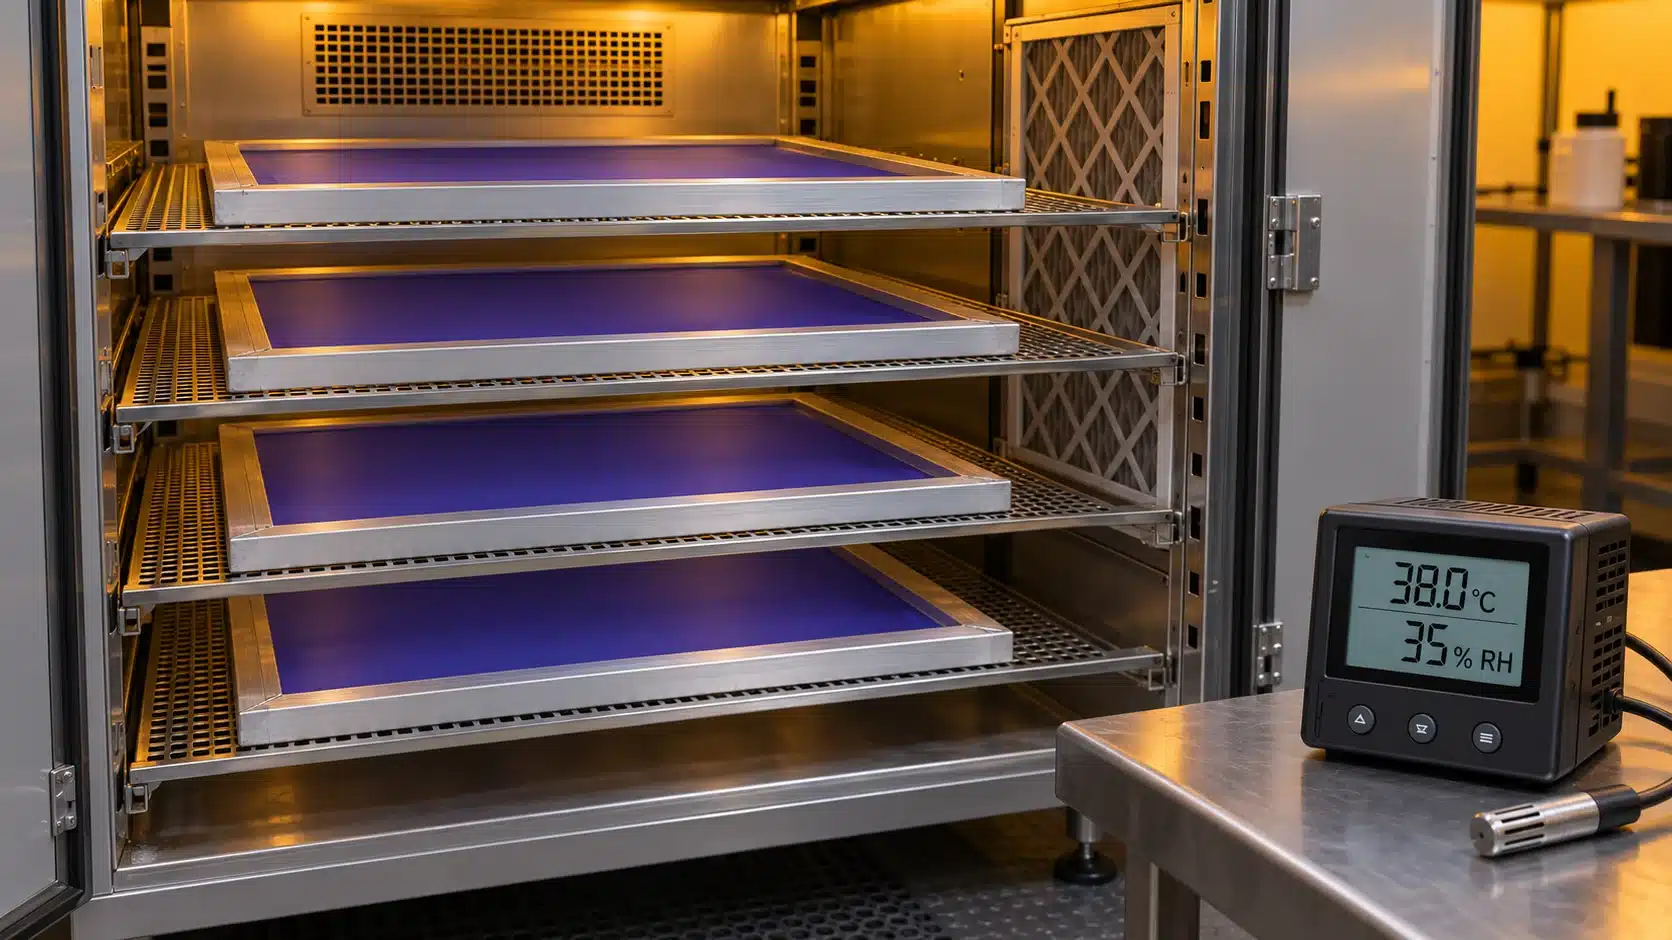
- the drying cabinet’s tray, door and internal clearance;
- the washout booth’s internal working area and supports;
- screen racks, carts, stretching equipment and storage; and
- doorways and packing limits for unusually large frames.
An exposure unit can be the first bottleneck: one compact commercial unit, for example, publishes a 20 × 24 inch maximum screen OD. The same principle applies throughout the screen room. HANZE’s guides on screen exposure, drying cabinet selection and washout booth selection explain the corresponding equipment checks.
20 × 24 vs 23 × 31 vs 25 × 36 Frames
There is no single best screen printing frame size. The right choice is the smallest approved frame that provides sufficient working room and fits the full production route.
| Selection point | 20 × 24 in | 23 × 31 in | 25 × 36 in |
|---|---|---|---|
| HANZE published max image | 13 × 16 in | 16 × 24 in | 18 × 28 in |
| HANZE published profile | 1⅜ × 1⅜ in | 1½ × 1½ in | 1½ × 1½ in |
| Main advantage | Compact and easier to handle | More working room without moving immediately to an oversized format | Supports larger artwork and longer strokes |
| Main constraint | Limited allowance around larger designs | Requires a wider press and prepress equipment | Greater space, handling and equipment demands |
| Best purchasing fit | Standard garment work that stays within the approved image area | Shops needing larger separations or more registration room | Oversized work on equipment approved for the frame |
Standardizing on one or two approved sizes can simplify mesh inventory, film layouts, scoop coaters, racks and replacement orders. Do not standardize, however, until the largest recurring job and the narrowest machine have both been checked.
Why Frame Profile Size Matters
Outside dimensions alone do not define a frame’s suitability. As the unsupported span and required mesh tension increase, the frame needs enough rigidity to resist deflection. Profile dimensions, wall thickness, alloy, corner construction and target tension must therefore be considered together.
HANZE’s published range illustrates this progression: its listed 18 × 20 and 20 × 24 inch frames use a 1⅜ inch square profile; 23 × 31 and 25 × 36 inch frames use a 1½ inch square profile; and the 36 × 48 inch frame uses a 1½ × 2 inch profile. This is a product configuration, not a universal profile rule for every application.
For pre-stretched orders, state the mesh specification and target tension with the frame size. For more detail on measurement and maintenance, see the screen tension guide.
Screen Frame RFQ Checklist
Include the following information when requesting a quotation. It allows the supplier to confirm fit instead of selecting from a size name alone.
| Information to send | Why the supplier needs it |
|---|---|
| Maximum artwork and full film-layout size | Confirms the required image envelope |
| Required frame OD and preferred orientation | Defines the overall size and clamped side |
| Minimum clear opening or maximum image area | Prevents OD and print-area confusion |
| Press brand, model and clamp arrangement | Confirms machine compatibility |
| Exposure, drying and washout size limits | Confirms prepress compatibility |
| Profile dimensions and permitted depth | Confirms rigidity and clamp clearance |
| Bare or pre-stretched frame | Determines whether mesh data are required |
| Mesh type, count, color and target tension | Defines a pre-stretched screen specification |
| Quantity, destination and packing requirement | Supports quotation, shipping and pallet planning |
| Required dimensional tolerances and documents | Establishes the acceptance criteria before production |
Import and compliance note
A size designation does not establish regulatory compliance. If RoHS, REACH or other market-specific documentation is required, identify the destination and request documents for the exact quoted frame, adhesive and mesh configuration. The approved drawing, agreed tolerances and signed quotation should control the order; a website size chart should remain a selection aid.
Common Screen Frame Sizing Mistakes
| Mistake | Result | Better check |
|---|---|---|
| Treating nominal frame size as print area | Artwork reaches the rail or leaves too little stroke room | Compare the full layout with the stated maximum image area |
| Checking only the printing press | Frame does not fit exposure, drying or washout equipment | Audit the complete route using outside dimensions |
| Ignoring the clamped side | A frame fits on paper but not in the actual head or clamp | Record orientation and clamp engagement on the drawing |
| Choosing a larger frame “for safety” | Unnecessary weight, cost and handling problems | Choose the smallest size that passes every clearance check |
| Comparing sizes without profile data | Different openings or rigidity despite the same OD | Specify OD, profile, wall thickness and target tension together |
| Assuming every supplier uses the same image area | Film layout is approved against the wrong limit | Use the selected supplier’s drawing and production specification |
Frequently Asked Questions
Are screen printing frame sizes inside or outside dimensions?
They usually refer to outside dimensions, especially for common textile frames such as 20 × 24 or 23 × 31 inches. Do not rely on the name alone. Ask the supplier to label OD, inside opening and profile on the drawing.
What is the maximum print area on a 20 × 24 screen?
HANZE currently publishes a 13 × 16 inch maximum image area for its 20 × 24 inch frame with a 1⅜ inch square profile. Other frame constructions and press setups may use a different limit, so confirm the selected product and workflow.
Is a 20 × 24 or 23 × 31 frame better for T-shirt printing?
A 20 × 24 inch frame is more compact and may suit standard artwork that stays within its approved image area. A 23 × 31 inch frame provides more space for larger designs, registration and stroke travel, but requires compatible press and prepress equipment.
How much space should be left around the image?
There is no single margin for every system. Allow enough room for registration, ink, a squeegee wider than the image, flood travel and press hardware. Confirm the layout on the actual frame and press before repeat production.
Can the same frame be used on manual and automatic presses?
Sometimes, but compatibility must be checked by machine model. Verify maximum width, length and profile depth, clamped-side orientation, blade and flood-bar travel, and all-heads-down clearance.
Does the exposure unit need to be larger than the image or the frame?
Check the complete frame outside dimensions and profile clearance. The image may fit on the glass while the frame does not fit under the lid or within the unit’s stated maximum screen OD.
Can HANZE supply custom screen printing frame dimensions?
Custom dimensions can be discussed for press-specific or image-specific requirements. Send the frame OD, required opening or image area, profile, tension requirement, quantity and equipment model for review.
Select a Frame Using Your Actual Production Data
Before ordering, send HANZE your maximum artwork size, press model, clamp orientation, largest permitted frame OD and required quantity. The team can then compare a standard or custom specification against the intended workflow.
Browse HANZE screen printing frames, compare the linked 20 × 24, 23 × 31 and 25 × 36 inch models, or contact HANZE for a frame-size review and quotation.