How to Choose an Automatic Screen Printing Press for Garment Printing
How to Choose an Automatic Screen Printing Press for Garment Printing
Start with a garment, a print-ready design and a target number of finished pieces per shift. To choose an automatic screen printing press, work out how many print heads the job needs, where flashing will take place and whether the artwork fits the machine’s maximum print area. Then check whether the press, operators and final curing equipment can sustain the output you need.
HANZE lists a 500 × 700 mm platen and a 460 × 550 mm maximum print area for both the six-color YP-6-14 and the eight-color YP-8-24. If you need more ink colors, compare the head and station layouts. If the image exceeds either print dimension, compare configurations with a larger print area. See HANZE automatic carousel screen printing presses.
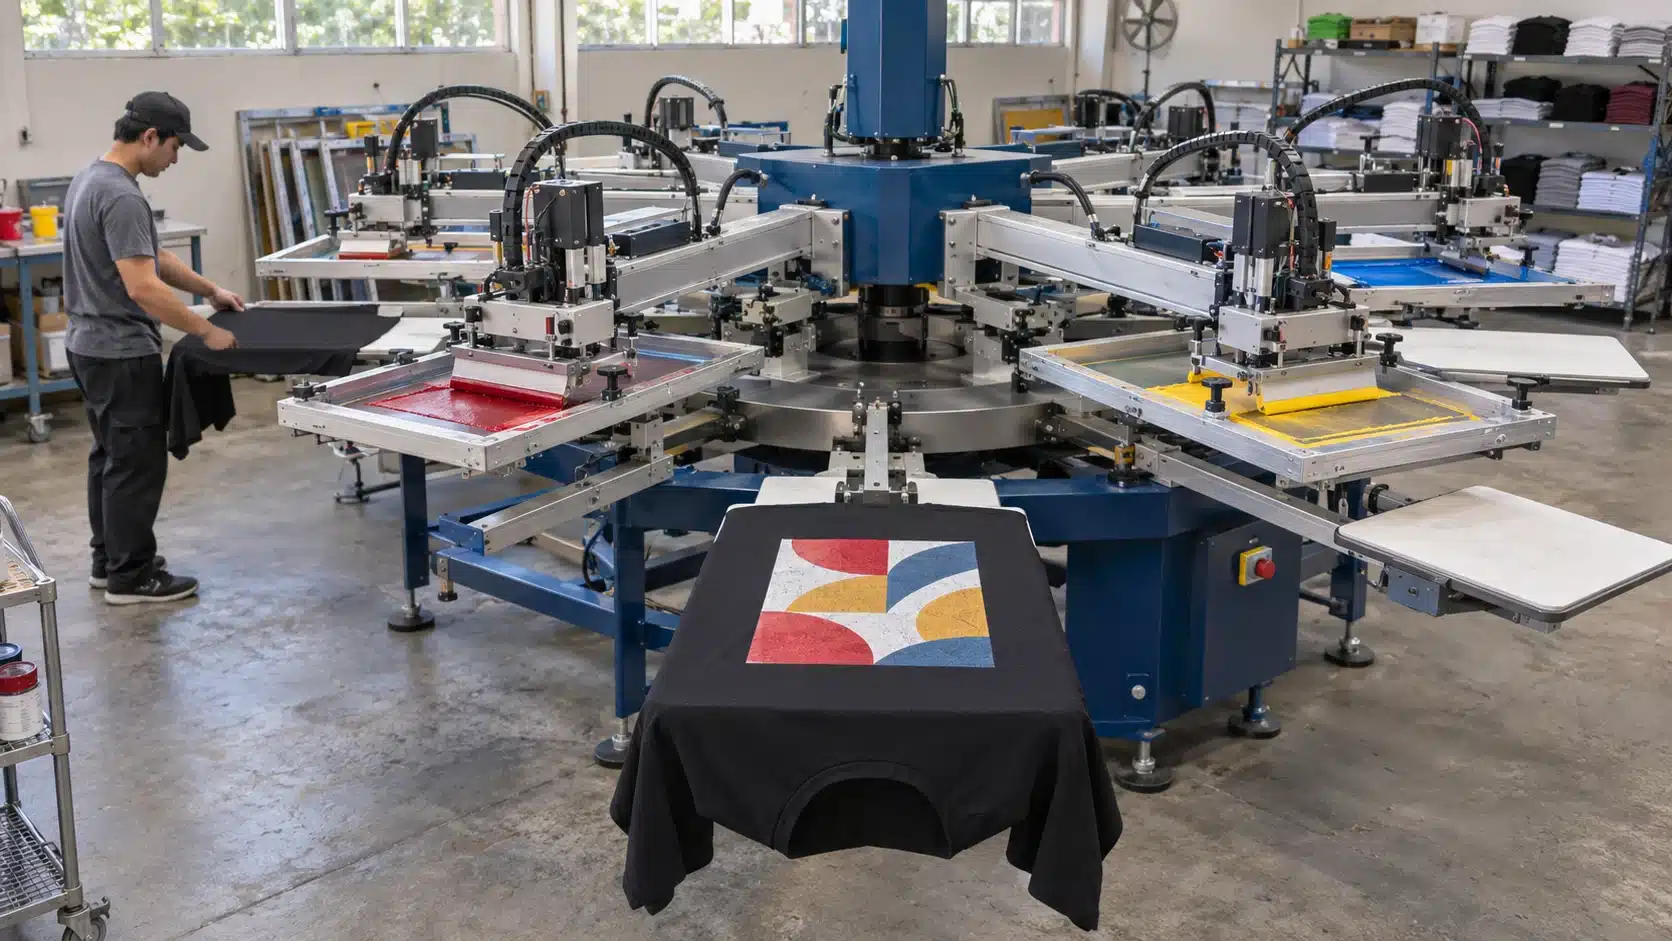
1. Start With the Orders the Press Will Run
Review your most common repeat job, your most demanding multicolor job and the job with the largest artwork. For each, record the garment, smallest size in the run, print location, artwork width and height, ink separations, order quantity and changeover frequency. Use approved artwork or an actual printed sample where possible. A product photo can hide a white underbase or a separate highlight screen.
| Your order mix | What to check first |
|---|---|
| Repeat single-color logos | Check the print area and how quickly the operator can load and align the garments. Start with the YP-1-4 if one print head covers the work. |
| Two- or three-color T-shirts | Count the actual ink separations for both light and dark garments. Compare the YP-2-8 and YP-3-8 if your designs fit their listed print areas. |
| Wide, low-color designs or garment panels | Shortlist by image width and length first. The three-color YP-3-14 is listed for prints up to 760 × 700 mm. |
| Recurring multicolor runs on dark garments | Draw the underbase, top colors, flash and handling positions before comparing six- and eight-color models. |
If your shop still spends much of the week on samples and short runs, include setup and cleanup in your comparison. Time the steps your operators actually repeat, including screen changes and first-piece approval. Then compare those costs with the hours an automatic press would spend on recurring production jobs.
2. Count Print Heads and Map the Stations
A print head holds the screen and runs the print stroke. A station is a position the garment passes through as the press indexes. Station assignments can include printing, flash drying, cooling, loading and unloading. The arrangement varies by machine and by the flash equipment fitted. Ask for a station diagram for the exact configuration on the quote.
Example of a three-color design on a black T-shirt
Suppose the design uses red, blue and yellow over a separately printed white underbase. For a single trip around the carousel with one screen assigned to each ink layer, you need four print heads. A separately printed highlight white would need a fifth. One possible sequence is loading, white underbase, flash, cooling if needed, the three top colors and unloading. The printed shirt then goes to final curing.
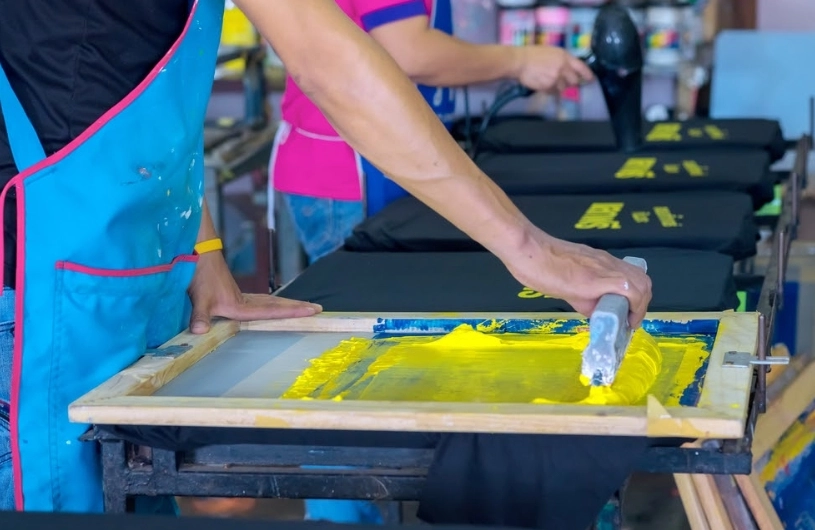
Ask where the flash unit goes and whether it occupies a position that would otherwise be used by a print head. Confirm where the operator loads and unloads and whether a job needs a second flash. Use the actual ink and garment for a test run. Intercoat flashing sets a layer so the next color can be printed. The completed print still needs a final cure under the conditions specified for the ink. For the full garment workflow, see how to screen print T-shirts.
3. Check Artwork Size, Platen Size and Frame Fit
Maximum print area is the listed limit for the image the press can print. Platen size is the size of the board supporting the garment. Screen frame size refers to the frame’s outside dimensions. Check all three sizes when you plan to reuse existing screens or print close to the machine’s limits. Allow space inside the frame for the artwork and the squeegee stroke. For frame measurements and clamp clearance, see the screen printing frame size guide.
Put the actual design on the smallest garment or panel you plan to print. Measure the image in its intended orientation and check where seams, pockets and collars meet the platen. A design can fit the press specification and still need a different platen or print placement to sit flat. Share a marked-up photo if the garment has a seam or pocket near the artwork.
Compare HANZE automatic carousel presses
| Model | Colors / stations | Platen size (mm) | Listed maximum print area (mm) |
|---|---|---|---|
| YP-1-4 | 1 / 4 | 500 × 700 | 480 × 550 |
| YP-2-8 | 2 / 8 | 450 × 650 | 410 × 550 |
| YP-3-8 | 3 / 8 | 500 × 700 | 460 × 550 |
| YP-3-14 | 3 / 14 | 800 × 800 | 760 × 700 |
| YP-4-10 | 4 / 10 | 500 × 700 | Confirm when requesting a quote |
| YP-6-14, 450 × 650 platen | 6 / 14 | 450 × 650 | 410 × 550 |
| YP-6-14, 500 × 700 platen | 6 / 14 | 500 × 700 | 460 × 550 |
| YP-6-14, 600 × 850 platen | 6 / 14 | 600 × 850 | 560 × 700 |
| YP-6-14, 700 × 900 platen | 6 / 14 | 700 × 900 | 660 × 800 |
| YP-8-24 | 8 / 24 | 500 × 700 | 460 × 550 |
For example, a 520 × 620 mm back print exceeds the 460 × 550 mm listed for the YP-6-14 with a 500 × 700 mm platen. It falls within the listed 560 × 700 mm area of the 600 × 850 mm configuration. Use that configuration as a starting point, then check the artwork orientation, screen fit and the actual garment. For long garment panels or an elongated shop layout, compare the dimensions and working clearances of specific automatic oval screen printing presses.
4. Measure Output in Finished Garments
Ask how many accepted, fully cured garments a representative order can produce in an hour or shift. For planning, record the elapsed time from setup through the last accepted piece. Include time for loading, flashing, stops and final curing. Count only garments that pass inspection. Record the number of operators and how they divide loading, unloading and inspection. If you run several jobs per shift, also measure the time between jobs.
In a hypothetical trial, a run that yields 420 accepted garments in 70 minutes, including setup and curing, averages 360 accepted garments per hour (420 ÷ 70 × 60). Use the same garment, artwork, ink and timing method when you compare another configuration. Note whether loading, a flash cycle or the curing dryer held up the run.
5. Check the Workshop and Compare Like-for-Like Quotes
Review an installation drawing for the chosen press and platen configuration. Mark the load and unload positions, clearance for screen changes and maintenance, the route to final curing and the path the crates will take into the building. Check doorway widths and turns against the actual packing dimensions. If a carousel and an oval are both on your shortlist, draw both layouts on the same shop plan with their operating clearances.
Share the site voltage, phase and frequency early. For example, the YP-2-8 product page lists 380 V AC, three-phase, 50 Hz. Obtain the electrical requirements for the press, flash units and final curing equipment on your quote. Where the machine needs compressed air, confirm both supply pressure and flow. Have the shop’s installation team review those requirements before you place the order.
Ask for the press, installed heads, flash units, platen sizes and quantities, frame clamps and included tooling to be itemized. Confirm who supplies the final curing equipment, who arranges freight and what installation and training are included. Ask what support is included and which parts are available for your configuration. Where possible, agree on a sample print and acceptance criteria for image size, registration and print quality before delivery.
What to Send With a Press Inquiry
| Detail | What to include |
|---|---|
| Garment and print location | A sample or photo, fabric, smallest size in the run and the location of seams or pockets near the artwork |
| Artwork and colors | The largest artwork dimensions in its print orientation, color separations, underbase and any highlight white |
| Production target | Typical order size, jobs per shift, target number of accepted garments and available operators |
| Existing equipment | Frame outside dimensions, current platens, flash units and final curing equipment you plan to keep |
| Site and delivery | Workshop dimensions, access route, local power supply, available compressed air and shipping destination |
Send HANZE your job details to request a press recommendation and a configuration-specific quote.
Frequently Asked Questions
Is a six-color press enough for a six-color design?
If the design uses six top colors plus a separate white underbase, plan for seven print heads for a single trip around the carousel. If the artwork uses six screens in total, a six-head press can be a candidate. Confirm that all six heads remain available with the required flash configuration installed.
Does an automatic carousel press load and unload shirts by itself?
On the HANZE carousel models covered here, an operator places the garment on the platen and the press indexes the platens and runs the configured print cycle. Plan staffing for loading and unloading. Confirm the scope separately if your project calls for automated handling.
Can I reuse frames from my manual press?
Possibly. Measure the outside width and length, profile thickness and clamping edge. Compare them with the automatic press’s frame limits and clamp design. If you need to keep the same screens for sampling and production, verify fit and usable print area with one of your actual frames before ordering.
What should I check in a trial print before buying?
Use a representative garment and artwork. Review the first acceptable print and several consecutive pieces for placement, registration and coverage. Confirm the flash sequence, record the staffing and elapsed time, and verify the final cure using the ink supplier’s instructions. Agree on what counts as an acceptable print before the trial.
 How Do You Choose Rotary Screens for Each Color Separation?