How Do You Choose Rotary Screens for Each Color Separation?
How Do You Choose Rotary Screens for Each Color Separation?
A broad background needs even coverage. A thin outline needs to stay sharp. A gradient needs its lightest dots and darkest tones to stay distinct. When all three appear in one textile design, choose the rotary screen for each print separation. That lets you match the paste deposit and level of detail to the job each screen has to do.
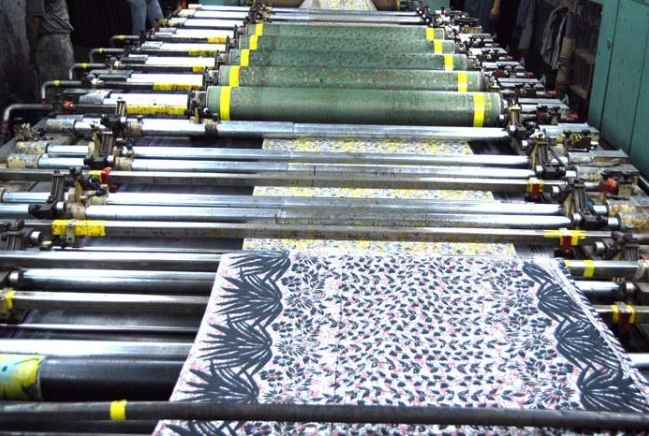
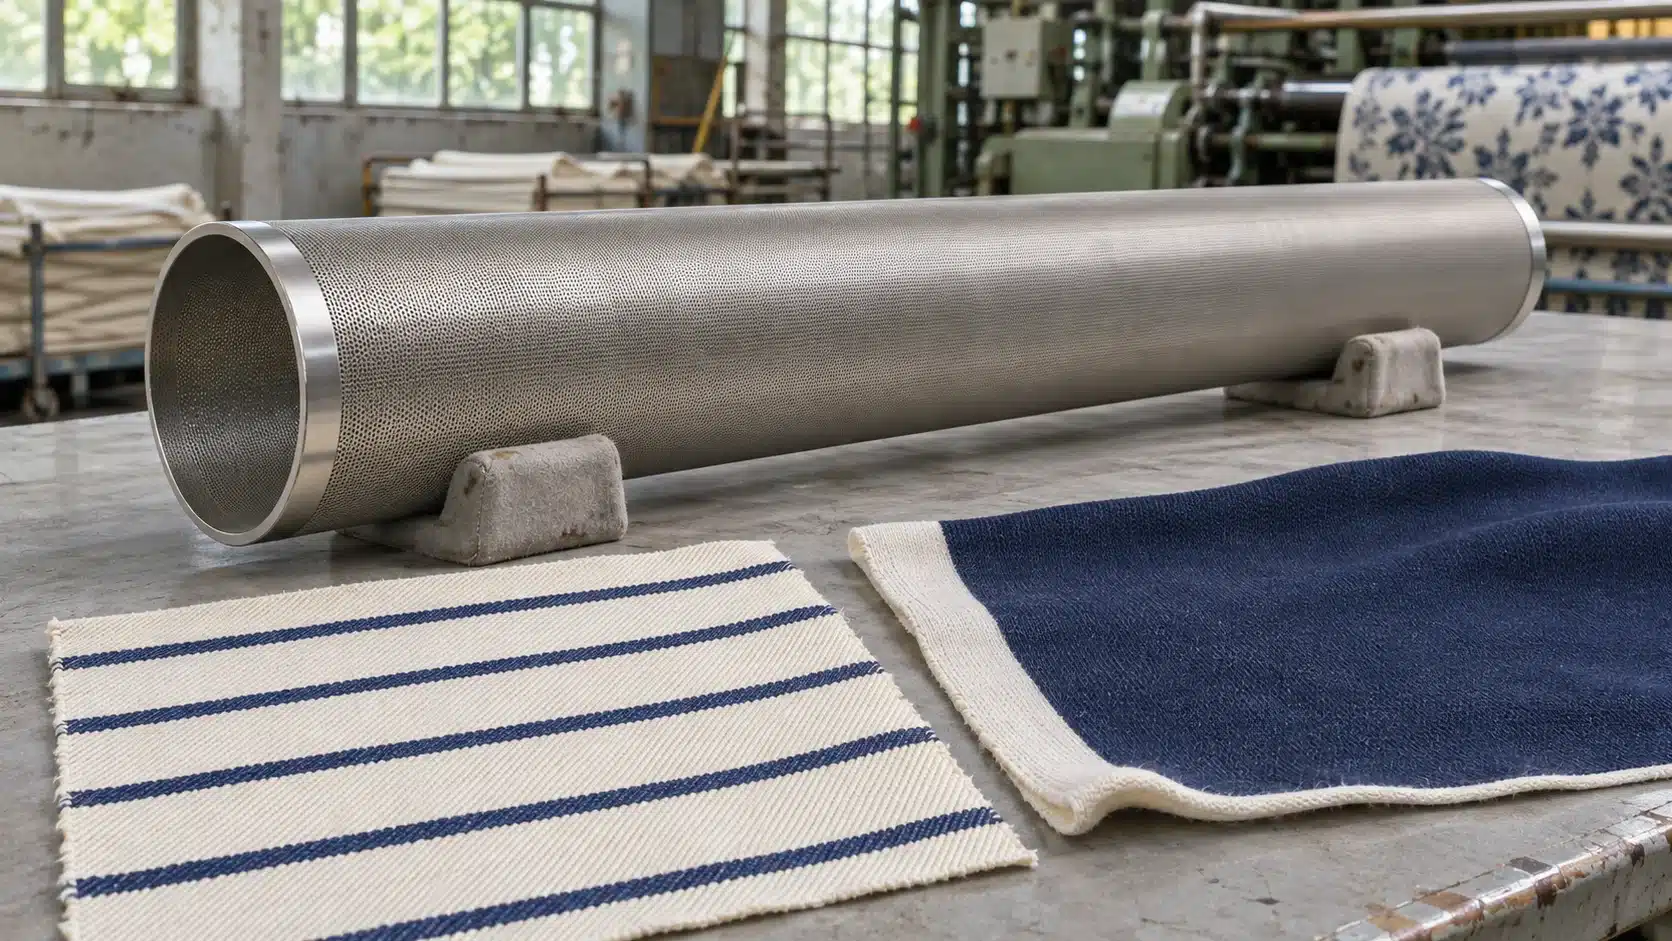
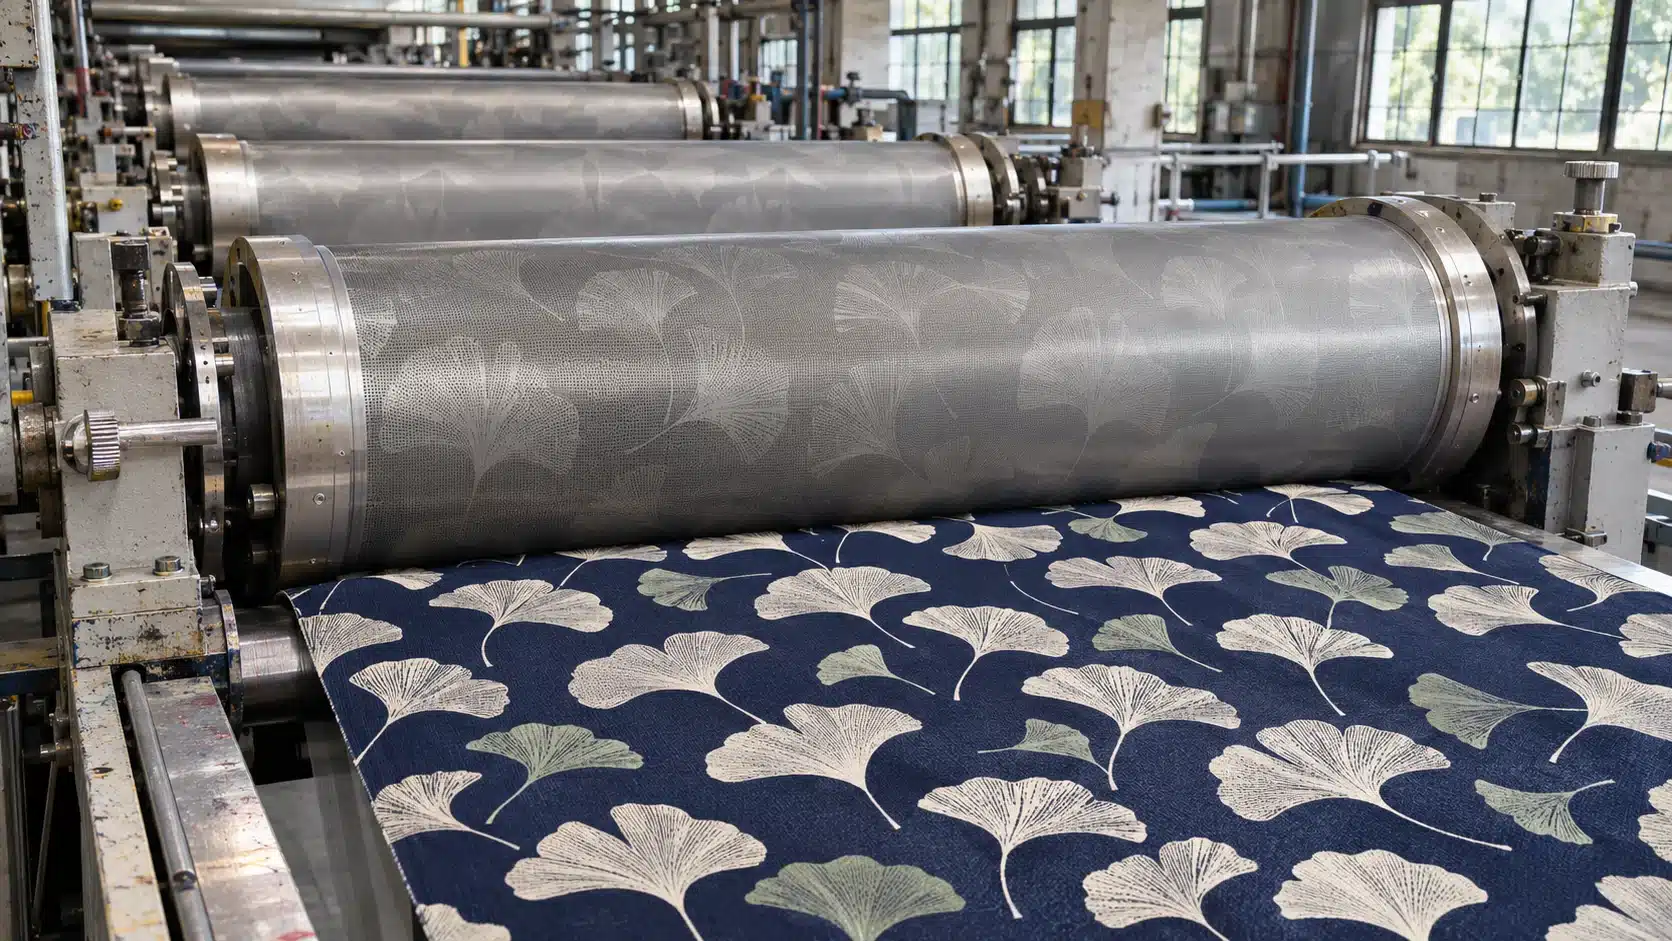
In conventional textile rotary screen printing, each cylinder typically applies one paste through the open areas of its stencil. Different halftone dot sizes let that paste produce lighter or darker tones. For each cylinder, identify the detail or coverage the finished fabric must hold.
Rotary Screen Selection Starts With the Color Separations
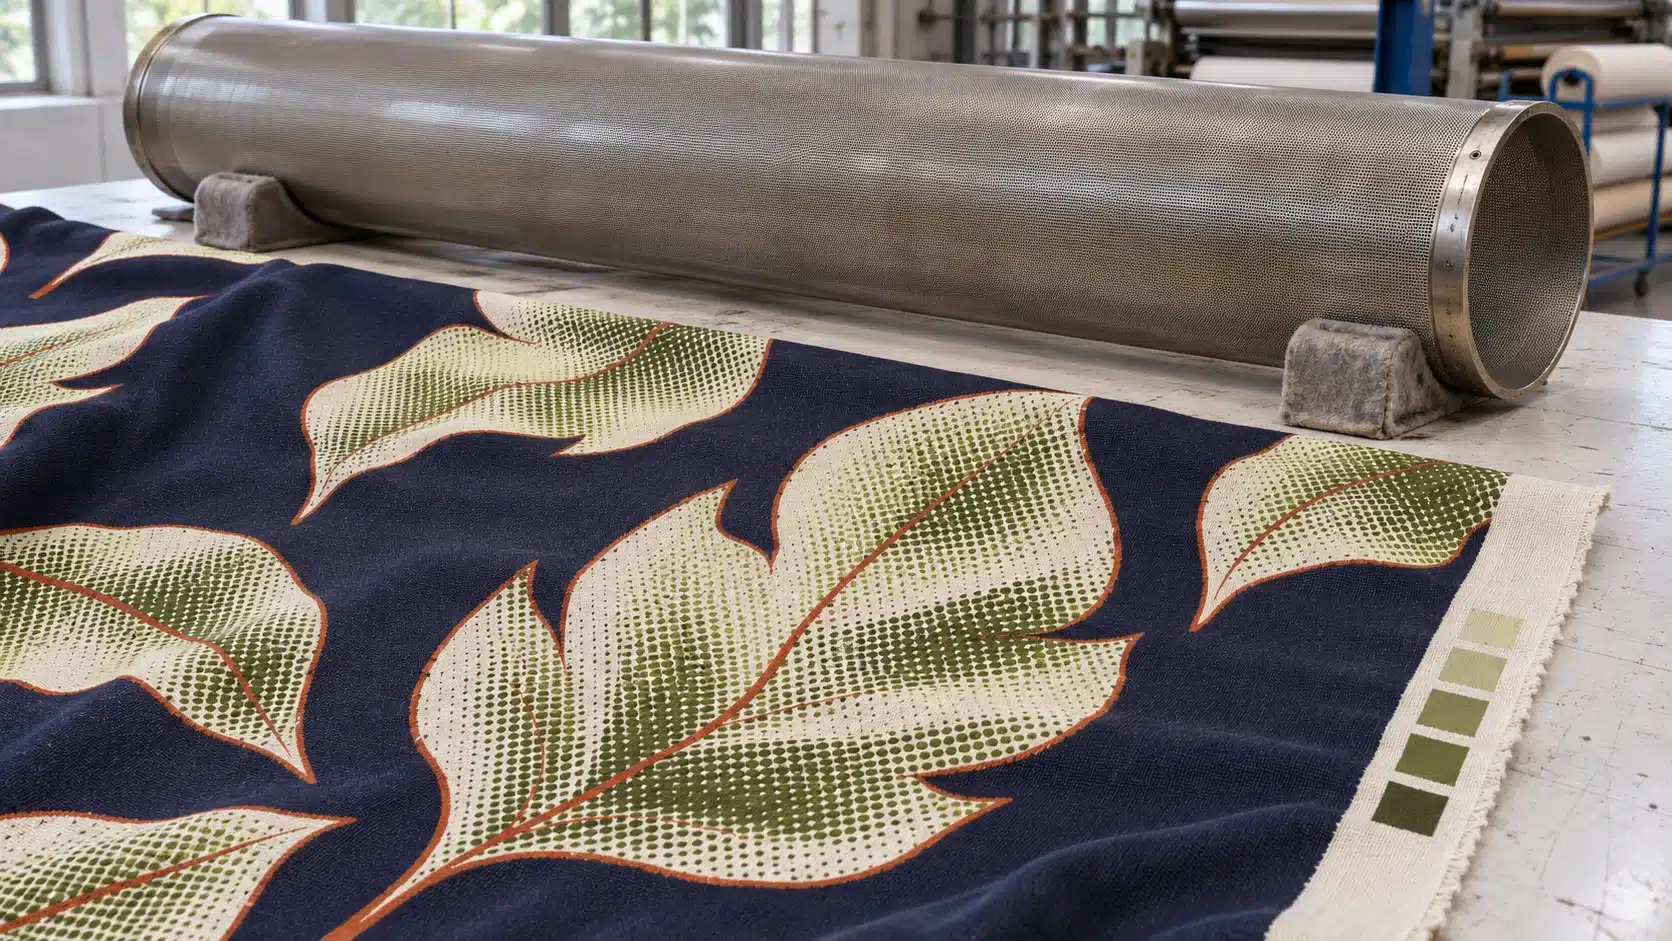
Consider a leaf design with a navy ground, a thin rust-colored outline, and olive shading inside the leaves. The navy screen has to lay down an even field across the usable width. The rust screen has to keep the narrowest line intact and leave the small gaps open. The olive screen has to hold the lightest halftone dots and preserve the transition into darker areas.
Before engraving, mark those three test areas on the artwork at final print size. If the background already prints evenly, keep that screen as your baseline and focus the trial on the outline and shading. Use the production cloth for the proof. The same paste can spread or cover differently on a tight woven and a stretch knit.
Which Rotary Screen Specifications Matter?
| Specification | What it tells you when selecting a screen |
|---|---|
| Mesh count | The nominal density of holes in the nickel shell. Finer mesh can help hold small features when the stencil, paste, and fabric support that detail. |
| Open area | The percentage of the unengraved screen surface occupied by holes. Use it alongside actual hole dimensions and paste properties to compare deposit options. |
| Hole size, shape, and layout | Size and shape affect how paste passes through the shell. Layout describes how the holes are arranged and can affect how the screen interacts with a repeated design or fabric weave. |
| Nickel wall thickness | Affects the strength and handling of the shell and forms part of the path the paste must pass through. Compare it with hole geometry and the press requirements. |
Keep screen open area separate from artwork tone values. A 50% halftone describes the intended dot coverage within part of the image. Open area describes the perforated nickel before the design is applied. Actual paste transfer also depends on paste flow, line speed, and the squeegee or magnetic rod settings.
How to Match the Rotary Screen to the Artwork
| Design feature | What to prioritize | What to look for on the finished proof |
|---|---|---|
| Solid fills and large backgrounds | Even paste transfer at the required coverage. Compare actual openings and open area. | Uniform shade across the width and through several repeats. Look for streaks, pinholes, or uneven coverage. |
| Fine outlines and small geometric patterns | A mesh and stencil that can hold the smallest line and gap. Review hole layout for repetitive patterns. | Continuous lines, open gaps, sharp corners, and clean joins between colors. |
| Single-color halftones | A screen and engraving curve that can reproduce the useful range of dot sizes. | Highlights that stay visible, shadows that retain detail, and a gradual tone transition. |
| Multicolor halftones and photo-style designs | Separation quality at final print size, compatible halftone settings, and stable registration. | Color balance, definition, and moiré after the separations are printed together. |
| Overlapping outlines or colors | Stable screen mounting, accurate registration, and a paste combination that produces the intended overlap. | Alignment, clean boundaries, and the color of the overlap on the intended fabric. |
| Tactile patterns and functional dots | A screen, stencil, and coating system suited to the required deposit and finished shape. | Consistent dot shape, the specified build after curing, and adhesion or grip where required. |
The best choice can vary by station. If a solid field looks even on a standard screen, use it as your reference. Where the field needs a heavier deposit, trial a high-open-area screen with the actual paste. If the same separation contains both the solid field and tiny details, include both on the test. Where they need substantially different deposits, discuss splitting the separation with the prepress team and check whether the press has a station available.
How to Proof Halftones and Photo-Style Prints
Print a Tone Strip With the Design
Include a strip with light, middle, and dark tones. For example, a test strip might include 5%, 10%, 25%, 50%, 75%, and 90% artwork patches. These are test inputs. The finished fabric shows which dots survive and where the dark tones begin to merge. If the middle tones print too dark or the lightest dots drop out, check the stencil and the paste transfer. Use the finished proof to decide whether the engraving curve needs adjustment.
Check Each Color and Then the Complete Print
For a photo-style or multicolor design, proof the individual separations, then print them together in the intended production order. Unwanted waves or bands can arise when the hole layout, halftone grids, or fabric weave interact. A single-color proof helps narrow the cause. If the pattern appears only in the combined print, review the separation angles and registration before changing the screen.
Where geometry needs a trial, compare screens with similar deposit specifications and a different hole layout. For example, HANZE lists GD 165ED screens in 45° and 60° versions with the same nominal 19% open area. Those catalog angles describe the screen geometry. Set the artwork halftone angles with the engraver and judge the combination on fabric. The GD series is listed with a 640 mm screen repeat, so confirm the fit with your press.
Run a Controlled Trial Before Ordering the Full Set
- Confirm fit and artwork size. Verify the press model, screen circumference, shell length, usable print width, and endring system. Agree on the design repeat at engraving size and keep the approved artwork version with the trial.
- Compare against a known screen. Use the intended fabric lot and the same paste batch. Record screen ID, hole layout, paste viscosity, line speed, and the squeegee or rod setting. Change one planned variable at a time where practical.
- Inspect the engraved screen and the finished cloth. If a fine feature disappears, check whether it is open in the stencil and whether paste reaches the fabric. Compare the proofs after the normal drying, fixation, curing, or wash-off steps for the paste system. Check registration, shade, and coverage across the width and through several repeats.
- Keep the approved settings for each station. Record which screen and engraving settings ran each separation. Keep the approved cloth sample and paste recipe with that record for bulk production and reorders.
Frequently Asked Questions
How does enlarging a bitmap change the print file?
Calculate its effective resolution at the size the file will be used. A bitmap 2,400 pixels wide has 300 pixels per inch at 8 inches wide. At 16 inches wide, the same pixels give 150 pixels per inch. Ask the engraver for the resolution needed at the intended scale. The bitmap’s pixel resolution and the halftone frequency are separate settings.
Can two printed colors create a third shade where they overlap?
Yes, with a suitable combination of pastes and print order. For example, an overlap of yellow and blue can appear green with compatible colorants. Test the overlap on the actual fabric and approve its shade and edge together with the two individual colors.
Can I reuse engraved screens for a different colorway?
If the shapes assigned to each screen stay the same and the screens are in good condition, the set may be reusable. Check the new pastes on the production cloth. A change in paste opacity, flow, or print order can change the look of the lines, solids, and overlaps even when the engraving stays the same.
Request a Rotary Nickel Screen Quote for Your Design
Send HANZE the artwork or an approved print sample, fabric construction, paste type, and the separation you need help with. Include the press model, screen repeat and shell length, endring type, usable print width, and quantities. If you have a screen that already runs on the line, include its mesh and opening specifications as a reference. Ask for compatible options, MOQ, and lead time for the sizes you need. HANZE rotary nickel screens · Rotary screen endrings
 How Do You Choose Rotary Screens for Knits and Wovens?