Screen Printing Emulsion Drying Time Guide
Screen Printing Emulsion Drying Time Guide
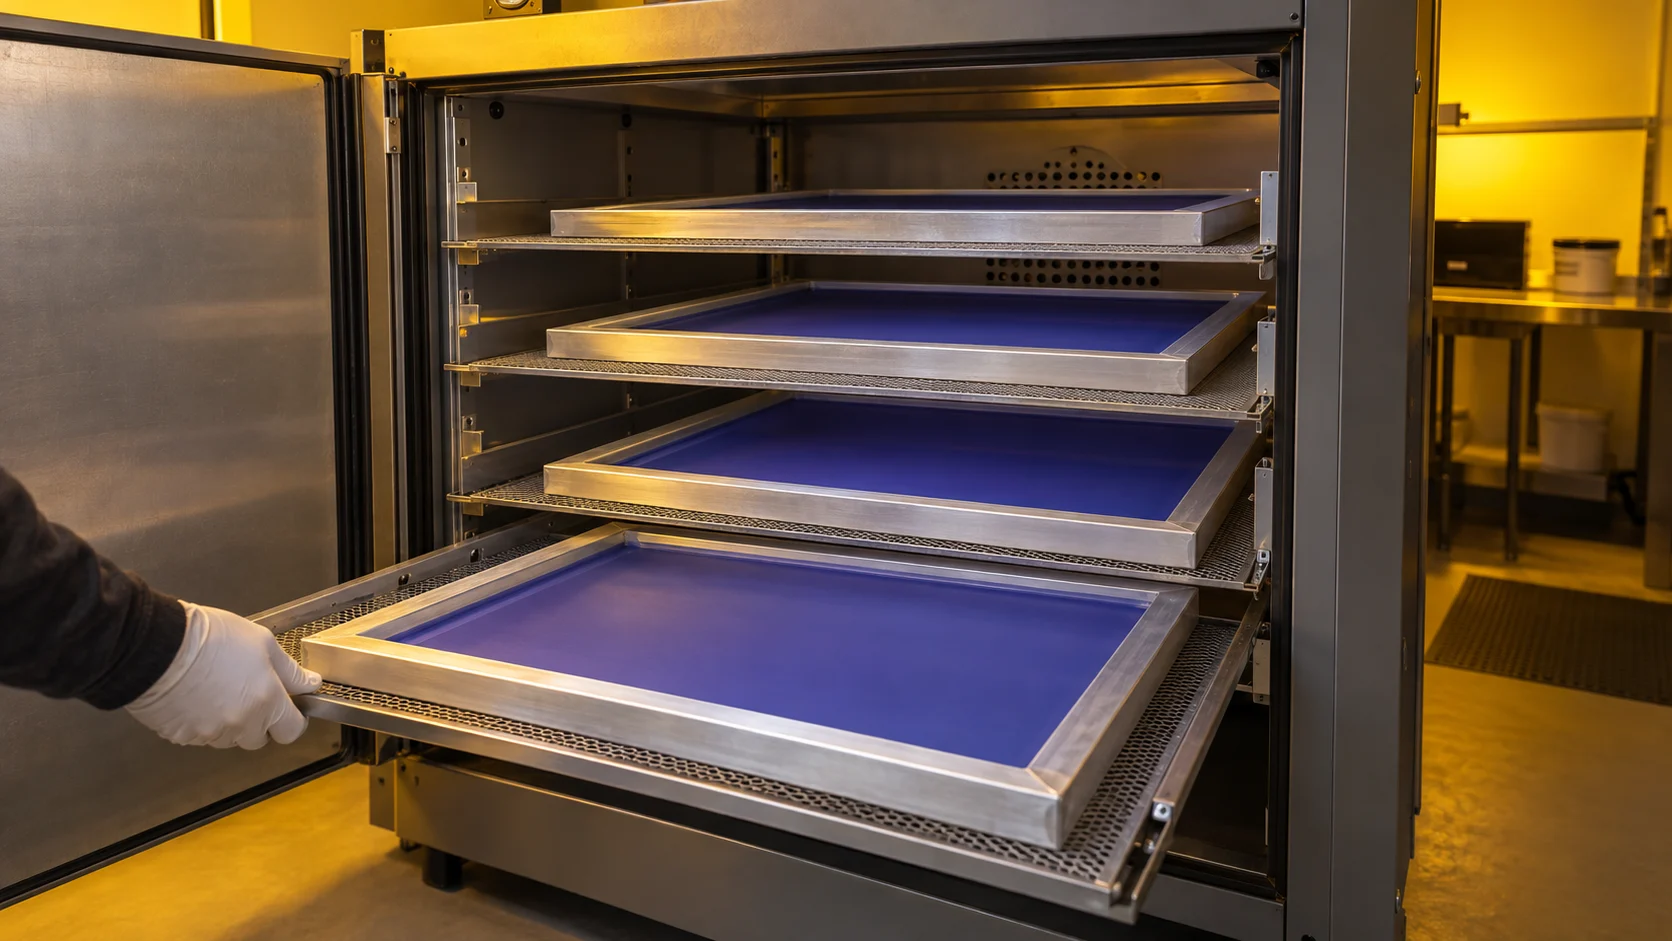
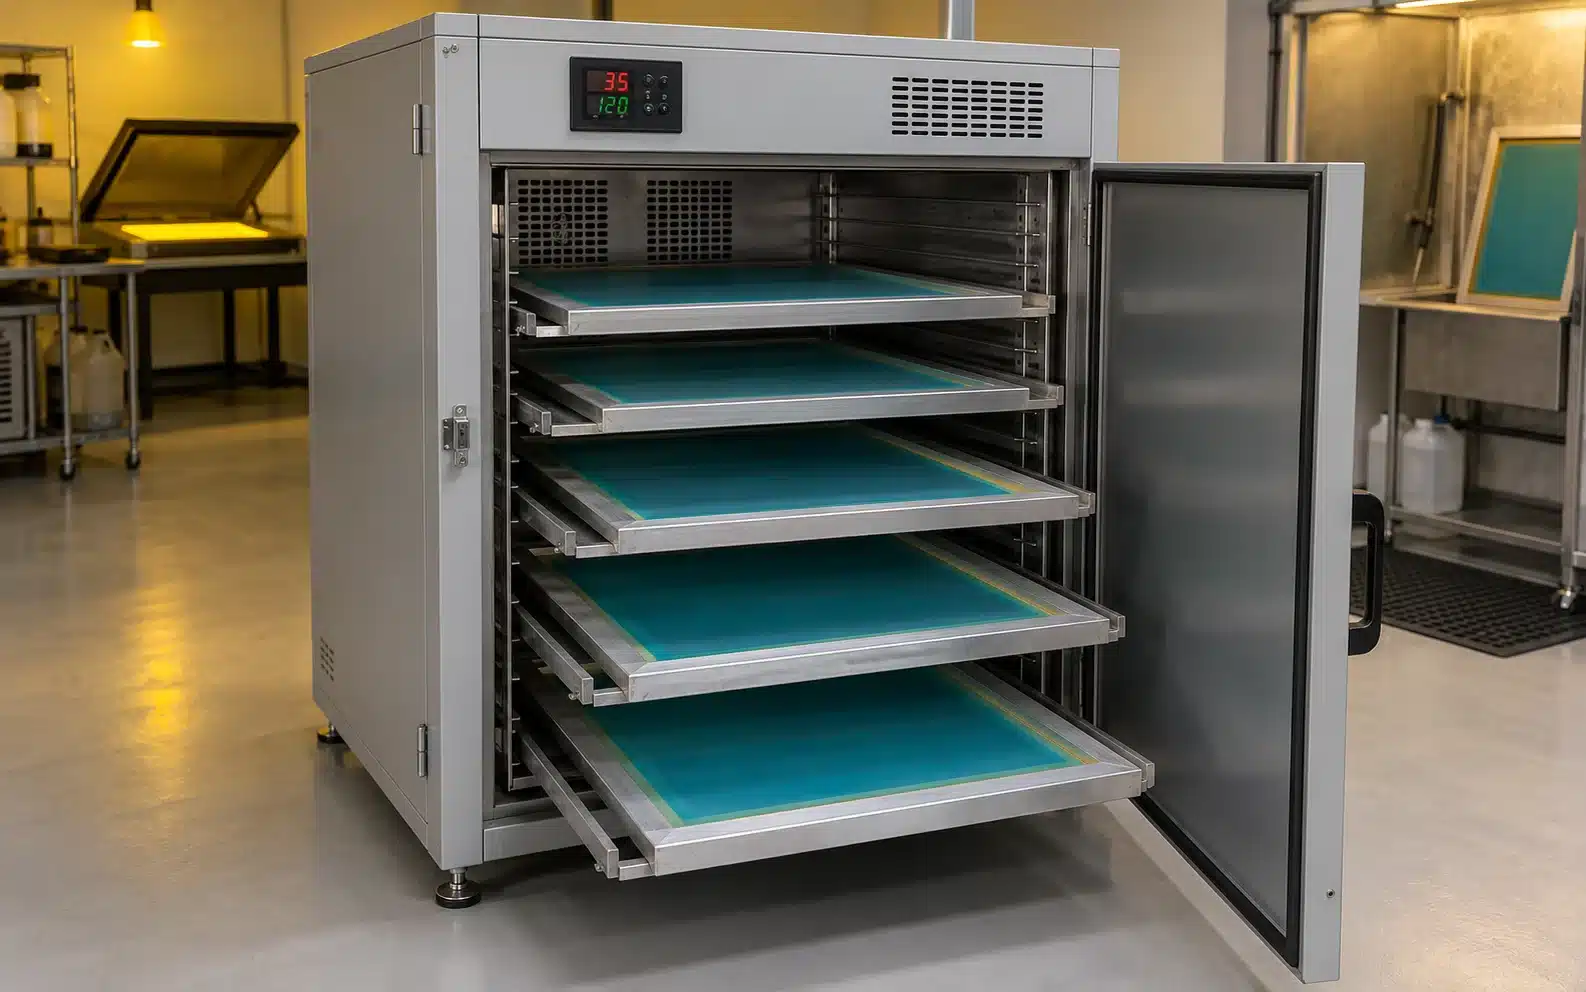
Screen printing emulsion drying time is often around 30–60 minutes in a controlled drying cabinet, but that range is only a practical starting point. A thin, evenly coated screen may dry sooner. A thick stencil, humid room, overloaded cabinet, large frame, or weak airflow may require much longer.
Published technical examples show why one universal time cannot work. A coated screen may become dry to the touch after about one hour at 21°C (70°F) and 50% RH. In one controlled example at 38°C (100°F) and 20% RH, complete drying occurred in as little as 15–20 minutes. These figures illustrate environmental effects; they are not settings to copy without checking the emulsion technical data sheet.
A screen is ready for exposure only when moisture has been removed sufficiently through the coating—not simply when the surface no longer feels wet.
For the operating procedure and correct screen position, read how to dry emulsion-coated screens properly before exposure. The guide below focuses specifically on time, temperature, humidity, airflow, and production control.
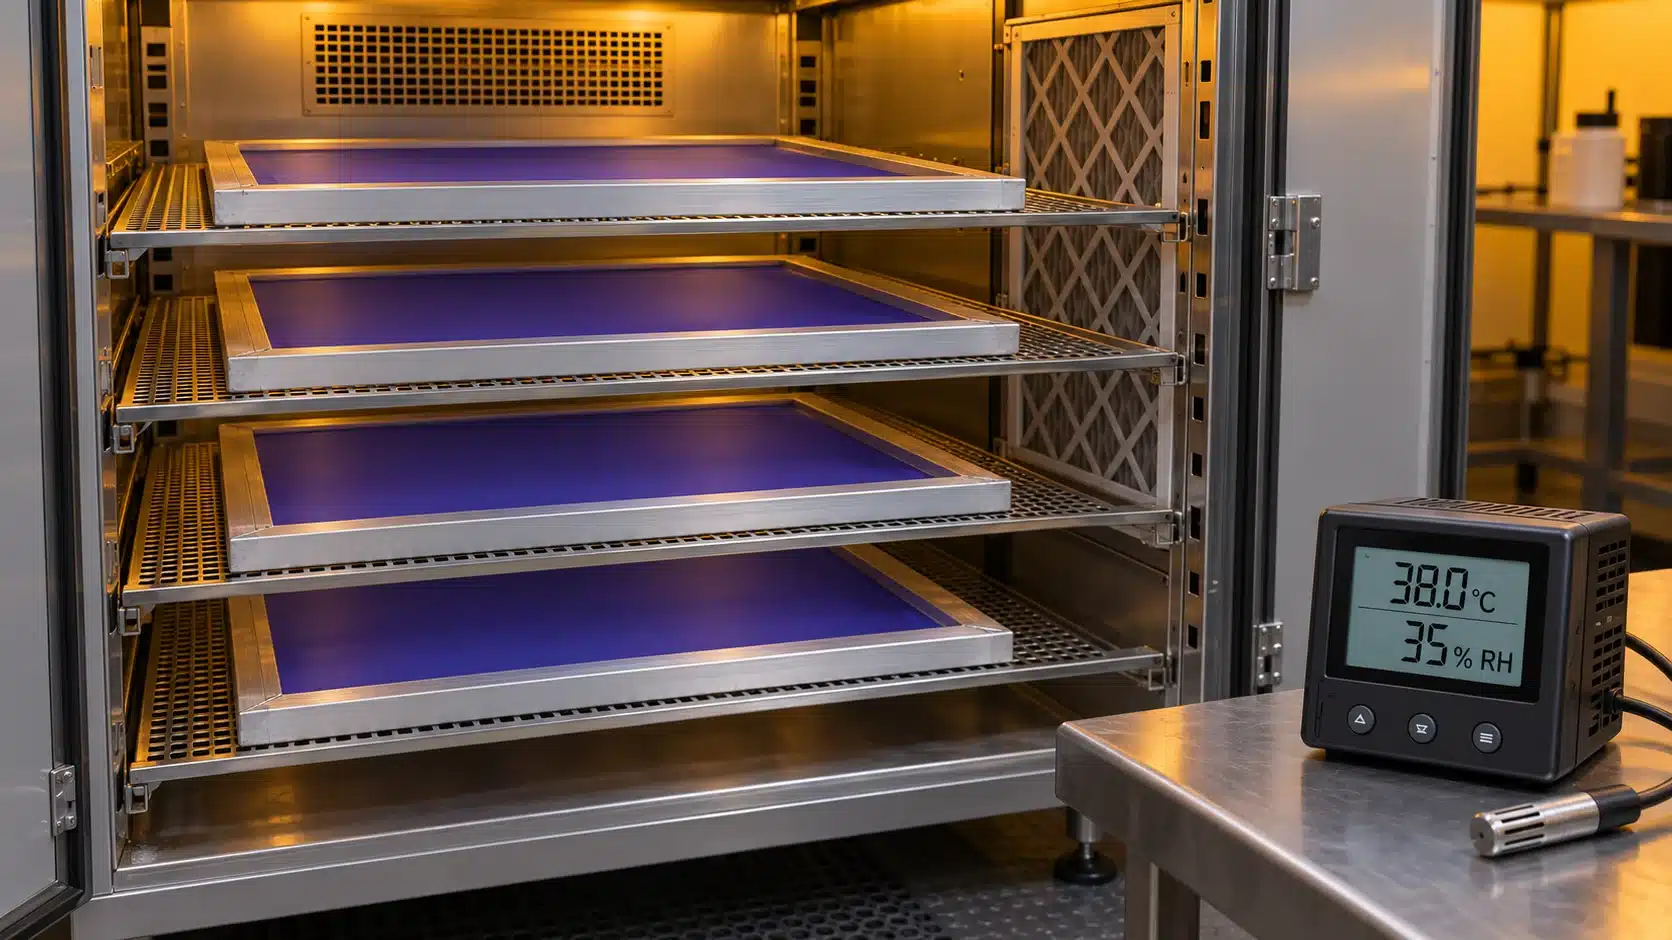
How Long Does Screen Printing Emulsion Take to Dry?
| Drying Situation | Practical Time Reference | Important Limitation |
|---|---|---|
| Controlled cabinet, standard coating | Often 30–60 minutes | Verify against the exact emulsion, load, and actual cabinet conditions |
| Ambient room around 21°C (70°F) and 50% RH | About one hour to become dry to the touch | Touch does not prove that a thick coating is dry through its full depth |
| Controlled 38°C (100°F), 20% RH example | 15–20 minutes was possible | Illustrative manufacturer example, not a universal target |
| High humidity, thick coating, or heavy cabinet load | Longer than the normal shop cycle | May require several hours or a separately validated cycle |
| High-density or unusually thick stencil | Potentially several hours or overnight | Use the stencil-system instructions and consider objective moisture testing |
Treat every time as a reference, not a guarantee. Approve the shop cycle using the same emulsion, mesh, coating, load, and environmental range used in production.
Why Is There No Universal Emulsion Drying Time?
Drying depends on how quickly water leaves the coating and the air surrounding it. Heat supports evaporation, but humidity and air exchange determine whether that moisture can escape.
The main variables are:
| Variable | Effect on Drying Time | Production Response |
|---|---|---|
| Emulsion chemistry | Products differ in solids, sensitizers, and water content | Follow the exact product data sheet |
| Coating thickness | A thicker stencil contains more moisture and has a longer path to dry | Validate separate cycles for different coating sequences |
| Mesh and thread specification | Mesh affects how much emulsion is deposited and retained | Record mesh together with coating method |
| Temperature | Controlled warmth can accelerate evaporation | Stay below the emulsion manufacturer’s limit |
| Relative humidity | High RH reduces the air’s ability to accept more moisture | Measure RH and use dehumidification where needed |
| Airflow and exhaust | Moving dry air in and moist air out speeds moisture removal | Use clean, filtered, distributed airflow |
| Cabinet load | More wet screens release more water into the chamber | Define a maximum load and consistent spacing |
| Screen size and tray position | Large frames or uneven airflow can create slower zones | Test every working position |
Changing one of these variables can make the old timer setting unreliable.
What Is the Correct Screen Drying Temperature?
There is no single screen drying temperature for every photo emulsion. The current technical data sheet for the exact emulsion is the controlling document.
Two values are often confused:
- Screen-room temperature is the ambient condition for coating, storage, and exposure. A stable range around 15–27°C (60–80°F) is commonly used.
- Drying-cabinet temperature is the air temperature around the loaded screens. It may be warmer, but must remain within the emulsion limit.
Many direct-emulsion technical guides state that coated screens should not be dried above approximately 40–43°C (104–110°F). That figure is usually a maximum limit, not the recommended setting for every job.
| Temperature Decision | Correct Interpretation |
|---|---|
| Cabinet can reach 75°C or 100°C | Equipment capability only; not a recommended emulsion setting |
| Emulsion TDS states a 43°C maximum | Keep the actual screen environment at or below that limit |
| Screen is drying too slowly | Check RH, airflow, exhaust, coating, and load before increasing heat |
| Another emulsion dried successfully at the same setting | Retest; different formulations may have different limits |
Excess heat may accelerate sensitizer degradation or affect stencil performance. Surface appearance also cannot confirm moisture deeper in a thick coating. A 65°C cabinet setting should not be treated as a universal screen-emulsion setting unless the manufacturer of the exact stencil material explicitly permits it.
How Does Humidity Affect Emulsion Drying Time?
Relative humidity is often more important than extra heat. Air already carrying a high moisture load cannot remove water efficiently.
Many controlled screen rooms use 30–40% RH as a practical target. Some current emulsion data sheets specify no more than 50% RH. Product instructions still take priority.
| Relative Humidity | Likely Drying Behavior | Recommended Action |
|---|---|---|
| 30–40% RH | Common controlled range for repeatable drying | Maintain and document the range |
| 40–50% RH | Often workable, but drying may be slower | Verify the cycle and avoid overloading |
| Above 50% RH | Longer and less predictable drying becomes more likely | Use a dehumidifier or improve conditioned air supply |
| Rapidly changing RH | Timer results may vary between batches or seasons | Measure conditions during each production period |
Photo emulsion is hygroscopic. A dry screen may absorb moisture again after leaving the cabinet. Store coated screens in a clean, dark, dry area. Wet screens placed beside dry screens also raise local humidity, so use defined batches where possible.
How Does Airflow Change Screen Printing Drying Time?
Airflow removes moist air above the emulsion. Effective drying needs a path for drier air to enter and moisture-laden air to leave.
A warm but nearly airtight cabinet can dry slowly because evaporated water remains inside. A strong unfiltered fan may carry dust and lint onto the wet coating.
| Airflow Condition | Likely Result |
|---|---|
| Little air exchange | Moist air stays around the screens and drying slows |
| Uneven airflow | Trays or screen areas dry at different rates |
| Strong, unfiltered direct airflow | Faster surface drying but increased contamination risk |
| Filtered, distributed airflow with exhaust | More consistent removal of moisture across the load |
Leave space between screens and keep the intake, exhaust, and filters clean. Coated mesh must not touch a tray or another screen.
No universal CFM or m³/h value suits every cabinet. Size, tray arrangement, exhaust design, and load change the result. Compare performance at every tray position.
How Do Coating Thickness and Cabinet Load Affect Drying?
A 1+1 coating and a thick high-density stencil should not automatically share one time. Extra coats increase the water that must leave the screen. Mesh, coater edge, coating speed, and emulsion solids also change stencil thickness.
Each wet screen also adds moisture to the chamber. Restricted spacing blocks airflow, while repeated door opening changes temperature and humidity.
For repeat production, standardize:
- emulsion product and batch status;
- mesh specification and screen size;
- scoop-coater edge and coating sequence;
- screen orientation and tray position;
- number of screens per load;
- temperature and RH range;
- drying time and completion check.
Create separate approved cycles when the coating sequence, stencil thickness, or load changes significantly.
How to Establish the Correct Drying Time for Your Screen Room
1. Start with the emulsion technical data sheet
Record the permitted temperature, orientation, humidity guidance, and special instructions.
2. Select a representative production screen
Use a common frame, mesh, emulsion, coating sequence, and normal load.
3. Measure actual operating conditions
Place maintained instruments where they represent the loaded screens. Record actual temperature and RH, not only the setpoint.
4. Test the normal cabinet load
Keep spacing consistent and compare upper, lower, front, and rear positions.
5. Verify dryness
Look for an even, non-tacky coating, but do not rely on touch alone. Use a suitable moisture meter for critical or thick stencils where practical.
6. Expose and evaluate the stencil
Run the normal exposure and washout process. Check resolution, washout, stencil hardness, and durability. A dry-looking screen that performs inconsistently has not passed validation.
7. Record the approved cycle
Document a consistently passing production cycle with a reasonable margin. Retest after changes in emulsion, coating, mesh, load, airflow, or seasonal humidity.
Screen Emulsion Drying Troubleshooting Table
| Symptom | Possible Drying Cause | Check First |
|---|---|---|
| Screen remains tacky after the normal time | High RH, restricted exhaust, heavy coating, or overloaded cabinet | Actual RH, airflow path, load, and coating sequence |
| Surface feels dry but stencil is soft after washout | Moisture may remain inside the coating; exposure may also be insufficient | Drying validation, then exposure test |
| Some trays dry faster than others | Uneven temperature or airflow distribution | Tray position, fan path, intake, and exhaust |
| Drying time changes with the season | Room or supply-air humidity has changed | Hygrometer records and dehumidifier performance |
| Screen sticks to film or exposure glass | Residual or reabsorbed moisture | Drying completion and storage RH |
| Pinholes increase after drying | Dust or lint is entering with airflow | Filter condition and drying-area cleanliness |
| Previously dry screens become soft in storage | Emulsion has reabsorbed moisture | Storage humidity and time before exposure |
Drying faults can resemble underexposure, poor film contact, contamination, or unsuitable emulsion. Change one variable at a time and keep production records.
What Should a Commercial Drying Record Include?
Factories, distributors, and importers should evaluate performance at normal load, not only a fast one-screen demonstration.
| Record Field | Information to Capture |
|---|---|
| Screen and coating | Frame, mesh, tray, coater edge, and coating sequence |
| Emulsion | Product, batch, sensitizing date, and expiry status |
| Load | Number of wet screens and spacing |
| Environment | Actual temperature and RH at start and finish |
| Air system and cycle | Fan, intake/exhaust, filter, start/finish time, and door openings |
| Result | Dryness check, exposure result, washout result, and approval status |
The record turns drying time into a controlled production parameter instead of an operator guess.
Frequently Asked Questions
How long should screen printing emulsion dry before exposure?
Many standard coated screens dry in about 30–60 minutes in a controlled cabinet. The exact time depends on the emulsion, coating, humidity, airflow, screen size, and load, so validate it locally.
What is the best temperature for drying screen printing emulsion?
There is no universal setting. Many direct-emulsion guides specify a maximum around 40–43°C (104–110°F). Treat it as a limit, not an automatic target.
What humidity is best for drying coated screens?
A controlled range around 30–40% RH is common. Some data sheets permit up to 50% RH, although drying generally slows as humidity rises.
Does more airflow always reduce drying time?
Air exchange helps when drier air enters and moist air leaves. Strong unfiltered airflow can deposit dust or dry the load unevenly.
Can I dry emulsion at 65°C to save time?
Do not use 65°C as a general setting. It exceeds the stated maximum in many direct-emulsion technical guides. Use it only if the manufacturer of the exact emulsion or stencil material explicitly approves that temperature.
Is the screen ready when the emulsion feels dry?
Not necessarily. Touch checks only the surface. Use a validated cycle, environmental records, consistent exposure results, and a moisture meter where needed.
Can coated screens be dried overnight?
Yes, provided they remain in a clean, dark, dry environment within the material manufacturer’s requirements. Recheck screens before exposure because emulsion can reabsorb moisture during humid storage.
Control Drying Time Instead of Chasing a Number
Reliable screen printing emulsion drying time comes from controlling the complete environment. Keep temperature within the emulsion limit, hold humidity stable, provide clean air exchange, standardize cabinet loading, and confirm that the coating is dry through its full depth.
A timer becomes useful only after these variables are controlled.
For the equipment’s function and limitations, read what a screen printing drying cabinet is. To review the complete prepress sequence, see the complete screen-making process. Once drying is stable, continue with how to expose a screen for screen printing and establish the correct setting with the screen printing exposure time guide.
Print shops building a more repeatable screen room can explore HANZE screen printing drying cabinets. For a suitable configuration, provide the maximum outer frame size, frame thickness, screens per batch or shift, expected coating types, local voltage and frequency, plug requirement, and destination market.
Final temperature and time settings must follow the stencil-material technical data and the equipment manual. Electrical installation, ventilation, and workplace use must comply with applicable local requirements.