Screen Printing Platen Tape vs. Platen Adhesive: Which Is Better?
Screen Printing Platen Tape vs. Platen Adhesive: Which Is Better?
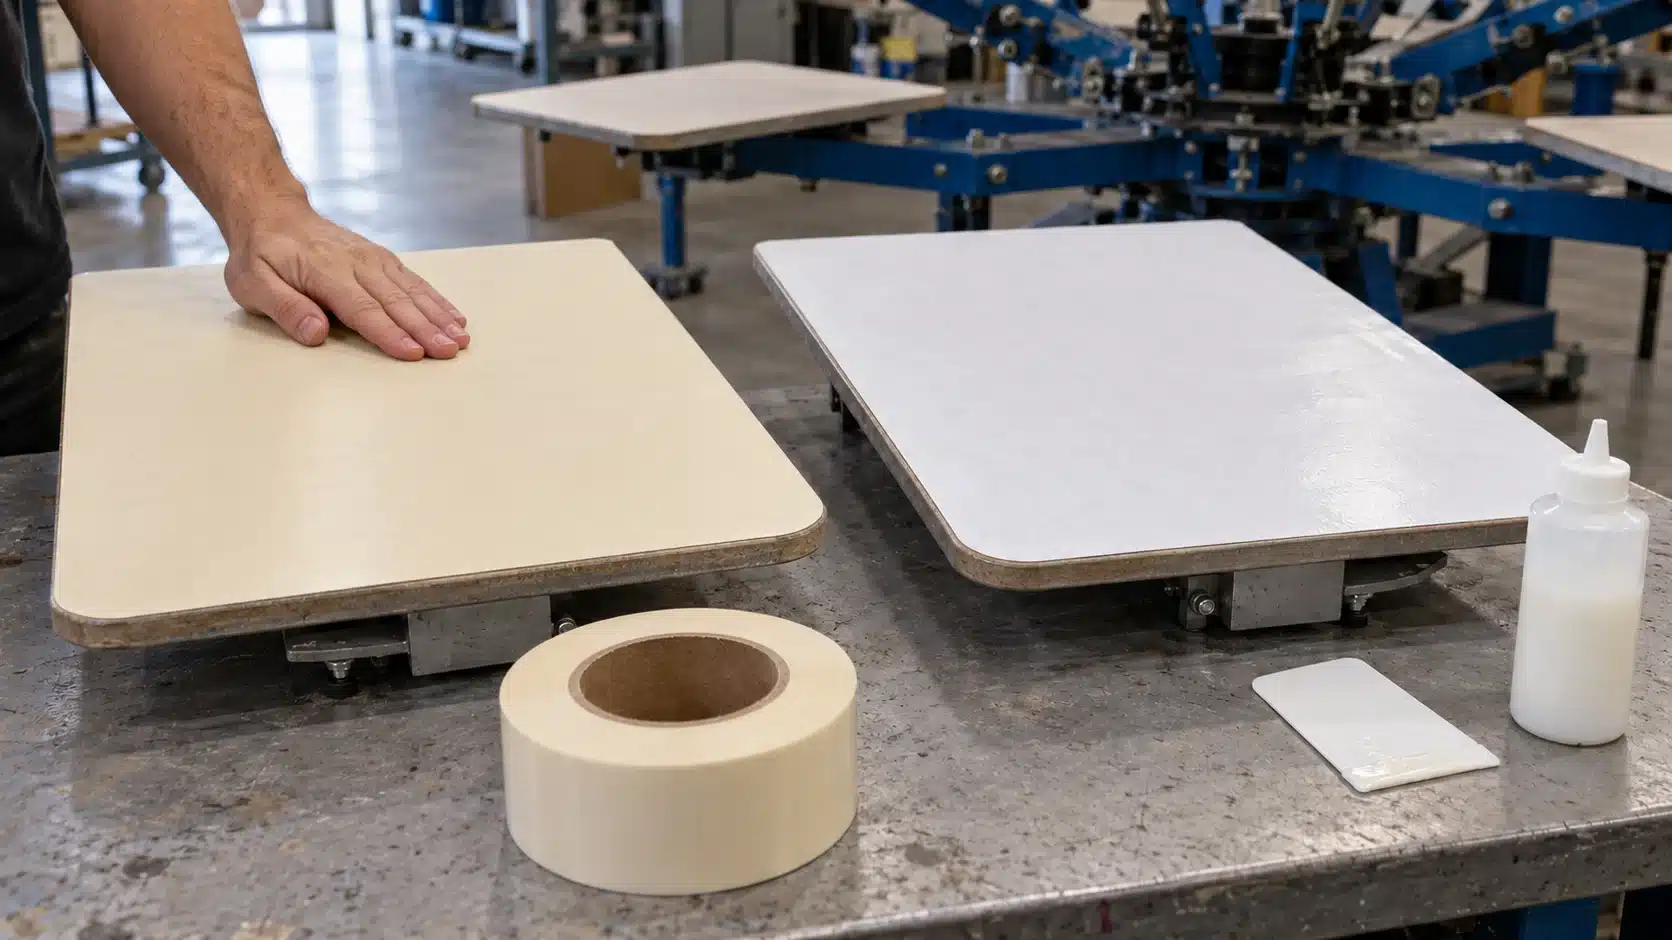
What Is Dual Tack Platen Tape?
Dual-Tack Tape Combines Platen Coverage and Garment Hold
Dual-tack platen tape has two adhesive faces: one attaches to the platen, while the exposed face temporarily holds the garment. Products commonly use a removable liner over the garment-contact surface. Check the backing and installation instructions for the specific roll.
This creates two separate requirements: secure attachment underneath and suitable fabric release above.
Standard Platen Paper Works with a Separate Adhesive
Standard single-tack pallet paper tape provides a protective covering. A separate garment adhesive supplies the tack on top.
Options include water-based liquids and aerosol mist or web adhesives. “Water-based” describes formulation; “spray” describes application. Some water-based products permit spraying as well as brushing, rolling, or spreading with a card. In garment screen printing, “pallet” and “platen” often describe the same garment-supporting board.
Single-Tack vs. Dual-Tack Is Different from Standard vs. High Tack
Single-tack and dual-tack identify which faces carry adhesive. Standard and high tack identify an adhesive grade. Ask which face a stated tack value describes. Strong attachment to the platen does not establish how comfortably a lightweight shirt will unload.
Dual Tack Platen Tape vs. Platen Adhesive: Quick Comparison
The table compares typical workflows using protective paper under separate adhesives. Confirm whether that covering is suitable for your selected system.
| Factor | Dual-tack tape | Paper + water-based adhesive | Paper + aerosol adhesive |
|---|---|---|---|
| Holding surface | Factory-coated adhesive | Separately applied liquid coating | Separately sprayed coating |
| Initial setup | Install flat; remove liner | Cover, coat, and prepare for printing | Cover, spray, and prepare for printing |
| Tack management | Select grade; follow maintenance instructions | Manage permitted coverage and replenishment | Select mist or web product; control application |
| Routine maintenance | Monitor lint and surface condition | Monitor lint, buildup, and reapplication | Monitor lint, buildup, and reapplication |
| Hold and release | Test the actual garment; do not infer performance from category names. | ||
| Heat and chemistry | Verify the exact product against operating conditions and cleaners. | ||
| Cost inputs | Tape, maintenance, and quality losses | Paper, liquid, maintenance, and quality losses | Paper, aerosol, maintenance, and quality losses |
Consider a precoated surface when simplifying initial application matters. Consider separate adhesive when controlling coating area and replenishment is central to your workflow. Verify both choices in production.
How the Options Compare in Daily Production
Setup Time and Job Changeovers
Time the complete process from preparing the platen to loading the first acceptable garment. For tape, include fitting, trimming, and liner removal. For separate adhesive, include coating and any specified preparation before printing.
Record initial setup, routine maintenance, and full replacement separately. Removing an application step may help, but frequent maintenance can change the total. On repeat orders, include the time needed to inspect an existing surface before reuse.
Also distinguish operator time from elapsed time. A coating may be preparing for use while the operator completes another task. Record both figures, then identify which steps actually delay the press. This makes the comparison more useful than simply counting how many actions each method requires.
Garment Hold and Release
The garment must stay in position during the stroke and screen lift. It must also unload without unacceptable stretching or adhesive transfer. Compare both actions; the strongest initial grip is not automatically the most workable choice.
If fabric lifts with the screen, inspect the printing setup as well as the holding surface. Ink tack and screen release can affect that symptom. More platen adhesive may conceal a separate process problem without resolving it.
Lint Removal, Re-Tacking, and Replacement
Distinguish cleaning an existing tacky surface from adding fresh adhesive. Record how long each action takes and how many acceptable garments follow before another intervention.
Use the specified cleaning method. Track whether the surface remains intact, whether edges stay attached, and whether garments release consistently. A product’s useful life in one fabric run does not establish its service interval for another.
Flash Exposure and Ink-System Compatibility
Evaluate the platen after repeated production cycles, not just while it is cold. Record actual platen temperature and flash timing; a dryer control setting alone does not describe the adhesive’s exposure.
Some mist adhesives are specifically designed to respond to flash heat. That behavior is formulation-specific. Check the selected tape or adhesive against the ink system, heat conditions, and cleaning routine, particularly when moving between plastisol, water-based, and discharge work.
Application Control and Press Cleanliness
Compare the work required to apply adhesive within the intended area and clean surrounding surfaces. Card or roller application and spraying involve different tools and operator routines. Mist and web sprays also produce different application patterns.
Follow the product’s technical data sheet (TDS), safety data sheet (SDS), and application instructions. Claims about odor, VOCs, residue, or overspray belong to the specified formulation rather than every product in its category.
Which Option Fits Your Garments and Workflow?
Cotton T-Shirts and Repeat Orders
Cotton T-shirts are a reasonable starting point for evaluating standard-tack dual-sided products. Use the garment style and batch you actually print.
On repeat work, assess whether operators can reproduce the same setup, maintenance, and unloading routine. Record lint accumulation and the intervals between interventions. A reliable choice should perform across the planned run, including the period after cleaning or replenishment.
Keep the approved product grade and installation method in the job record so the next order starts from a documented process.
Polyester, Blends, and Lightweight Garments
Higher-tack dual-sided products marketed for polyester and blends are available. Fabric composition alone still cannot establish suitability.
Test surface finish, stretch, unloading force, garment recovery, and inside-surface cleanliness. Two polyester shirts can behave differently. A blend should not be assumed to carry the same finish as another blend.
For thin garments, observe whether loading or unloading distorts the panel. If stronger tack improves hold but makes removal unacceptable, evaluate another approved grade or adhesive application rather than accepting that tradeoff without checking alternatives.
Hoodies, Fleece, and Mixed Production
For fleece and textured fabrics, include a purpose-designed web adhesive among the trial candidates. Compare hold, lint accumulation, unloading, and maintenance under the same acceptance criteria.
A mixed-production shop may approve different systems for different garment families. Include storage, product identification, and changeover time in that decision. Clear job instructions help operators avoid carrying a coating routine from one fabric into another without checking it.
Use the same reasoning for manual and automatic presses. Short runs emphasize preparation and changeovers; longer runs reveal maintenance behavior. Press size or order volume alone does not select the adhesive.
Which Costs Less? Compare Cost per Accepted Garment
Measure Consumables Actually Used
Compare tape by usable area and actual consumption, including trimming waste and replacement. Roll prices are difficult to compare when widths and lengths differ.
Measure separate adhesive consumption using a consistent method. Record any permitted dilution. If one installed covering serves several orders, allocate its cost consistently across those orders rather than charging the whole covering to the first small job.
For a simple area calculation, divide the roll cost by its stated width multiplied by length, using consistent units. Multiply that rate by the area consumed, including waste. Keep the quote currency, delivery-cost treatment, and allocation method consistent across alternatives. Record unused stock separately from material consumed during the trial.
Include Setup, Maintenance, and Quality Losses
Record labor for installation, application, lint removal, replenishment, cleaning, and replacement. Multiply recorded hours by your chosen labor rate.
Include incremental rework or reject costs attributable to garment-holding problems. Keep unrelated print defects separate. If downtime is assigned a financial value, state whether it already includes operator labor so the same expense is not counted twice.
Use a Consistent Calculation
Cost per accepted garment = (allocated tape cost + adhesive used + setup and maintenance labor + cleaning materials + attributable quality-loss costs) ÷ accepted garments.
Use matching accounting periods and count completed, acceptable garments. An impression, a screen stroke, and a finished shirt are different units.
The worksheet below is intentionally blank for your production data. A dash means “not yet recorded,” not zero.
| Record | A: Dual-tack | B: Water-based | C: Aerosol |
|---|---|---|---|
| Accepted garments | — | — | — |
| Allocated tape/paper cost | — | — | — |
| Adhesive consumed: cost | — | — | — |
| Setup/maintenance: minutes and labor cost | — | — | — |
| Cleaning materials: cost | — | — | — |
| Incremental quality losses: cost | — | — | — |
| Total attributable cost | — | — | — |
| Cost per accepted garment | — | — | — |
Hypothetical calculation: $24 of allocated tape, $8 of adhesive, $30 of labor, $3 of cleaning materials, and $5 of additional quality losses total $70. Across 500 accepted garments, that equals $0.14 per garment. These invented figures demonstrate the calculation; they are not test results or market averages.
Compare complete records from your trials. A lower consumable price is useful only when the resulting hold, release, and operating costs meet your requirements.
How to Test the Options in Your Print Shop
Keep Test Conditions Comparable
Choose representative garments from the same batch. Keep artwork, ink, screen, off-contact, squeegee settings, and flash sequence comparable. Prepare sound, clean platen surfaces and record their condition.
Include the running temperatures and run length you expect in production. A few cold-platen samples may miss maintenance problems that appear later.
Use each product correctly. Fair comparison does not mean forcing different formulations to use the same dilution, coating amount, or preparation time. Compare their approved workflows against the same garment-quality requirements.
Prevent carryover between trial options: do not apply one candidate over residue from another unless that combination is the system being evaluated. Label the test platens and record the operator and sequence. If results vary sharply between operators or sessions, investigate that variation before treating one short run as decisive.
Run the Correct Setup and Maintenance Routine
Install tape flat according to its instructions, remove the appropriate liner, and inspect edges, bubbles, wrinkles, and seams.
Apply liquid or aerosol adhesive using the specified equipment and coverage. Allow the surface to reach the condition required for printing. Avoid imposing one drying time or heat-activation step on every product.
Continue through routine lint removal, replenishment where permitted, and eventual replacement. Record intervention times and the reason for each stop. A short initial trial should not be presented as evidence of an entire covering’s working life.
Record Results and Set Approval Criteria
Define acceptance criteria before comparing results. Check garment movement, print position, screen lift, unloading behavior, inside-surface residue, and tape-edge stability at planned intervals.
Keep product and garment batch details, photographs, and representative samples. Note which observations occurred before or after maintenance. Record rejected pieces and the diagnosed cause.
Approve a system only when its quality, workflow, and cost satisfy the job requirements. Recheck relevant performance after changes to fabric finish, product grade, ink, cleaning chemistry, or heat exposure. Document the approved routine so another operator can reproduce it.
Common Problems: When to Clean, Re-Tack, or Replace
Start by locating the failure: garment-to-adhesive contact, tape-to-platen attachment, or the printing setup itself. The next action should address that cause.
| Problem | First checks | Next action |
|---|---|---|
| Garment lifts with the screen | Lint, garment-side tack, fabric finish, ink tack, off-contact, and screen release | Identify the cause before changing adhesive or print settings. |
| Tape edges lift | Platen preparation, installation, actual heat, and compatibility | Correct the condition; replace compromised covering. |
| Residue inside shirts | Coating amount, readiness for printing, temperature, and fabric compatibility | Correct application or product selection and retest. |
| Garments unload with difficulty | Tack grade, coverage, and fabric stretch | Trial an approved adjustment and inspect garment recovery. |
| Tack fails soon after cleaning | Continued lint loading, wear, and cleaning method | Review maintenance instructions and replacement criteria. |
| Seams affect the print | Wrinkles, overlaps, and surface level | Reapply flat and verify print contact. |
Clean when contamination is the identified problem and the method is permitted. Replenish separate adhesive according to its directions. Replace a covering when its condition prevents acceptable operation. Add adhesive over dual-tack tape only when the supplier permits that combination and your trial confirms it works.
Change one relevant variable at a time and inspect a representative garment after the adjustment. For example, correcting tape-edge attachment does not establish that the garment-contact tack is suitable. Confirm both interfaces before returning the job to normal production, and record the successful correction in the job instructions.
What to Check Before a Bulk Order
Ask the supplier to identify the exact construction and grade. “Self-adhesive platen tape” does not, by itself, confirm a garment-holding adhesive on both faces.
- Construction: backing, adhesive faces, tack grade on each relevant face, and liner.
- Dimensions: usable width, roll length, thickness, core size, and tolerances.
- Operating requirements: approved substrates, heat exposure, cleaning, storage, and applicable TDS/SDS documentation.
- Supply consistency: sample-to-production matching, batch identification, packaging, and issue handling.
- Order terms: MOQ, lead time, mixed cartons, and private labeling where actually available.
When reviewing a size listing such as 18-inch screen printing platen tape, confirm the supplied dimensions and adhesive construction in the quotation. A product title is not a complete specification.
Retain the approved sample specification with the purchase record. Distributors should distinguish protective paper from garment-holding dual-tack products in their own listings.
On receipt, check roll labels, dimensions, packaging condition, and batch identification against that record. If the delivered construction or grade differs from the approved sample, resolve the discrepancy before substituting it into an established production routine. Keep enough traceability to connect a reported issue to the supplied batch.
Frequently Asked Questions
Is Pallet Tape the Same as Platen Tape?
Often, yes, in garment screen printing. Both names can describe platen coverings. Confirm the construction: the name alone does not tell you whether the garment side is adhesive-coated.
Does Dual Tack Platen Tape Need Extra Adhesive?
Its precoated upper face is intended to hold garments without a separate initial coating. Follow the supplier’s instructions for maintenance or any proposed overcoating.
Can You Use Dual Tack Tape on Polyester Shirts?
Yes, with a suitable grade. Validate the actual shirt’s finish, hold, release, and residue performance before approving a production run.
Can You Use Dual Tack Tape with Water-Based Inks?
Confirm the exact tape’s suitability for your ink, flash sequence, and cleaning routine. An adhesive’s water-based formulation and an ink’s water-based formulation are separate specifications; one does not establish compatibility with the other.
Can You Reactivate Dual Tack Tape with Water?
Some products permit damp-sponge refreshing. Use only the approved method and return the surface to its specified printing condition. Water is not a universal repair for worn or damaged tape.
How Long Does Dual Tack Platen Tape Last?
There is no universal shirt count. Record service life under your fabric, heat, and maintenance conditions. Replace the covering when approved maintenance no longer restores acceptable operation.
Do You Need Platen Paper Under Water-Based Pallet Adhesive?
Protective paper provides a removable working layer. Whether the adhesive can go directly on the platen depends on both products’ instructions. Confirm surface compatibility and the required removal method.
Can Ordinary Double-Sided Tape Replace Platen Tape?
Do not assume interchangeability. Select a product intended for temporary garment holding under your process conditions, then verify release, residue, heat compatibility, and platen removal.
Need Platen Tape for Your Production Line?
Send your platen dimensions, garment fabrics, ink system, flash conditions, cleaning routine, order quantity, and packaging needs. Request the construction and grade details for available products, then evaluate samples against your production requirements.