How to Apply Screen Printing Platen Tape
How to Apply Screen Printing Platen Tape
Which Type of Platen Tape Are You Applying?
In garment screen printing, “platen tape” and “pallet tape” are common names for coverings used on the garment-supporting board. Confirm the construction before installation.
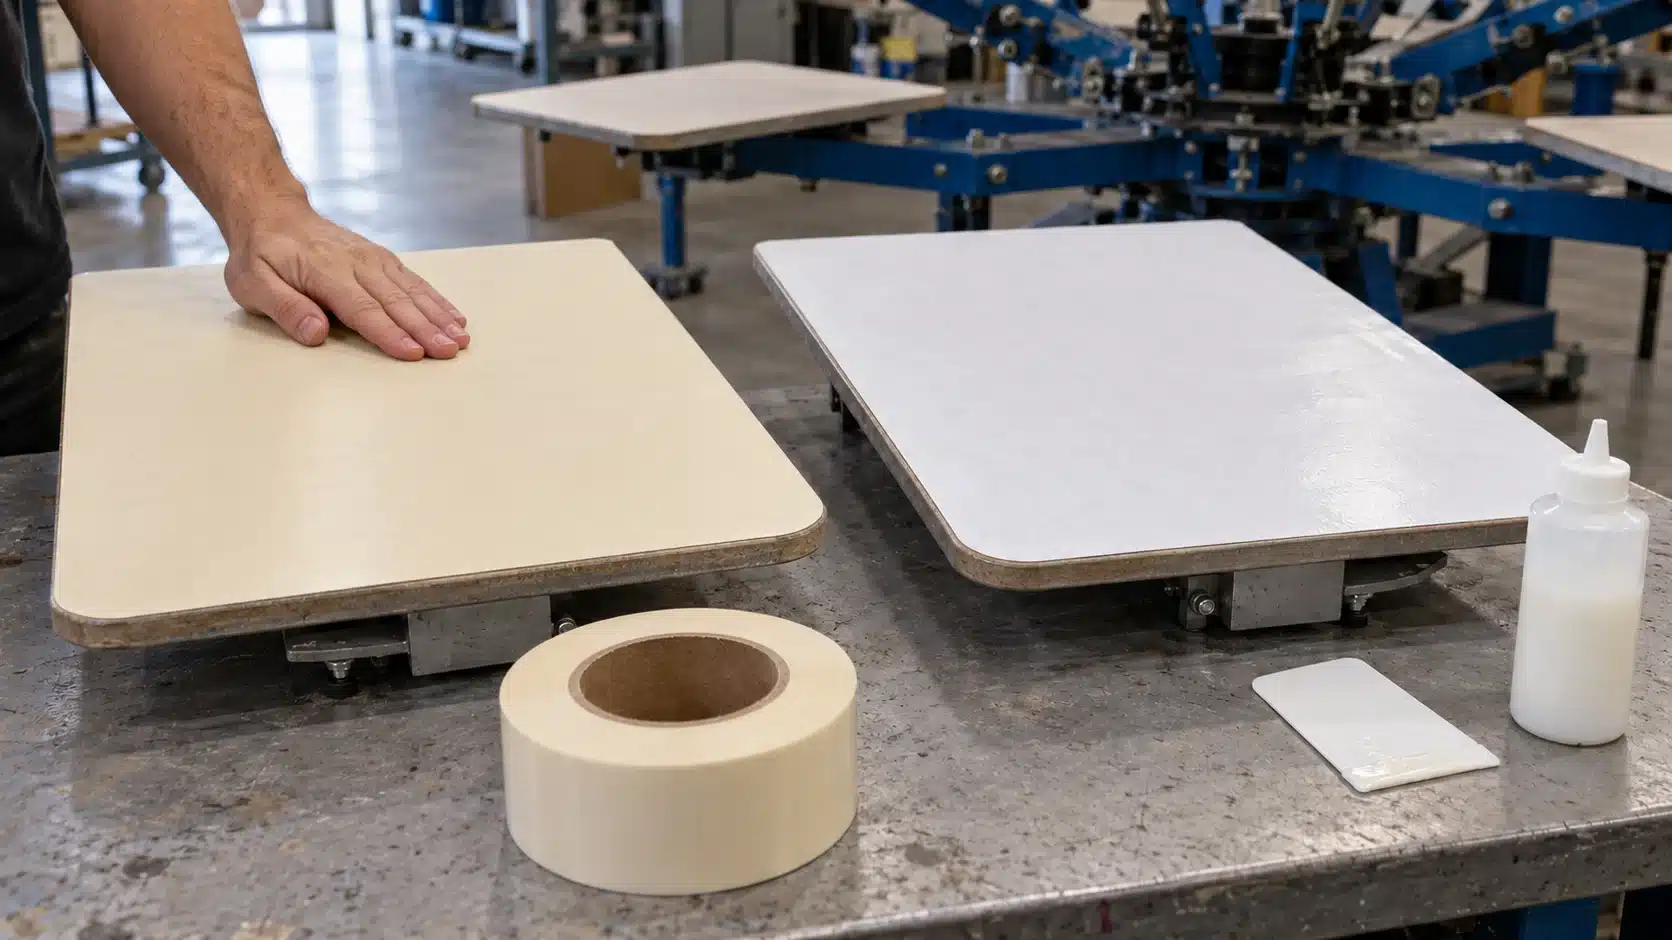
Standard Protective Paper
Standard pallet paper tape has an adhesive face that attaches to the platen. Its upper surface provides a removable working layer that protects the board from adhesive buildup and ink contamination. A separate garment adhesive normally supplies the tack above it.
Dual-Tack Platen Tape
Dual-tack tape has adhesive on both faces: one attaches to the platen, and the other temporarily holds the garment. Check which liner to remove and when. “High tack” identifies a grade; it does not, by itself, confirm that both faces are adhesive-coated.
| Tape type | Platen-facing side | Garment-facing surface | After installation |
|---|---|---|---|
| Standard protective paper | Adhesive attaches it to the board | Protective working layer | Apply the selected garment adhesive |
| Dual-tack tape | Adhesive attaches it to the board | Precoated holding surface | Remove the specified liner; follow product directions |
Tools and Checks Before You Start
Prepare the Application Tools
Keep the following materials within reach:
- Suitable tape: the correct construction, grade, and width.
- Measuring tools: a tape measure or ruler for the board and sheet.
- Application tool: a clean plastic card, suitable squeegee, or approved roller.
- Cleaning materials: products and cloths suitable for the platen surface.
- Cutting tools: equipment appropriate for precutting and finishing the sheet.
Inspect the applicator edge. Dried ink, chips, or rough spots can drag contamination across the covering or interfere with smooth contact.
Check the Platen Surface and Operating Conditions
Identify whether the working face is wood, metal, rubber, or another material. Check the tape’s compatibility with that surface and its removal requirements.
Confirm installation conditions separately from production heat resistance. A tape rated for flash exposure may still have specific requirements for application temperature.
Choose a stable working position. Keep tools away from moving press components and use the equipment’s prescribed setup procedure. If access is poor, consider removing the platen according to the press instructions.
How to Apply Platen Tape in 8 Steps
Step 1: Remove Old Tape and Clean the Platen
Remove the previous covering using the method suitable for the tape and platen. Clear loose fibers, adhesive deposits, and dirt from the working surface. Cleaning away dust and lint is also part of published dual-tack installation guidance.
Inspect the exposed board before covering it again. Raised deposits, damaged rubber, and loose surface material need attention because a fresh sheet cannot restore the underlying surface.
Use the cleaner and removal tools permitted for the platen. Allow the surface to reach the specified clean, dry installation condition. A universal solvent recipe is unsuitable when a shop has several platen materials.
Check the corners and edges as carefully as the center. They need sound contact for the next sheet to remain attached during garment loading and unloading.
Step 2: Measure and Cut a Sheet for Full Coverage
Measure the board’s full top working surface, including its rounded corners. Select a roll width and cut length that cover that face, allowing enough material for the intended edge finish. Manufacturer instructions for protective paper also begin with a sheet large enough to cover the platen.
Check the sheet against the outline before attaching it. Do not leave a narrow bare strip along one side or a gap between pieces within the working face.
A suitable full-width sheet reduces the need for seams. If several strips are necessary, use the permitted seam arrangement and inspect any height difference. Where possible, plan seams away from critical print contact rather than discovering a ridge after the job starts.
Step 3: Align the Tape and Secure the Starting Edge
Identify the face intended to contact the platen. Align the sheet with the board, then attach a short starting section along an accessible edge.
Check both sides before pressing down more material. Correcting an angled start is easier while most of the sheet remains free.
If the product has a liner on its platen-facing adhesive, remove that liner progressively as directed. Keep the exposed adhesive clear of dust, loose clothing, and dirty tools. Use a starting direction that gives you control over the sheet and access to the remaining surface.
Step 4: Lay the Tape Down Gradually with Even Pressure
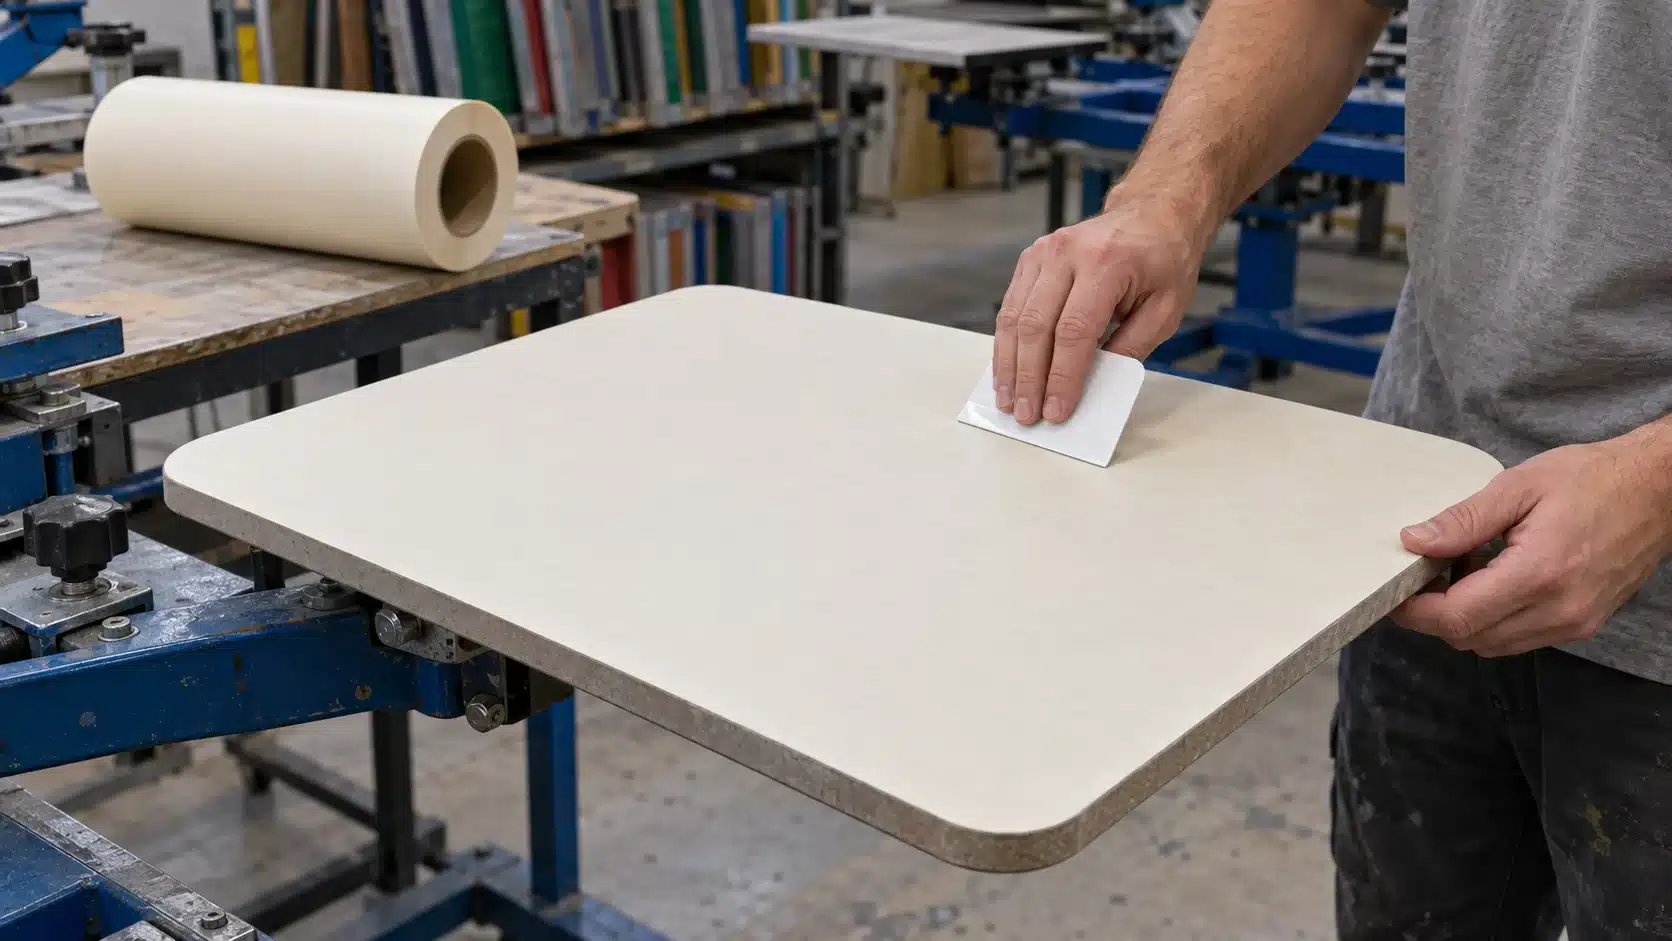
Advance the sheet in small, controlled sections. Keep the remaining material clear of the board until the applicator reaches it. Press along the contact line so air can escape toward the unattached area.
Use smooth, consistent strokes with the suitable card or squeegee. A published application demonstration similarly uses a squeegee card to obtain a flat surface and remove trapped air.
Guide the tape without pulling it into shape. If alignment drifts, stop and check the starting position instead of stretching one side to compensate.
Watch the surface as you progress. Pause when a fold or pocket starts forming. Resolving a small installation defect immediately is more practical than covering the whole board and then trying to force it flat.
Step 5: Smooth Out Air Bubbles and Inspect the Corners
Inspect the installed face from several angles. Look for trapped air, debris, creases, and seam ridges. A bubble and a particle under the tape may look similar but require different corrections.
Where the product permits repositioning, lift the affected area carefully and reapply it with controlled pressure. Stop if lifting damages the backing, contaminates the adhesive, or prevents reliable attachment. Replace the compromised sheet when a flat surface cannot be restored.
Check around the full perimeter and each rounded corner. Firmly attached edges should follow the board’s shape without pulling the top layer into a fold. Avoid treating an embedded particle or permanent crease as an air pocket that can simply be pressed away.
Step 6: Trim the Excess Without Damaging the Platen
Finish the perimeter with the method suitable for your covering and board. Precutting on a separate cutting surface can reduce the amount of finishing required on the platen itself.
If trimming after attachment, use an approved technique that keeps the cutting edge from scoring the platen or rubber facing. Inspect the result for loose slivers and overhang that could catch a shirt.
Edge treatment can differ between systems. Published guides show both trimming and folding approaches. Confirm which is suitable for your application, then check that the finished working face remains fully covered and flat.
Step 7: Prepare the Garment-Holding Surface
For standard protective paper, apply the selected garment adhesive according to its directions. Control the coverage and amount, then allow the coating to reach its required printing condition.
Some water-based pallet adhesives permit brushing, rolling, spreading with a card, or spraying. Water-based describes a formulation, while spraying describes an application method. Follow the instructions for the actual product rather than borrowing another adhesive’s dilution or drying routine.
For dual-tack tape, remove the specified upper liner in the instructed sequence. Keep the installed backing attached while exposing the garment-holding face. Start with the intended precoated surface; add another adhesive only if the supplier approves the combination and a trial confirms acceptable results.
Check the prepared surface before loading garments. Application and maintenance requirements should be recorded separately.
Step 8: Inspect the Surface and Run a Test Print
Load a representative garment and check that it lies correctly. Observe its position during the stroke and screen lift, then unload it and inspect for distortion or adhesive transfer.
Evaluate the covering under the flash sequence and operating conditions planned for the job. Recheck corners, seams, and the working face as the platen reaches normal running conditions.
Keep the trial garment and note the tape grade, garment type, adhesive routine, and relevant heat conditions. If the shirt moves or lifts, inspect both the holding surface and screen release before changing the setup.
Installation Checklist Before Production
Use observable acceptance criteria before releasing the platen for production. Keep the same checks in the job setup record.
| Check | Acceptance criterion |
|---|---|
| Coverage | The full top working face, including corners, is covered. |
| Flatness | No bubbles, folds, or seam ridges interfere with printing. |
| Edges | The perimeter stays attached and allows smooth garment loading. |
| Holding surface | The correct adhesive application or liner-removal procedure is complete. |
| Garment trial | Position, hold, release, and inside-surface cleanliness meet the job requirements. |
| Heat cycle | The installed system remains acceptable under actual operating conditions. |
Common Problems and How to Fix Them
Locate the problem before adjusting the system. The tape-to-platen bond, garment-holding surface, and printing setup perform different jobs.
| Problem | What to check | Next action |
|---|---|---|
| Bubbles during installation | Trapped air, debris, and uneven application | Reposition if permitted; replace material that cannot lie flat. |
| Bubbles after flashing | Actual heat exposure, surface condition, and product compatibility | Identify the cause and retest a correctly prepared covering. |
| Creases or seam ridges | Stretching, folds, overlaps, and sheet placement | Restore a flat face; replace compromised covering. |
| Edges or corners lift | Preparation, contact pressure, application conditions, and heat | Correct the condition affecting attachment and recheck the perimeter. |
| Tape lifts with the shirt | Attachment underneath and release above | Verify both interfaces and trial a suitable grade or approved adjustment. |
| Garment shifts or lifts | Holding adhesive, lint, fabric behavior, ink tack, and screen release | Diagnose the relevant surface and printing settings before adjustment. |
Change one relevant condition at a time and repeat the garment check. Record whether the fault appears immediately, after maintenance, or only after repeated flash cycles. That timing helps distinguish an installation defect from a problem developing during production.
When and How to Replace Platen Tape
When the Covering Needs Replacement
Replace the covering when tears, permanent creases, damaged seams, or persistent lifting prevent acceptable operation. Use condition and production performance to decide; a universal shirt count cannot describe every tape, fabric, and maintenance routine.
Loss of garment grip above standard protective paper may call for adhesive maintenance rather than replacement of an otherwise sound covering. Inspect the layer that has actually failed.
Remove the Old Covering and Prepare a Fresh Surface
Use the tape and platen suppliers’ removal guidance. Avoid pulling away loose rubber or damaging the board while removing residue. Check the exposed surface before applying a new sheet.
Keep removal, routine cleaning, and dual-tack surface maintenance as separate procedures. Record the method that works for the approved system so the next changeover can follow the same process.
What to Check Before Buying Platen Tape in Bulk
Compare usable width, roll length, backing, adhesive construction, and compatibility with your platen material. Confirm application conditions, running heat exposure, cleaning, storage, and removal requirements.
Evaluate samples using the installation and garment checks above. Ask whether the quoted production rolls match the approved sample specification and how batches are identified.
Confirm MOQ, lead time, packaging, and any custom-width or private-label options that are actually available. Keep these terms with the product specification. A description such as “self-adhesive” or “high tack” should be clarified before it becomes the purchasing standard.
Frequently Asked Questions
Can You Use Regular Masking Tape on a Platen?
Only if its specifications and trial performance suit the job. Compare heat exposure, surface compatibility, flatness, and removal behavior. Similar color or appearance does not establish equivalence to a purpose-designed platen covering.
Can You Put New Platen Tape over Old Tape?
Use layering only as part of an approved system. Placing a fresh sheet over dirty, torn, loose, or uneven material preserves the underlying defect and makes its condition harder to inspect.
How Many Layers of Platen Tape Should You Use?
There is no universal layer count. Some protective-paper instructions describe planned multilayer use. Confirm permission for the product, then assess total height, flatness, print contact, and how operators identify the final working layer.
Can You Apply Platen Tape to a Warm Platen?
Follow the specified application-temperature range. Resistance to heat during printing is a separate property. Do not infer that a product should be installed on a hot board because it is marketed for flash exposure.
Should You Puncture Bubbles in Platen Tape?
Check the product and platen guidance first. Identify whether the raised area contains air, debris, or a crease. Where possible, correct installation by approved repositioning; replace material that cannot provide an acceptable flat surface.
Does Every Platen Tape Have a Release Liner?
No. Check the actual construction and liner arrangement. Some products unwind without a separate liner, while particular dual-tack systems require removal of an upper protective layer. Follow the supplied sequence rather than trying to separate the backing itself.
Can You Reuse Platen Tape after Removal?
Assume reuse only when the product is designed for it and its condition remains acceptable. Removed protective paper may no longer provide reliable contact or flatness. Reusable gel sheets and mats are different product systems.
Can You Apply Platen Tape with the Platen Still on the Press?
Yes, where the equipment and application method permit stable access. Check the press setup instructions and access around the entire board. Removing the platen may be more practical when nearby components obstruct controlled application or inspection.
Need Platen Tape for Your Press?
Send your platen dimensions and material, required tape construction, flash conditions, cleaning routine, quantity, and packaging needs. Request specifications for available products and evaluate samples before approving the installation method for production.