Automatic Carousel Screen Printing Workflow: From Setup to First Approved Print
Automatic Carousel Screen Printing Workflow: From Setup to First Approved Print
An automatic carousel screen printing workflow begins with prepared screens, an approved design, and a clear job specification. The operator then brings garment support, screen registration, ink transfer, flashing, and curing into one repeatable process.
The first print provides a reference for appearance and placement. A short sequence of samples shows whether that setup remains consistent as garments move through the press and the platens warm up.
Use the following sequence to organize setup and approval. Follow the operating manual supplied with your press for its controls, guarding, and adjustment procedures.
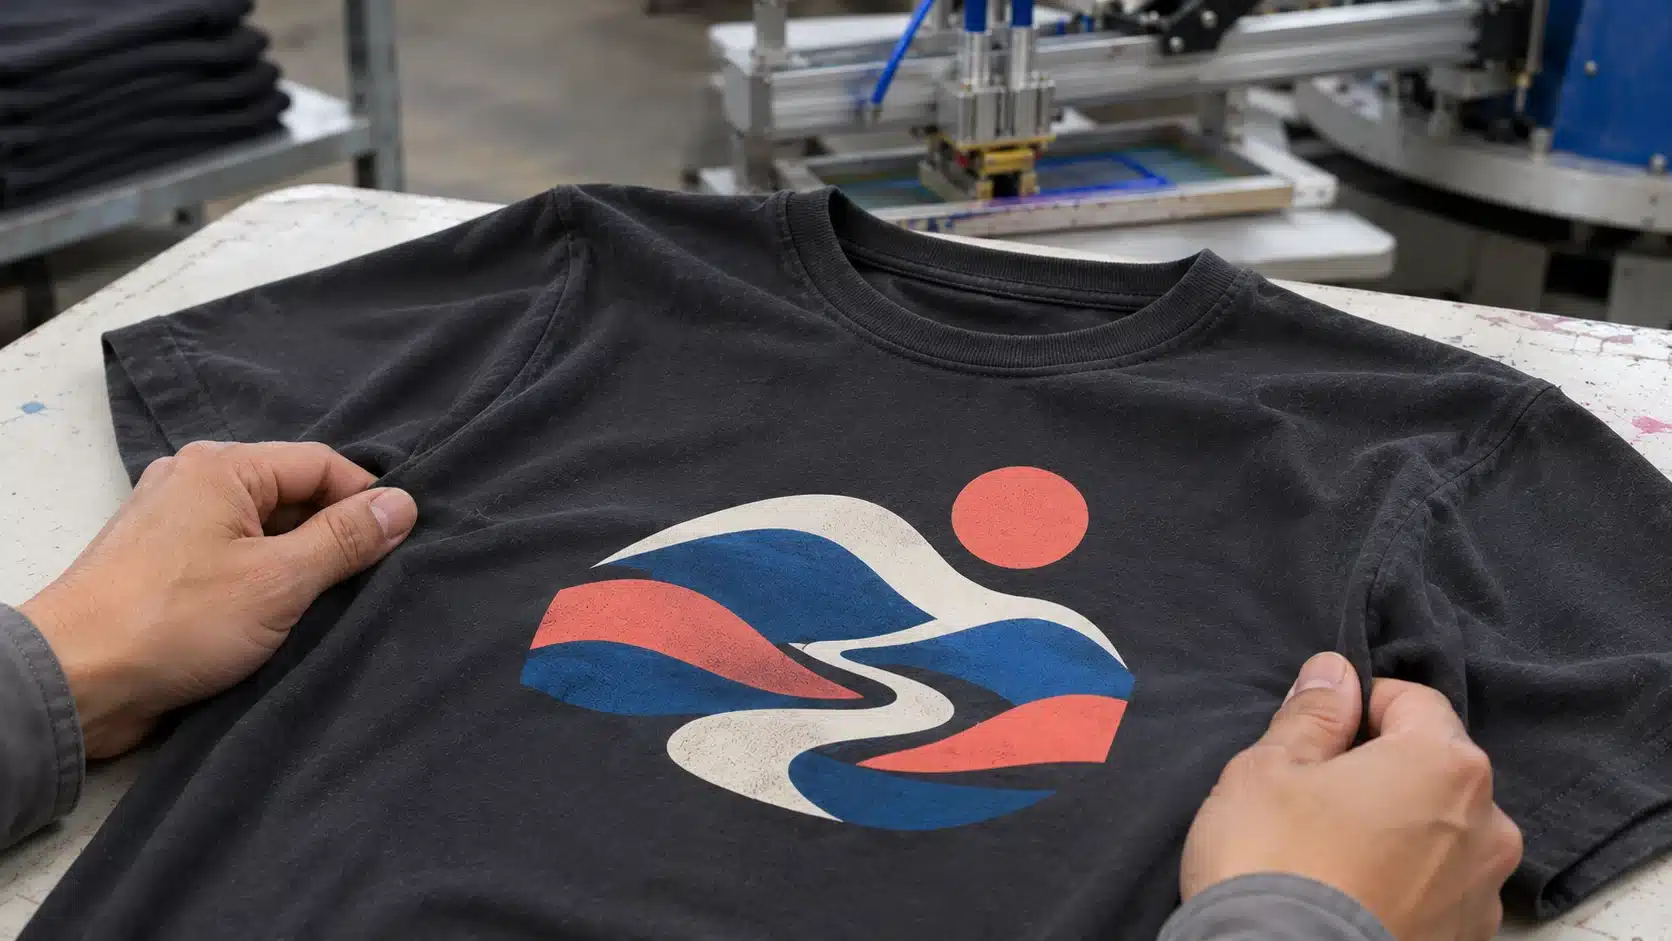
1. Confirm the Job and Receive Print-Ready Screens
Start with the approved artwork version, finished image dimensions, print location, garment style, fabric, color, size range, and order quantity. Identify every separation, including any underbase or highlight white.
Have the ink system and its technical data available. Confirm the intended substrate, print sequence, intercoat requirements, and final curing conditions. For repeat work, retrieve the previous approved sample and setup record.
Prepare each ink according to its technical data, including any approved mixing or additives. Identify the containers so the operator can match each ink to its screen and the job record.
Inspect each screen before mounting. Check identification, image orientation, open details, stencil edges, mesh condition, and recorded tension against the job specification. Screens should be fully dry, with pinholes and unwanted openings corrected appropriately.
Keep the artwork, screens, and ink labels organized in printing order. HANZE’s complete screen making process covers the preparation and inspection stages leading into this handover.
2. Prepare the Platens and Garment Support
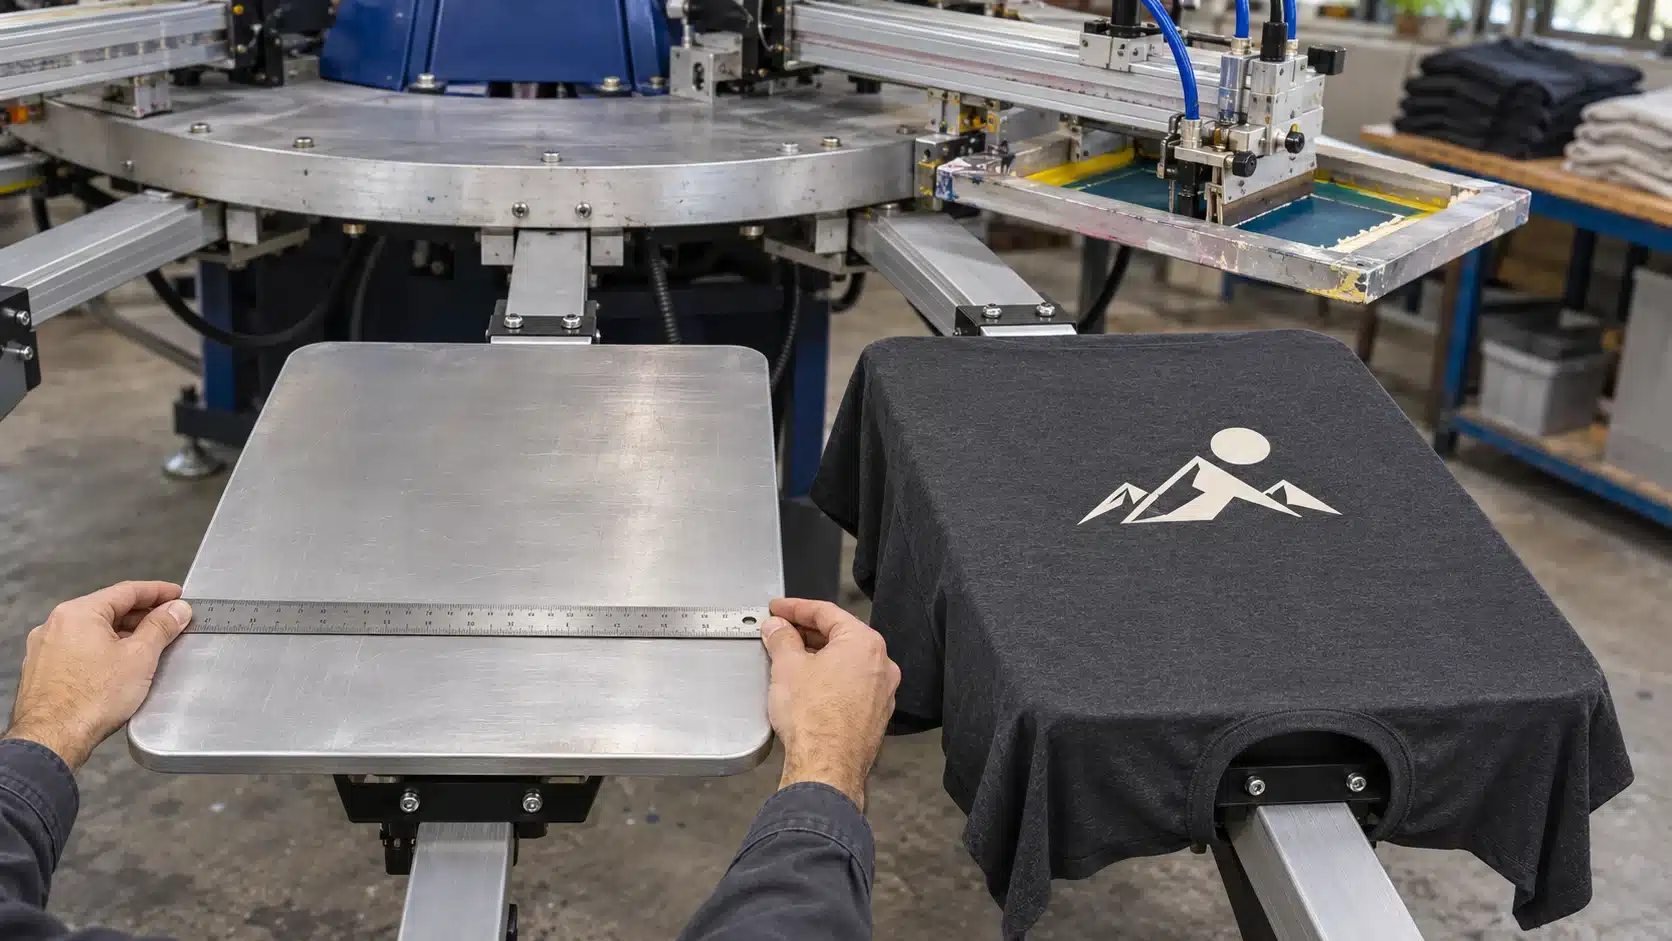
Confirm that the artwork fits the selected configuration’s maximum print area and that the platen supports the intended print location.
For example, HANZE lists a 500 × 700 mm platen and a 460 × 550 mm maximum print area for one YP-6-14 configuration. Use both measurements when checking the job. See the platen size and maximum print area guide.
Inspect platen mounting, alignment, surface condition, and the level checks specified for the machine. Remove lint and raised residue. Apply suitable platen protection and garment adhesive according to their instructions.
Load the smallest garment size and check the neckline, seams, pockets, and fabric tension. The print area should lie flat with stable support. Confirm that hanging fabric stays clear of moving components, then establish a placement reference the operator can reproduce.
3. Mount the Screens and Establish Registration
Fit the screens in the planned print order. Confirm frame and clamp compatibility, seat each frame correctly, and secure it using the press manufacturer’s procedure.
Choose one separation as the registration reference. Use a compatible registration template, setup sheet, or pre-registration system to establish its relationship to the platen. Align the remaining separations to the same reference and check the complete artwork at its intended position.
Use the machine’s registration adjustments to refine alignment, then confirm the frames remain secure. Block registration targets that fall outside the finished artwork before printing the approval garment.
Inspect a test impression for color alignment, fine details, and the relationship between the underbase and top colors. If alignment changes between impressions, check frame clamping, platen mounting, and garment movement. Record the observed direction and affected color before changing the setup.
4. Set Off-Contact, Squeegee, and Flood-Bar Movement
Off-contact is the resting gap between the mesh and the printing surface. Set it for the actual garment thickness, screen condition, and ink process. During printing, the mesh should release cleanly behind the squeegee.
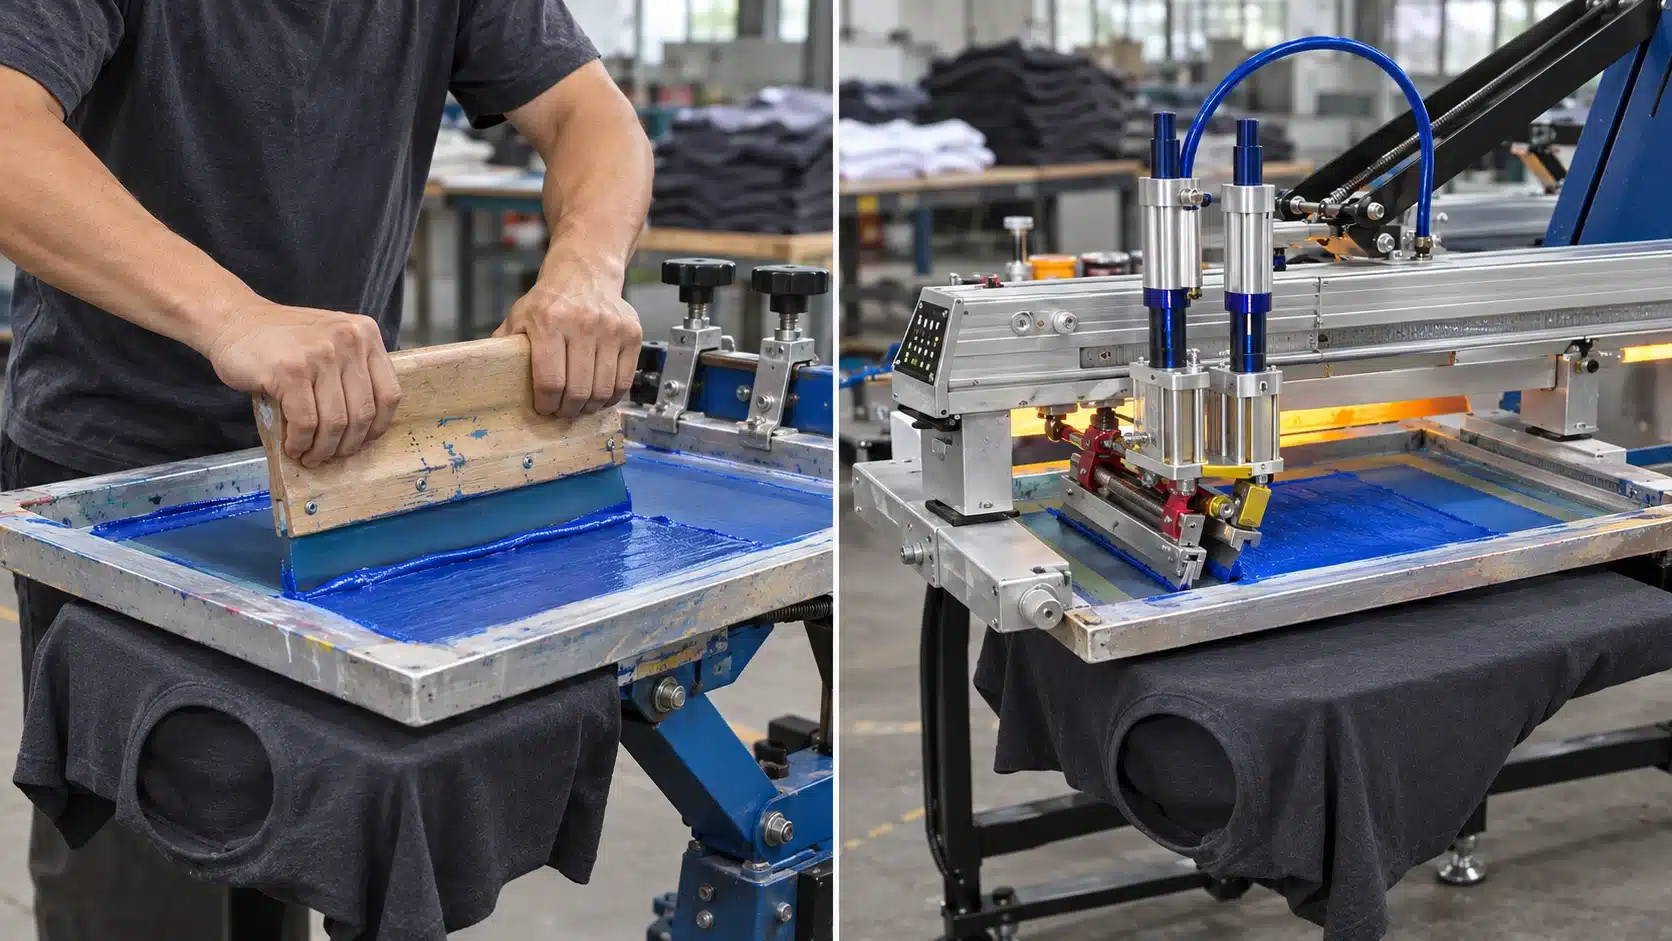
Check blade condition, holder fit, and image coverage. Set the print stroke so the blade travels across the complete image with the required clearance from the frame and clamps. Check the flood-bar path separately.
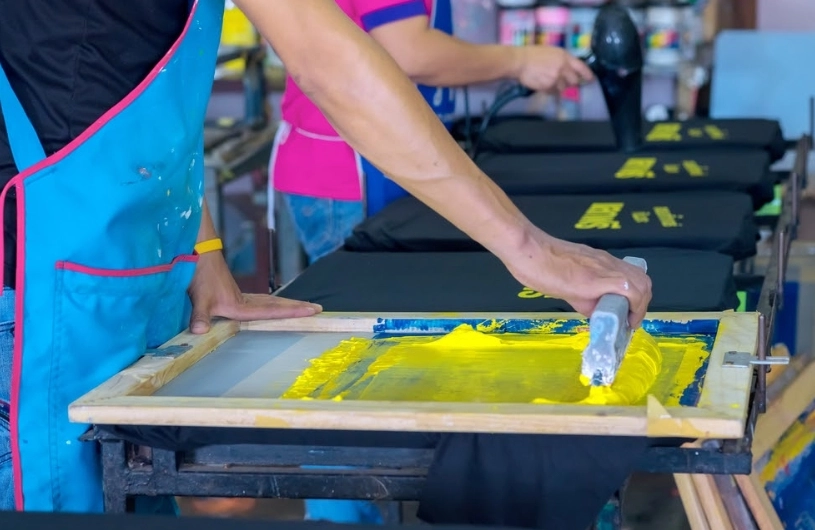
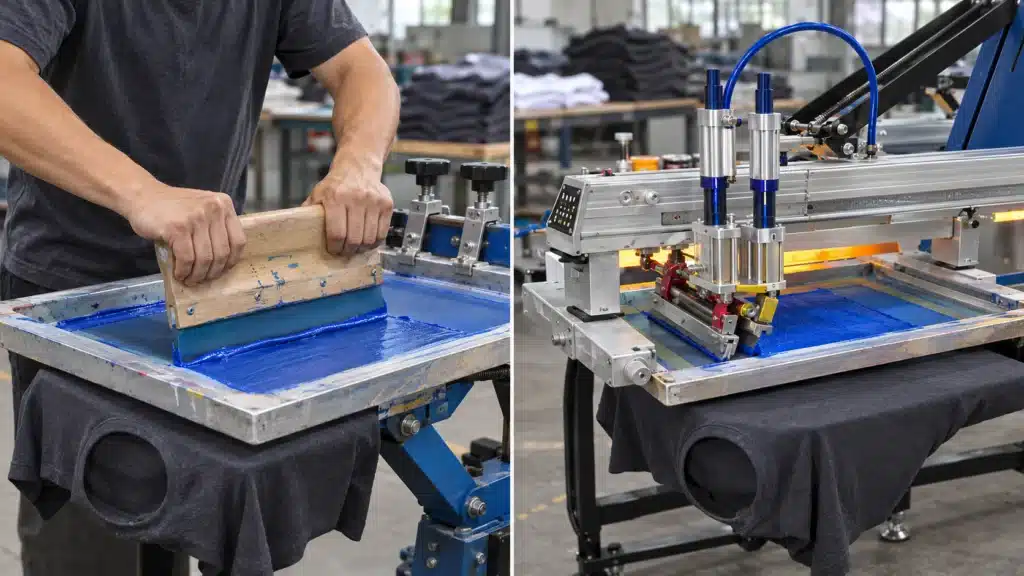
Begin with the machine and ink suppliers’ appropriate setup guidance. Adjust pressure, blade angle, speed, and stroke count through controlled test prints. Aim for complete stencil clearing, even coverage, and clean detail. Change one variable at a time and record the result.
For further adjustment guidance, see HANZE’s guide to setting squeegee pressure.
5. Map Printing, Flashing, and Cooling
Write down the operations a garment will encounter between loading and unloading. Count the screens and identify where the ink system requires intercoat flashing or cooling before overprinting.
Intercoat flashing prepares an ink layer for the next screen. Final curing follows the ink supplier’s full-cure requirements for the completed print. Record the conditions for both stages.
The following illustrative sequence uses three top colors over a white underbase on a dark cotton T-shirt. It assumes the chosen top colors can print wet-on-wet after the underbase has been flashed and cooled sufficiently.
| Sequence | Operation | Setup check |
|---|---|---|
| 1 | Load garment | Match the approved placement reference |
| 2 | Print white underbase | Check coverage and image edges |
| 3 | Flash underbase | Follow the selected ink’s flash requirements |
| 4 | Cool, if needed | Verify readiness for the next color |
| 5–7 | Print three top colors | Check registration and ink pickup |
| 8 | Unload | Transfer the garment to final curing |
This example uses four screens. Confirm the actual locations against your machine’s layout, including any flash position that affects available print heads. HANZE’s colors and stations guide explains that planning step.
Check flash coverage across the complete image. Follow the ink’s technical data for settings and evaluate the result before overprinting. Inspect downstream screen undersides for ink pickup, and reassess the flash or cooling conditions if transfer occurs.
If the ink or machine guidance calls for platen preheating, establish that condition before approval. Record the warm-up procedure so the initial samples and the production run begin under comparable conditions.
6. Print and Inspect the First Complete Garment
Use the actual garment style and fabric for approval. Load it consistently, run the complete print sequence, and observe whether the fabric stays in position through each operation.
After unloading, complete the specified final cure and allow the sample to cool before judging its appearance. For plastisol, the ink film must reach the conditions specified for full cure. Establish the dryer settings using a suitable measurement method and the ink supplier’s guidance.
Compare the finished sample with the approved artwork or reference under consistent lighting. Inspect placement, dimensions, registration, opacity, color, fine details, unwanted marks, and print feel.
Record cure-verification and durability-test results as required by the job and ink supplier. Identify any adjustment, repeat the sample, and retain the version approved for production.
7. Confirm Consistency Through a Short Run
Run a short sequence using the platens and stations intended for production. Compare samples from different points in that sequence as the press and platens reach their working condition.
Watch for changes in ink transfer, garment adhesion, registration, and overprinting. Check loading consistency across the garment sizes in the order. Confirm that unloading and final curing can support the planned pace.
If a defect appears, record the affected color, platen or station, and when it began. Use those observations to select the next check. For example, a recurring position-specific fault warrants checking that platen and its mounting.
After an adjustment, compare fresh samples with the retained approval garment. Establish the routine inspection points and the conditions that require a fresh approval during the production run.
8. Complete the First-Print Approval Record
Keep the approved garment or a clearly identified reference sample with the setup record. Photographs help document placement and detail, while the physical sample preserves the actual print feel and appearance.
| Record item | Details to retain |
|---|---|
| Job identity | Order reference, artwork revision, date, and operator |
| Garment | Style, fabric, color, sizes, and print location |
| Screen set | Screen IDs, mesh specifications, and relevant tension readings |
| Platen and registration | Platen configuration, placement reference, and registration method |
| Ink and sequence | Ink identification, separations, print order, and stroke counts |
| Press settings | Off-contact, blade specification, pressure, angle, and speeds |
| Heating | Flash settings, cooling arrangement, dryer settings, and cure checks |
| Approval | Sample identity, inspection results, agreed tolerances, and sign-off |
Use the record to brief the production team and prepare repeat orders. Recheck the setup against current materials and conditions when the job returns.
For configuration support, send the artwork, garment details, screen dimensions, and proposed sequence to HANZE. Review the available automatic carousel screen printing presses and contact HANZE to discuss the setup requirements for your application.
Frequently Asked Questions
What should be ready before automatic press setup?
Prepare the approved artwork, inspected dry screens, identified inks, actual garments, and job specification. Have the machine instructions and ink technical data available, together with any previous approved sample.
Does every printed color need a flash?
Plan flashing around the ink system, garment, and printing sequence. Some compatible colors can print wet-on-wet. Confirm the sequence through supplier guidance and testing with the actual materials.
How much off-contact should I use?
Set the gap for the machine, garment thickness, screen tension, and printing process. Use test prints to confirm clean mesh release, image definition, and consistent ink transfer across the image.
Can I approve production from one good sample?
Use the first completed sample to establish appearance and placement. Follow it with a short sequence to check consistency across the working platens, changing heat conditions, and routine garment handling.
 Automatic vs. Manual Screen Printing Press: When to Upgrade