Spot Cleaning Cotton vs Polyester: Testing and Care
Spot Cleaning Cotton vs Polyester: Testing and Care
An ink spot comes off a cotton shirt without an obvious trace. The same cleaning method leaves a pale patch on a polyester garment. On another order, the color stays unchanged, but the treated fabric develops a different sheen.
Those results do not establish that cotton is always safe to clean or that polyester should never be treated. They show why a cleaning procedure needs to match the actual garment.
A spot cleaning gun can be used on some polyester and cotton garments when the equipment, cleaning fluid, fabric, and decoration are compatible. Fiber content alone cannot confirm that compatibility.
Before cleaning production pieces, test a representative garment from the same batch. Evaluate the dry result for color change, residue, surface damage, and loss of shape or stretch recovery.
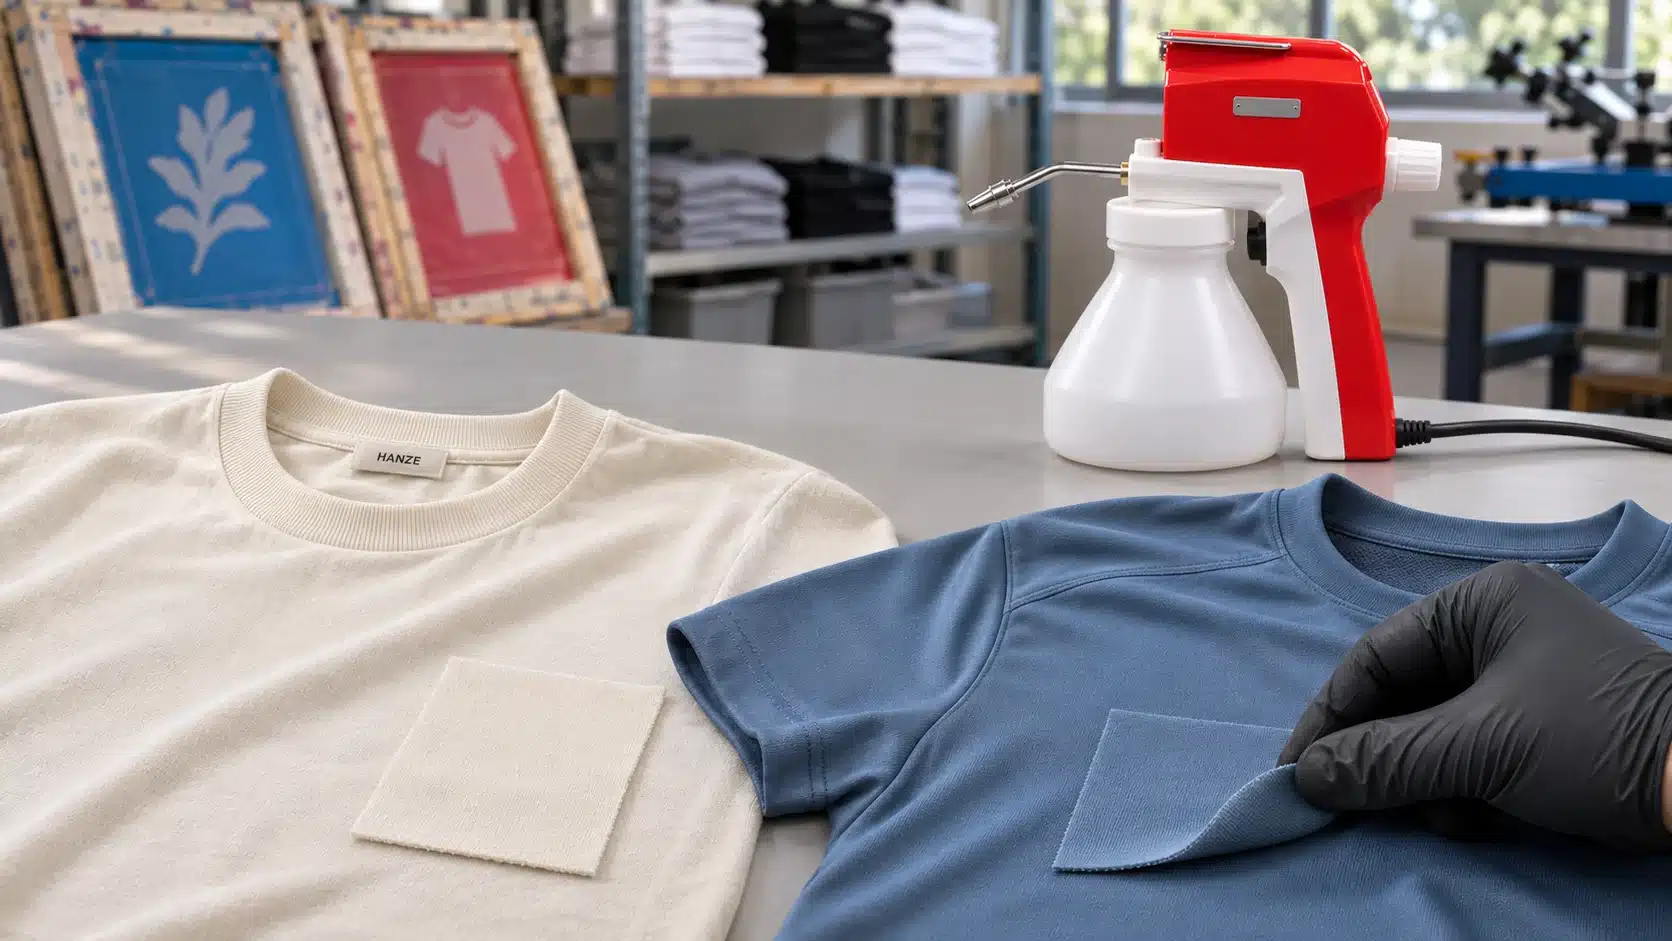
Can You Use a Spot Cleaning Gun on Polyester?
Yes, some polyester garments can tolerate a tested spot cleaning process. Others may show visible changes even when the unwanted ink has been removed.
The decision depends on more than the word “polyester” on the label. Consider the yarn, fabric construction, dye, finish, and any additional fibers. Printed decoration, bonded seams, labels, and trims also need protection.
A plain polyester practice swatch does not establish a suitable procedure for a finished performance shirt.
The same rule applies to cotton. A successful test on a white cotton blank does not confirm compatibility with a dark cotton garment, a pigment-dyed shirt, or a cotton-elastane blend.
Test the complete cleaning process on the actual material you intend to repair.
Cotton vs Polyester: What Changes During Spot Cleaning?
Cotton and polyester differ in their interaction with water. Cotton fibers generally absorb more moisture, while polyester can move moisture through fabric structures and applied finishes.
However, water absorption does not predict how every spot cleaning solvent will behave. Do not use a garment’s sweat-wicking performance as evidence that a cleaning chemical will pass through it safely.
For practical garment repair, the following checks matter more than a simple “natural vs synthetic” comparison.
| Garment type | What to inspect during testing | What not to assume |
|---|---|---|
| 100% cotton | Spread of the wet area, residual rings, dye transfer, fuzzing and distortion | Natural fibers tolerate every cleaning fluid |
| 100% polyester | Color, surface sheen, texture, finish appearance and nearby decoration | Low water absorption guarantees safe solvent cleaning |
| Cotton-polyester blend | Uneven color change, texture differences, residue and shape | The fabric behaves like whichever fiber has the higher percentage |
| Polyester-elastane or cotton-elastane blend | All appearance checks plus stretch recovery and local distortion | A small elastane percentage can be ignored |
| Finished or coated performance fabric | Visible finish changes and any specified functional performance | An unchanged appearance proves the finish still performs correctly |
Cotton: Watch the Wet Boundary and Surface Fibers
During a cotton garment test, observe whether the cleaning fluid remains localized or spreads into surrounding fabric.
Check the backing as well. Contamination needs a clear exit path rather than another garment layer or a saturated support.
After drying, inspect for rings and raised fibers. Do not increase pressure simply because cotton feels heavier or more substantial than a polyester shirt.
Dark cotton requires its own color test. Fiber strength and dye stability are separate questions.
Polyester: Check More Than Color
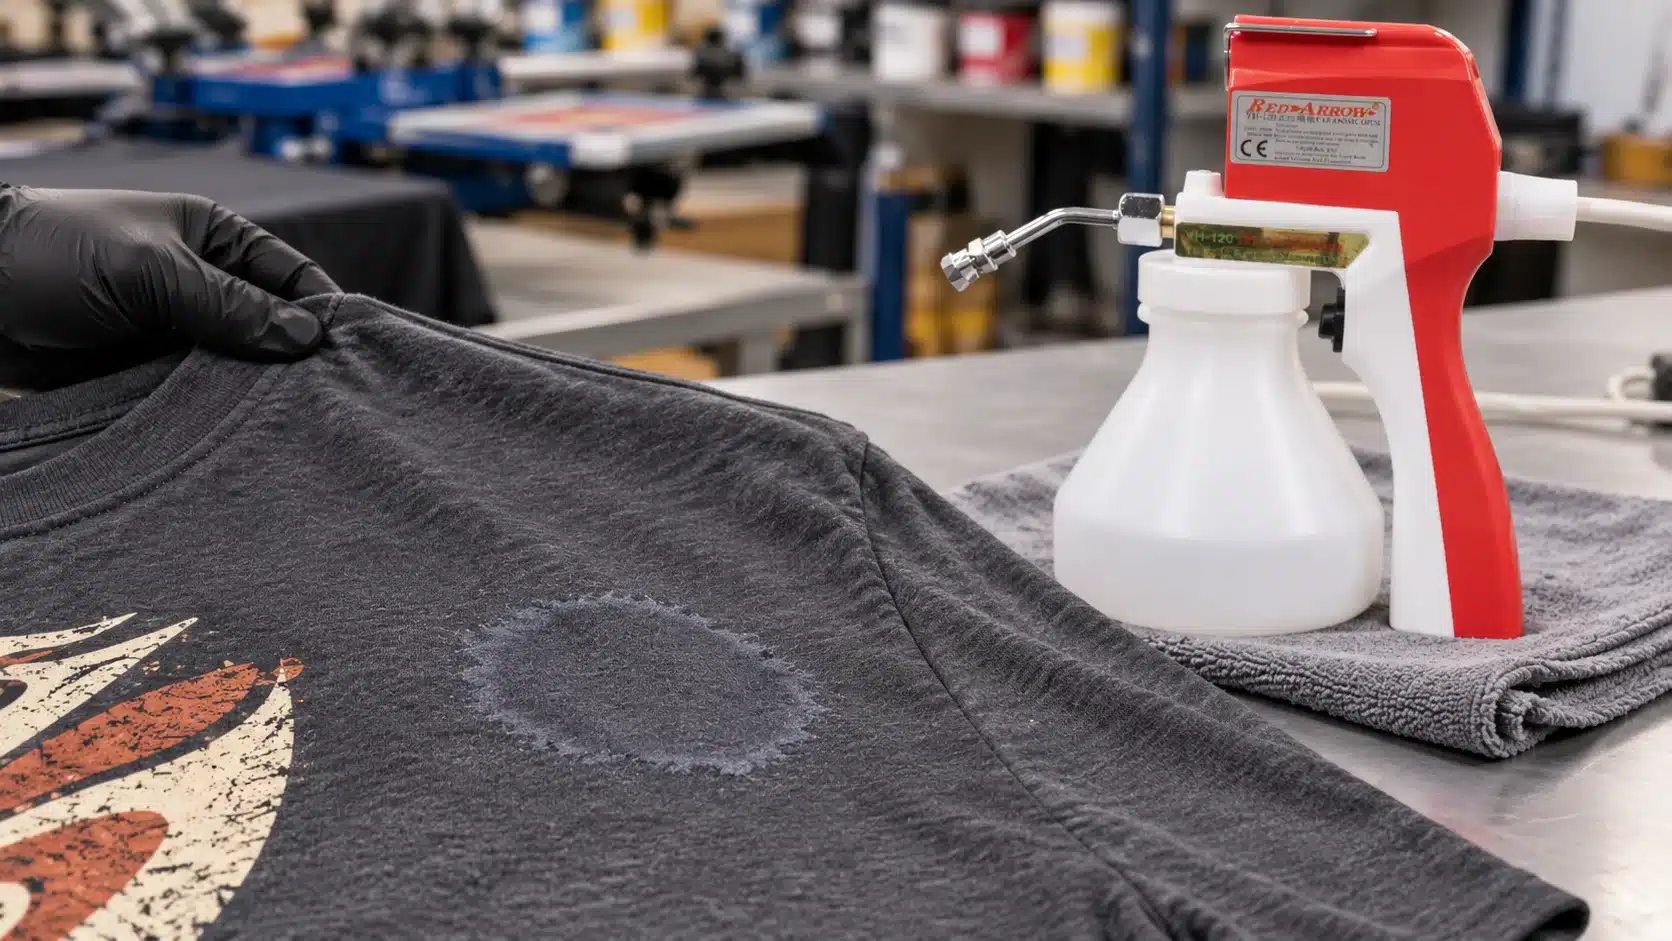
Polyester shirts may have a smooth, textured, brushed, or deliberately lustrous surface. A localized change can remain visible even when there is no obvious dye loss.
Compare the treated and untreated fabric under the same lighting. View it straight on and at an angle.
Look for altered gloss, flattened or raised surface texture, and a treatment boundary that becomes visible when the shirt moves.
A garment can fail an appearance check without developing a hole or obvious stain.
Blends: Treat Every Composition as a Separate Material
A cotton-polyester blend is not simply a compromise between two established cleaning procedures.
The blend ratio, yarn arrangement, construction, and dyeing process can affect the outcome. Treat each fabric specification and colorway as a separate test case.
For stretch blends, identify whether elastane or another elastic component is present. Confirm compatibility with the full composition rather than selecting fluid based only on the main fiber.
Colorfastness Means Both Color Retention and Color Transfer
Before spot cleaning, check whether the garment changes color and whether it releases color onto surrounding material.
Colorfastness includes resistance to changes in the material’s own color and resistance to transferring colorant to adjacent materials. Those are related but distinct assessments.
A shirt may appear almost unchanged while transferring dye to the backing. Conversely, it may develop a pale area without leaving an obvious colored mark on a cloth.
Professional garment-care findings confirm that some dyes are sensitive to cleaning solvents or water. A garment’s care label does not eliminate every possibility of localized color loss.
Do not assume that a washable garment is automatically compatible with an industrial spot cleaning fluid.
Choose a Representative Sample Before Testing
A spare garment from the same production batch is the most useful starting point.
Match as many relevant conditions as possible:
• Fabric composition and construction.
• Color and dye lot, where identified.
• Surface finish or coating.
• Printed ink, transfer, adhesive, and curing history.
• Previous washing or other processing.
• The location and type of defect.
Keep an untreated control for comparison. Label it clearly and protect it from overspray and contaminated handling.
An inconspicuous area can provide an initial screening check when no spare is available. However, seam allowances and hems may differ from the visible panel in thickness, tension, and access to the backing. A hidden-area result does not guarantee that the same treatment will work everywhere.
For unfamiliar or valuable garments, obtain a suitable sample before attempting production repair.
How to Test Cotton and Polyester Before Spot Cleaning
The following sequence is a practical workshop screening process. It does not replace a specified laboratory test or the equipment and chemical instructions.
Step 1: Confirm the Cleaning System Is Suitable
Identify the gun model and the proposed fluid.
Check that the fluid is approved for the equipment and intended for the stain and textile application. Read the current technical data sheet and safety data sheet.
Review the garment supplier’s information for the fabric, finish, and decoration. A general description such as “performance polyester” is not enough to establish chemical compatibility.
Do not introduce an unapproved solvent to make a difficult stain easier to remove.
Step 2: Record the Untreated Condition
Inspect the dry sample before applying anything.
Photograph the intended test area under consistent lighting. Note any existing marks, uneven color, surface gloss, fuzzing, or distortion.
For stretch fabric, identify the direction of stretch and record the relaxed dimensions of a repeatable test area. Use an identical untreated sample for comparison.
Starting with a documented baseline helps prevent existing fabric variation from being mistaken for cleaning damage.
Step 3: Screen for Fluid Compatibility
Following the chemical supplier’s permitted test method, apply the approved fluid to a small unprinted area of the sample.
Use a clean, compatible white backing or collection material where the procedure requires it.
Observe color transfer and changes to the garment. Allow the area to dry according to the fluid instructions before assessing it.
A white backing is useful evidence, but transferred color can come from the garment, unwanted ink, or nearby decoration. Testing an unprinted area first makes the result easier to interpret.
If the sample changes color or texture, stop that procedure.
Step 4: Test the Mechanical Action
A chemical screening result does not establish that the fabric will tolerate a high-pressure liquid jet.
Set up the sample on the specified support, separating its layers. Keep hands and other body parts away from the spray path.
Begin with the least aggressive effective conditions permitted by the equipment instructions. Use the specified operating distance and a controlled application.
Do not assign one pressure or distance to all cotton or polyester garments. Gun output, nozzle design, fluid, and fabric construction vary.
Check for distortion, fuzzing, and an expanding wet area. Stop if the surface begins to change.
Step 5: Test the Actual Stain and Decoration
Where possible, reproduce the production defect on a matching sample using the same ink and relevant curing condition.
Evaluate whether the stain can be removed without disturbing the intended print.
Inspect the entire treatment path, including the reverse side and backing. A mark close to a logo, seam, transfer, or bonded detail requires a location-specific test.
Do not extend a successful plain-fabric result to decorated areas without checking them.
Step 6: Dry and Compare
Let the sample dry completely using the approved procedure.
Do not accelerate drying with a heat press, flash dryer, or heat gun unless the chemical supplier explicitly permits that process.
Compare the treated area with the untreated control. Use the same light, viewing angle, and relaxed fabric position.
Check:
• Color and dye transfer.
• Rings or remaining pigment.
• Surface sheen.
• Fuzzing, roughness, or flattened texture.
• Local shape and dimensions.
• Stretch recovery, where relevant.
• The condition of nearby decoration.
For general workstation setup, see our guide to using a screen printing spot cleaning gun.
How to Check Surface Sheen and Texture
A quick glance from above can miss a visible repair.
Lay the dry fabric flat and inspect it under angled light. Then change the viewing direction while keeping the lighting consistent.
A localized shiny or dull patch may indicate a surface or finish change. Raised fibers can also alter the apparent shade.
Compare the feel of treated and untreated samples gently. Do not rub the area repeatedly to “blend it in.”
Keep the comparison fair. Stretching one sample while leaving the other relaxed can change how the surfaces reflect light.
If the treatment boundary remains visible under ordinary inspection conditions, the garment may fail quality requirements even when the original stain is gone.
How to Check Stretch and Recovery
Stretch and recovery are different properties.
A fabric may still extend when pulled but fail to return to its original relaxed shape. A small bagged or rippled area can become noticeable when the garment is worn.
After complete drying and any required conditioning, compare treated and untreated matching samples using the same direction, extension, holding time, and recovery interval.
For a workshop comparison:
• Start with equal relaxed dimensions.
• Apply the same controlled extension to both samples.
• Release them under the same conditions.
• Compare the relaxed shape after the same interval.
• Inspect for rippling, persistent elongation, or local distortion.
Do not invent a universal acceptable percentage of recovery loss. Use the garment specification or an agreed quality requirement.
For compression garments, technical sportswear, or products with defined performance claims, arrange appropriate testing. Visual inspection cannot confirm every functional property.
When to Stop Cleaning
Set acceptance criteria before working on the order.
| Test result | Recommended decision |
|---|---|
| The stain is removed and the dry sample matches the control in color, texture and shape | Use the documented procedure, with continued production checks |
| Dye transfers during the unprinted compatibility test | Stop and investigate the fluid and dye combination |
| A pale or discolored patch develops | Stop; further spraying may increase the affected area |
| Sheen changes, fibers lift, or the knit distorts | Stop and assess surface damage |
| Stretch recovery differs from the control | Hold the process pending a suitable technical assessment |
| Nearby decoration softens, smears or lifts | Reject that method for the tested location |
| Repeated treatment enlarges the wet area without improving the dry result | Stop and reassess repair feasibility |
A successful repair must satisfy the required garment quality. Removing the unwanted ink is only part of the result.
Choosing a Spot Cleaning Gun for Mixed Garment Production
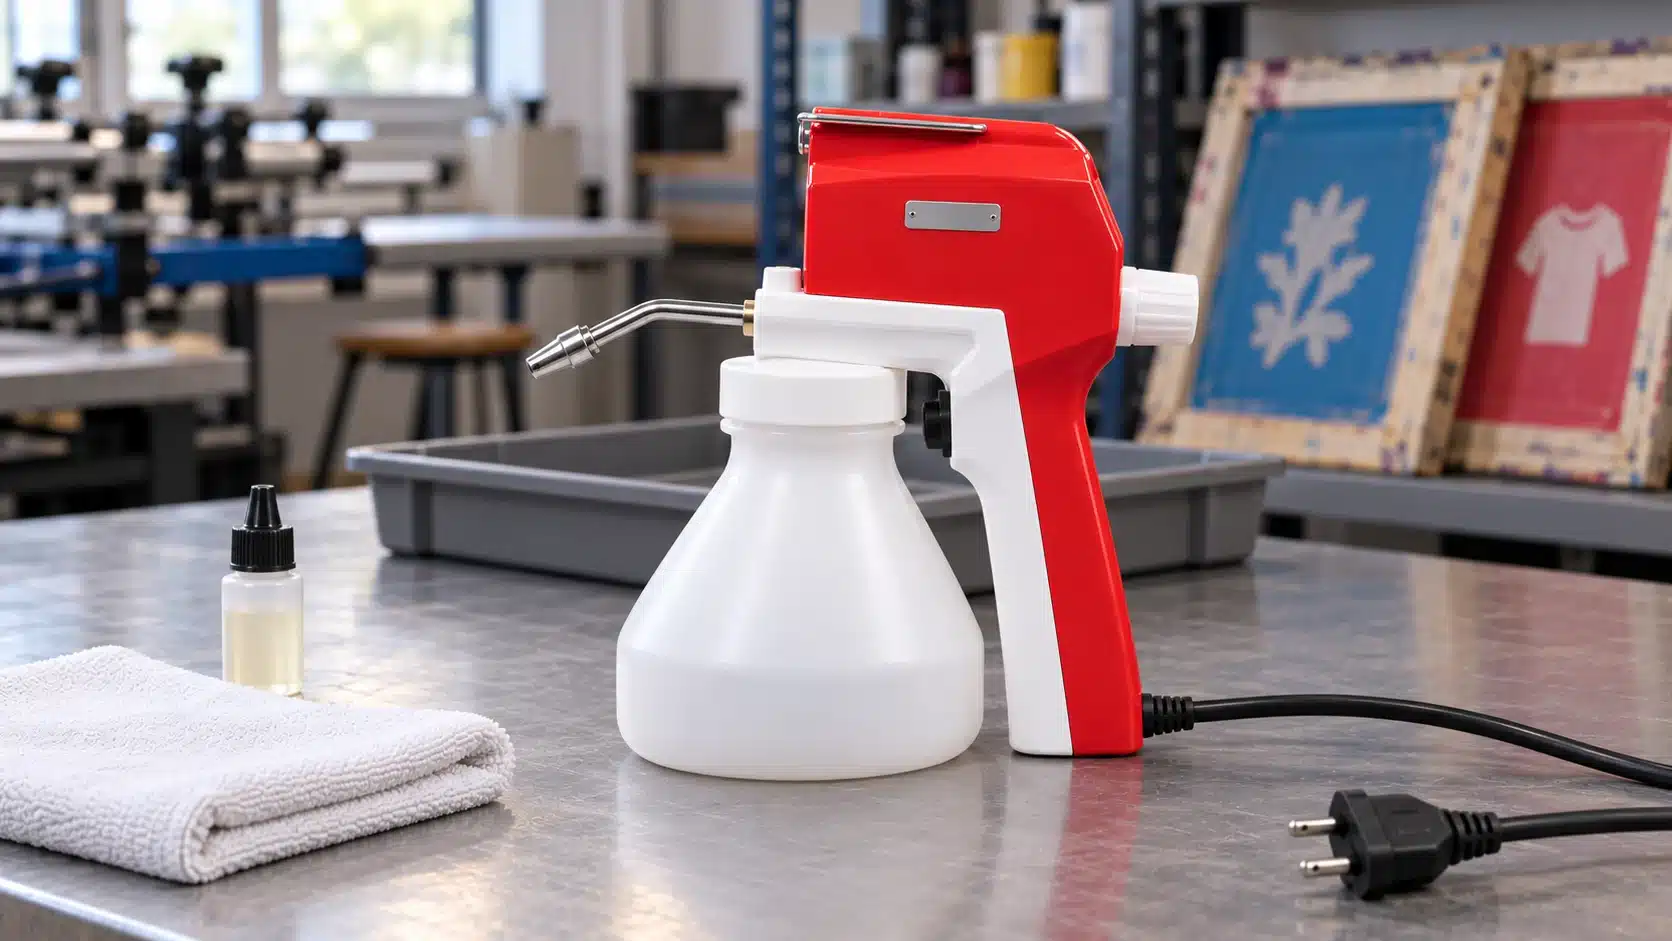
When a workshop handles cotton shirts, polyester jerseys, and stretch blends, consistent control is more useful than selecting equipment solely by maximum output.
Review:
• Nozzle type and permitted adjustment range.
• Compatibility with the intended cleaning fluid.
• Stability of the spray pattern.
• Access to replacement nozzles and service parts.
• Electrical requirements and operating limits.
• Suitability for the planned support or extraction arrangement.
HANZE’s textile spot cleaning gun range provides a starting point for equipment selection. When requesting a recommendation, send the complete fabric composition, garment finish information, stain type, decoration method, and proposed fluid.
For an existing gun, confirm whether the nozzle is fixed or adjustable. Do not loosen components or alter factory settings to create a gentler pattern.
Our screen printing spot cleaning gun buying guide covers the wider selection questions.
Keep a Test Record for Each Approved Garment
Record the garment identification, batch or colorway, fabric specification, gun, nozzle, fluid, operating conditions, and dry inspection result.
Attach photographs and identify the untreated control.
Repeat the assessment when a relevant variable changes, including the fluid formulation, fabric finish, dye lot, decoration, or nozzle arrangement. A test from an earlier order should not become permanent approval for every similar-looking garment.
An approved sample supports a controlled process. It does not remove the need to inspect repaired production pieces.
Frequently Asked Questions
Is cotton always easier to spot clean than polyester?
No. Some cotton garments tolerate a particular process well, while others show dye loss, rings, or surface damage. Compare the actual garments rather than ranking fibers as universally safe or unsafe.
Does a 100% polyester label mean the whole shirt is solvent-resistant?
No. The label does not establish the resistance of every dye, finish, seam treatment, trim, or decoration. Confirm the complete garment construction and test the proposed process.
Can I use water as a safer test fluid?
Only if water is approved for both the gun and the intended application. A water test also does not predict compatibility with a different cleaning solvent.
Does a white shirt need colorfastness testing?
It still needs compatibility testing. White garments can contain finishes, whitening treatments, colored decoration, and other components that respond differently to cleaning.
Will a successful wash test prove that spot cleaning is safe?
No. Laundering and localized jet cleaning expose the garment to different chemicals and mechanical conditions. Validate the actual repair procedure.
Can one approved process cover every color in the same style?
Do not assume so. Different colorways may use different dye combinations and can respond differently. Establish the testing scope with the garment supplier and the order’s quality requirements.
When should a laboratory be involved?
Use a qualified laboratory when an order specifies formal testing, the garment carries functional performance requirements, or workshop checks cannot explain a change. Ask for a method relevant to the actual fabric, chemical exposure, and intended use.