How to Set Up a Screen Printing Spot Cleaning Station
How to Set Up a Screen Printing Spot Cleaning Station
The ink speck comes off the front of the shirt. Then you turn it over and find a second mark where the cleaning fluid carried the ink through. The gun did its job. The workstation gave the ink nowhere else to go.
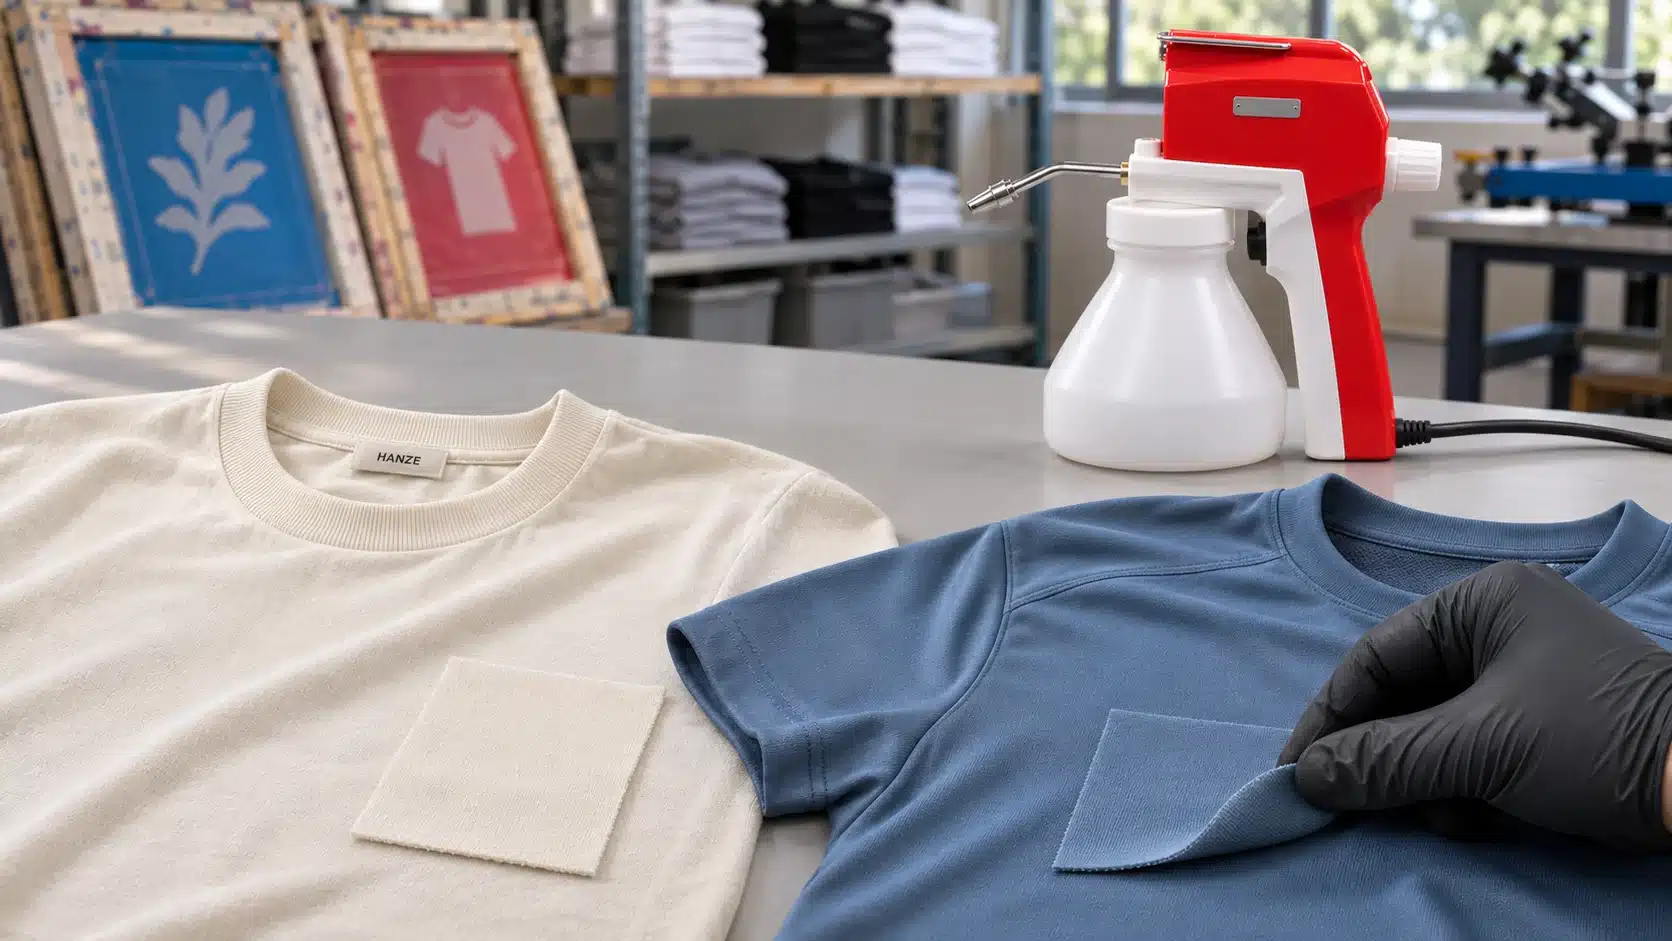
A screen printing spot cleaning station gives you a dedicated place to support one garment panel, collect the material flushed through it, capture airborne mist and vapor, and inspect the dry result. The gun is one part of that setup. The work surface, airflow, waste handling, and garment layout determine how reliably the whole process works.
For most print shops, the first decision is whether a dedicated bench with verified local exhaust can handle occasional touch-ups or whether a vacuum spotting table makes more sense for regular garment rework.
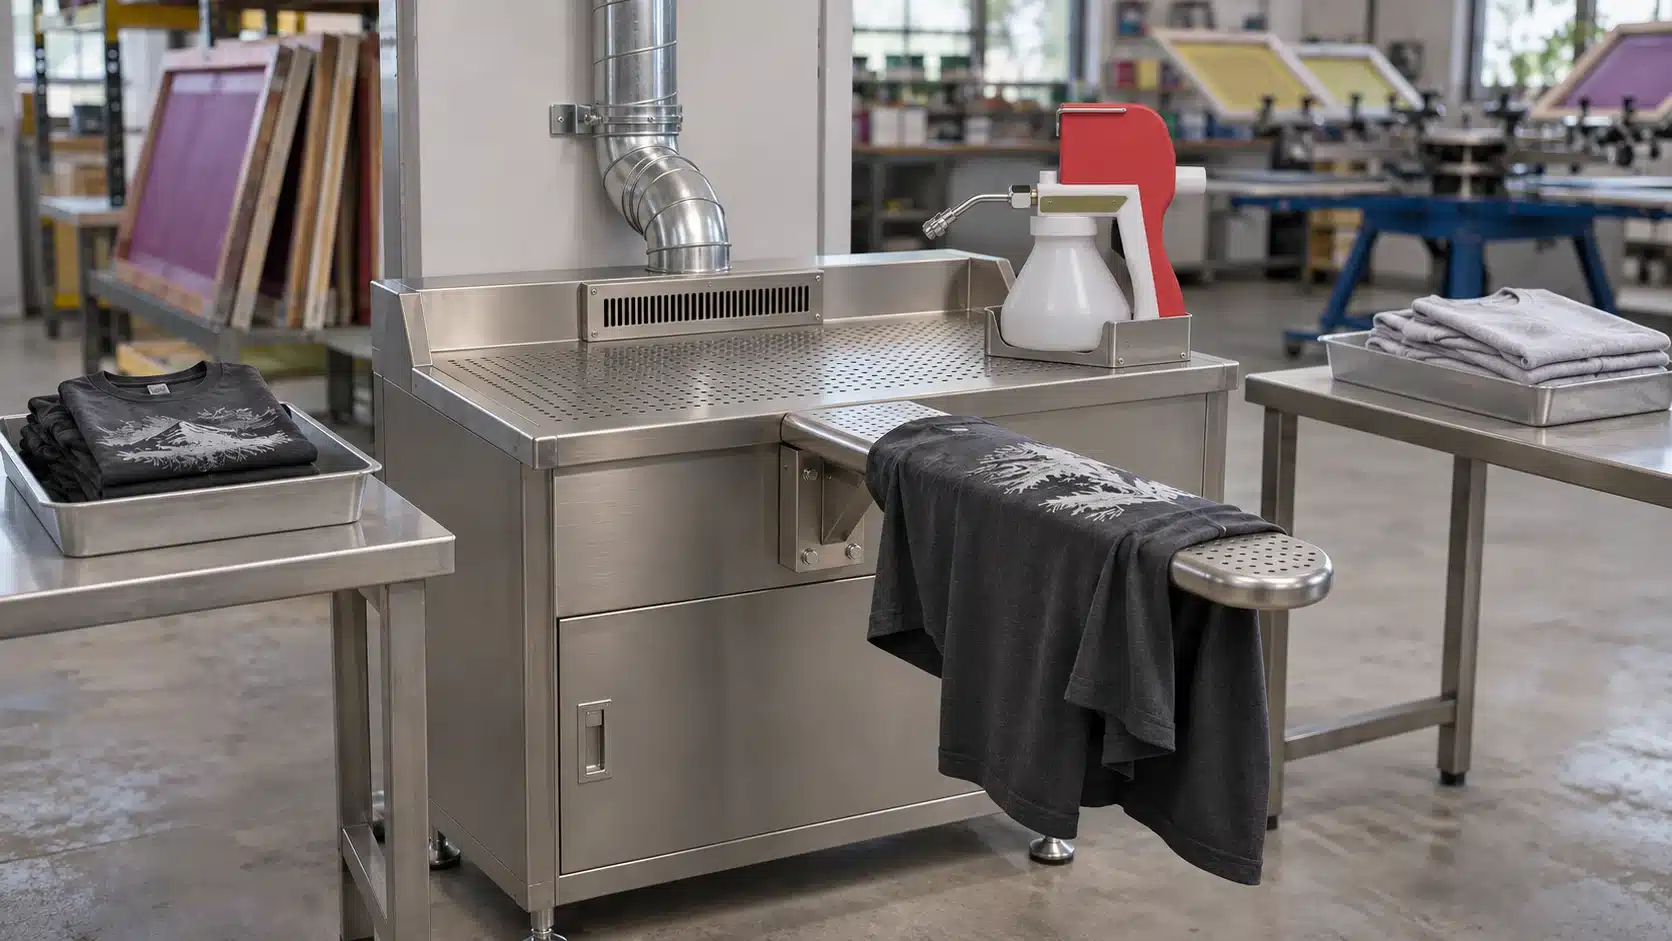
What Does a Spot Cleaning Station Need?
A workable station has five parts. Plan them together before choosing a bench or ordering a spotting table.
| Station component | What it does | What to check |
|---|---|---|
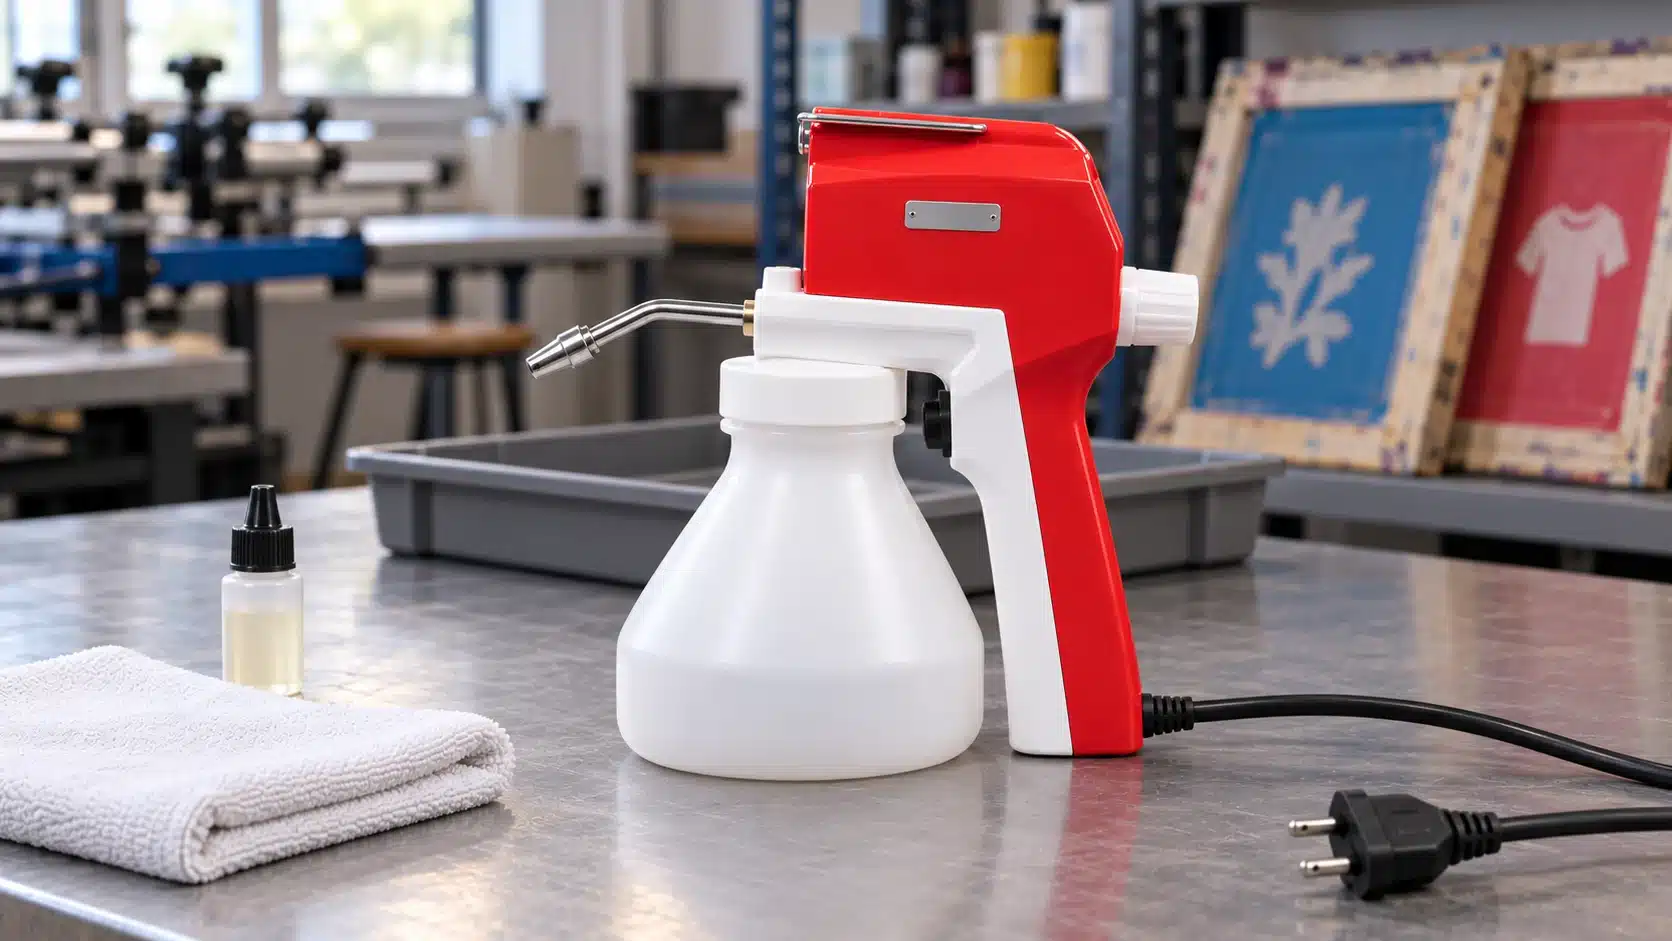
| Textile spot cleaning gun | Delivers cleaning fluid to a localized mark | Approved fluid, nozzle type, spray control, and electrical requirements |
| Garment support | Holds the affected panel flat and separates it from the rest of the garment | Access to sleeves, hems, and seams without stretching the fabric |
| Liquid collection | Receives spent fluid and material flushed through the fabric | Compatible backing or the station’s designated collection system |
| Local exhaust ventilation | Captures airborne mist and vapor near the point of use | Suitability for the chemical and verified capture at the working position |
| Dry inspection area | Provides a separate surface for checking completed repairs | Good lighting, a clean surface, and space to hold garments awaiting inspection |
Choose the Right Work Surface for Your Workload
Dedicated Bench for Occasional Touch-Ups
A shop that repairs the occasional stray ink dot may be able to use a stable bench, a garment support, and compatible absorbent backing. The bench still needs suitable local exhaust for the intended cleaning process. Decide where the nozzle will actually be used before placing the work surface or specifying the extraction inlet.
Leave enough room for the rest of the shirt to drape away from the treatment area. If a whole garment has to be folded beneath the spot just to fit on the bench, you risk transferring the mark to another panel.
Vacuum Spotting Table for Regular Rework
A dedicated vacuum spotting table is worth considering when several operators share the station, rework happens throughout the shift, or the garment mix includes sleeves, narrow panels, and bulky seams. A flat perforated deck can support broad panels. A narrow spotting arm makes it easier to isolate a sleeve or another small section.
Before purchasing, ask how the table handles liquid and air separately. Confirm where spent liquid goes, which parts need cleaning, and whether the suction surface is designed to provide verified local exhaust for your process. Ask for installation requirements, including any ducting and airflow checks, before deciding where it will fit.
Arrange the Station Around the Garment Flow
Give garments a clear route from incoming inspection to completed work. A practical layout has three zones.
1. Incoming Garments and Test Samples
Keep a small tray for garments that need attention and a separate space for same-batch test samples. Identify the location and likely cause of each defect before treatment. A tiny cured ink speck, an oil mark, and a broad smear may need different decisions.
If the same mark appears on several shirts in the same place, hold the affected pieces and check the press or handling step. Finding the source can save more time than adding another rework station.
2. Active Spot Cleaning Area
Place the gun holder, garment support, collection point, and extraction inlet within the operator’s normal reach. Set the work height so the operator can see the stain without leaning over the spray area. Route the cord away from the garment path and keep the support clear of tools that could snag or soil fabric.
Put the actual treatment point inside the verified capture area. A sleeve hanging over the side of a spotting arm can move the spray point outside that area, even though the operator is standing in the same place.
3. Dry Inspection and Release
Set aside a clean surface with consistent lighting. Keep garments awaiting drying or inspection separate from completed pieces. A shirt that looks clean while damp may reveal a ring, shade change, or altered sheen once dry.
A simple workflow is incoming tray → sample or treatment → drying → final inspection. Keep untreated and treated garments in separate trays if they need to travel back through the same aisle.
Support the Garment So Contamination Has a Place to Go
The setup under the stain matters as much as the nozzle above it.
- Isolate one layer. Slip the affected panel over the support so the opposite side of the garment sits clear of the treatment path.
- Keep the fabric relaxed. Smooth wrinkles without pulling the knit tight. Move pockets, seams, and trims out from beneath the spot where possible.
- Set up collection beneath the target. Use clean, compatible absorbent backing or position the panel on the station’s designated collection surface, as the equipment and fluid instructions specify.
- Check the backing between garments. Replace or reposition it when contaminated or saturated. A dark ink mark on the backing can transfer to the next light garment.
- Keep hands away from the jet. Use a spotting arm or other suitable support to hold the panel in place. Never brace the fabric with a hand directly behind the nozzle.
For a sleeve mark, a narrow support can make the difference between flushing ink through a single layer and sending it into the opposite side of the sleeve. For a spot near a seam, test the same seam construction on a spare garment. A test on flat fabric does not reproduce what happens when fluid reaches several stitched layers.
Understand Suction, Local Exhaust, and Room Ventilation
These functions solve different problems. Some spotting stations combine them, so verify what the installed equipment actually does.
| Function | What it controls | Practical question |
|---|---|---|
| Liquid collection | Spent fluid, ink, and other material flushed from the garment | Where does the liquid go, and how is it removed? |
| Work-surface suction | Airflow through or around the supported garment, depending on the equipment | Does the table collect liquid, assist drying, capture airborne contaminants, or combine these functions? |
| Local exhaust ventilation | Mist and vapor close to the point where they are generated | Does it capture emissions before they cross the operator’s breathing zone? |
| General room ventilation | Supply and removal of room air | Does incoming air support local capture, or do drafts push emissions away from the inlet? |
Verify Capture Where the Operator Actually Works
Local exhaust works best when the inlet is close enough to capture emissions before they travel toward the operator. A table-level slot hood or a properly designed downdraft surface can be suitable approaches. Make-up air and nearby drafts affect performance, so have the system assessed in its installed layout and checked during normal use.
A bench fan may move air without capturing contaminants at the source. Likewise, feeling suction at a perforated surface does not establish that the system controls the mist and vapor produced by your particular cleaning process. Confirm compatibility with the fluid, the intended exhaust discharge, and how operators will position the garments. Avoid using a household vacuum or improvised fan to collect solvent vapor or liquid.
Plan for Spent Fluid and Contaminated Materials
Decide how operators will handle used backing, wipes, collected liquid, and unused fluid before the first garment reaches the station.
• Follow the station’s collection design. Use the designated tray, drain arrangement, or collection container where provided. Check the equipment instructions before introducing a new fluid or changing how the station collects it.
• Keep waste separate from clean supplies. Use compatible, labeled containers and follow the fluid’s safety data sheet and the site’s waste procedure. Keep used wipes and backing out of garment trays.
• Keep fresh fluid identifiable. Retain the original label or use the site’s approved labeling system. Follow the supplier’s instructions for storage and transfer. Handle recovered liquid as spent fluid under the site procedure.
• Keep collection surfaces accessible. Operators should be able to replace backing or service designated collection parts without moving clean garments through the treatment area.
The fluid documentation should also guide ventilation, ignition controls, and protective equipment. Review those requirements when changing chemicals, even if the gun and table stay the same.
Establish a Repeatable Spot Cleaning Workflow
Before the First Garment
Check the gun, nozzle, cord, reservoir, and accessible connections. Confirm that the collection surface is clean and the extraction system passes its documented pre-use check. Test the spray pattern in the designated collection area before working on production goods.
For a new fabric, dye lot, decoration, or fluid, use a representative sample. Inspect it after drying and compare it with untreated fabric. Record the combination that passed, including the gun, nozzle, fluid, support, and application method.
During Treatment
Support the affected panel, confirm where the spent fluid will go, and apply the minimum treatment needed within the approved procedure. Pause between passes to see whether the spot is getting smaller or the wet area is simply getting larger.
If the spray splits, spits, or drifts off target, move the garment out of the treatment area and check the gun. Moving the nozzle closer can make a spray fault harder to manage and expose the fabric to more concentrated impact.
For positioning and application details, see How to Use a Screen Printing Spot Cleaning Gun.
After Treatment
Dry the garment according to the approved procedure, then inspect both sides of the panel. Look for remaining ink, rings, color change, raised fibers, and damage to nearby decoration. Hold any garment that needs a second assessment separately from pieces ready to pack.
At shutdown, handle remaining fluid and contaminated materials as specified. Clean the designated collection surfaces, follow the gun’s storage instructions, and record any recurring spray or extraction problems for the next shift.
Choose Equipment That Fits the Station
Start with the work you do most often. A shop correcting isolated dots on lightweight shirts may prioritize a consistent, controllable spray and easy access to spare nozzles. A garment finishing line handling many sleeves and seams may benefit more from a spotting arm, accessible collection components, and an extraction system that works across the operator’s usual positions.
When reviewing HANZE spot cleaning equipment, share the fabrics and garment styles you handle, common stains, proposed cleaning fluid, daily rework volume, and existing extraction setup. Those details help narrow the choice of gun and establish what the workstation needs. Confirm the gun, fluid, and extraction requirements together before ordering.
Frequently Asked Questions
How do I estimate whether one station is enough?
Time the complete cycle on a representative batch, including setup, treatment, drying, and inspection. Compare the station’s capacity with the number of garments arriving during your busiest period. If finished treatments are waiting for inspection while the gun sits free, add drying or inspection space before adding another gun.
Can a spot cleaning station share a bench with screen reclaiming?
Plan separate working surfaces. Screen reclaiming introduces water, ink, emulsion residue, and chemicals that can contaminate garments or their backing. If space is limited, prioritize a dedicated garment support and a clean holding area, then assess ventilation for each process separately.
What should I ask a spotting table supplier for before installation?
Request the installation drawing, approved chemical requirements, liquid collection design, exhaust connection details, electrical requirements, and the procedure for checking airflow after installation. Ask which components are routinely cleaned or replaced and whether operators can reach them once the table is in position.
Where should garments wait if they need a second treatment?
Use a clearly identified hold tray. Record the defect location and what was already applied so the next operator can assess the dry result before adding more fluid. That record is especially helpful when a second operator takes over the order.