Automatic Carousel vs. Oval Screen Printing Press: Which Fits Your Shop?
Automatic Carousel vs. Oval Screen Printing Press: Which Fits Your Shop?
A circular carousel can fit a shop with room to work around a central machine. An oval screen printing press can suit a long production bay or a job that benefits from more positions for flashing, cooling and garment handling. To compare the two, start with the artwork you print regularly, then check the station layout and the floor space required to run it.
A long garment panel and a wide back print may use the same number of inks and require different platens and print strokes. Use the original artwork dimensions and print placement from a repeat order to compare the specific machine configurations.
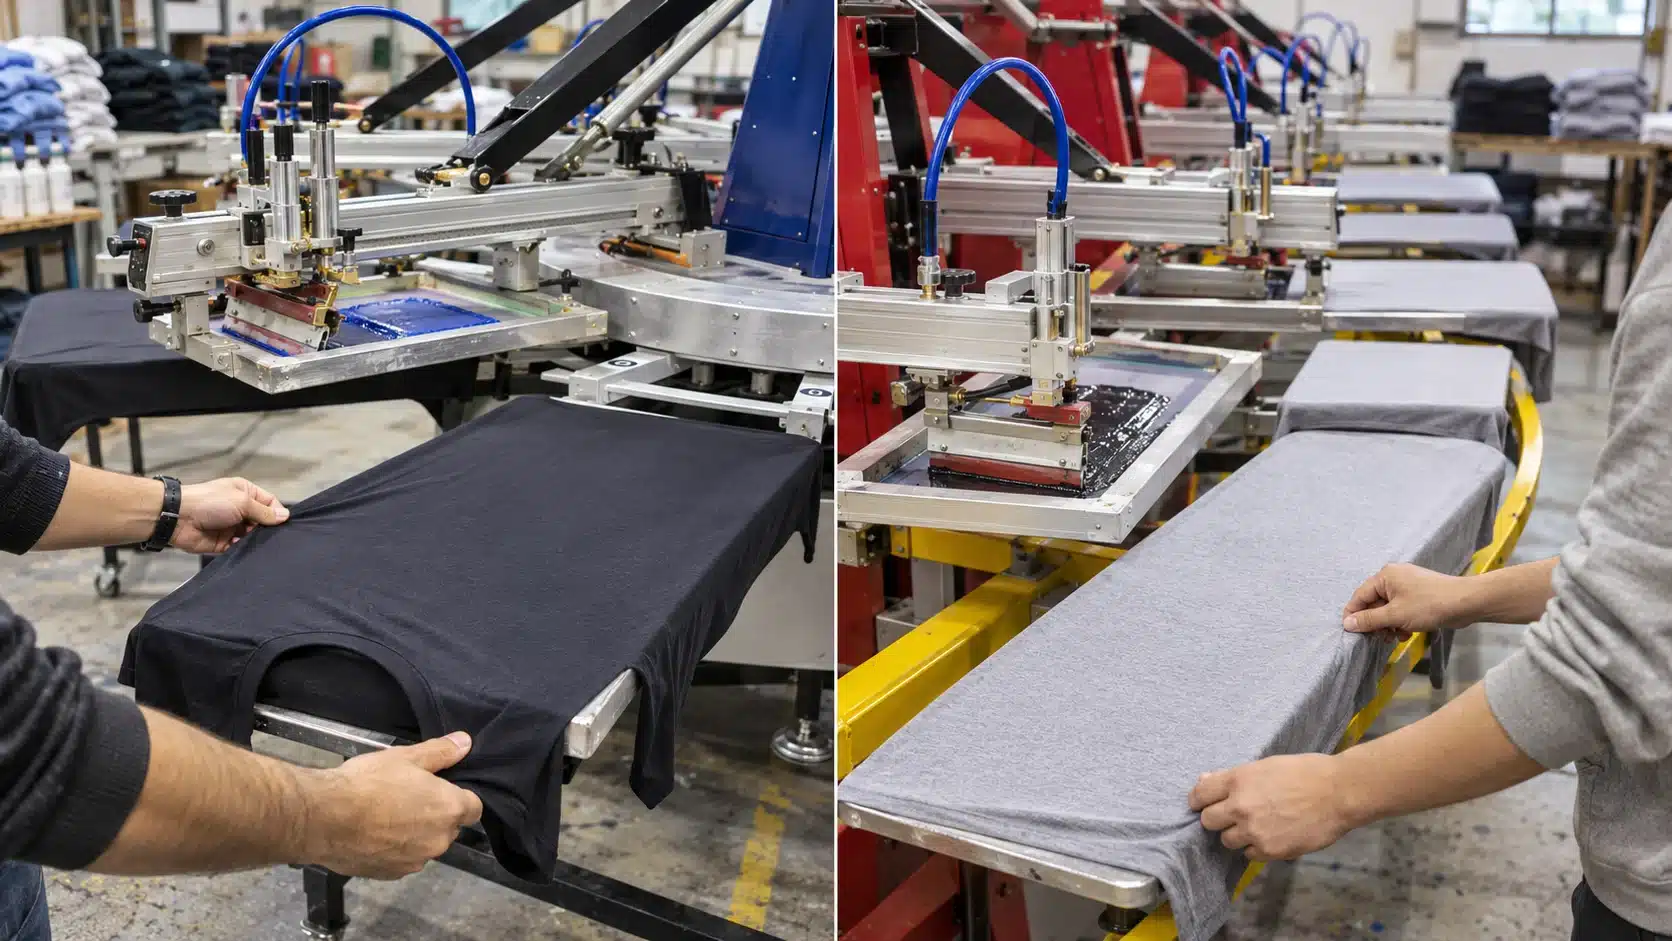
How Carousel and Oval Screen Printing Presses Work
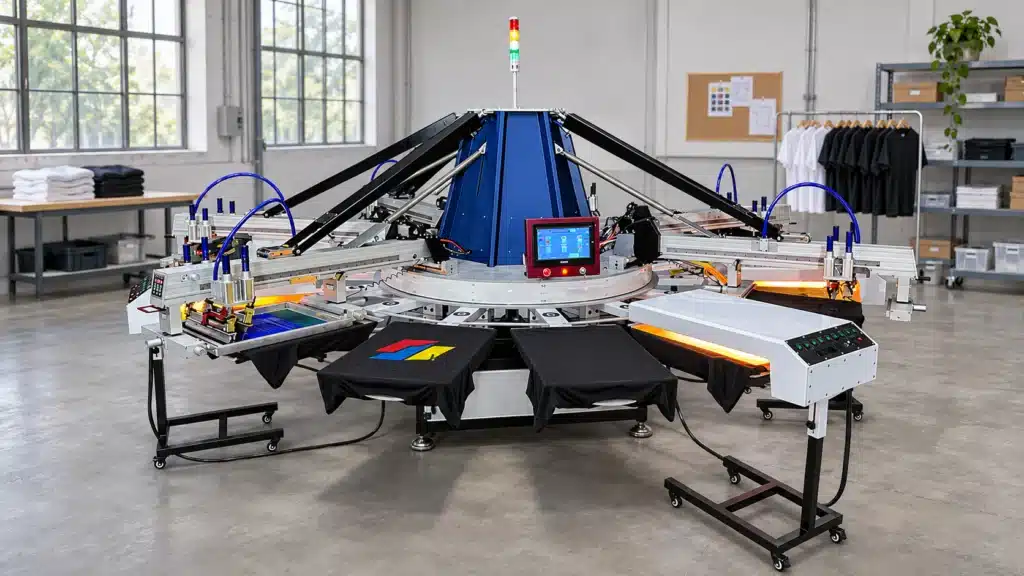
Circular Carousel Press
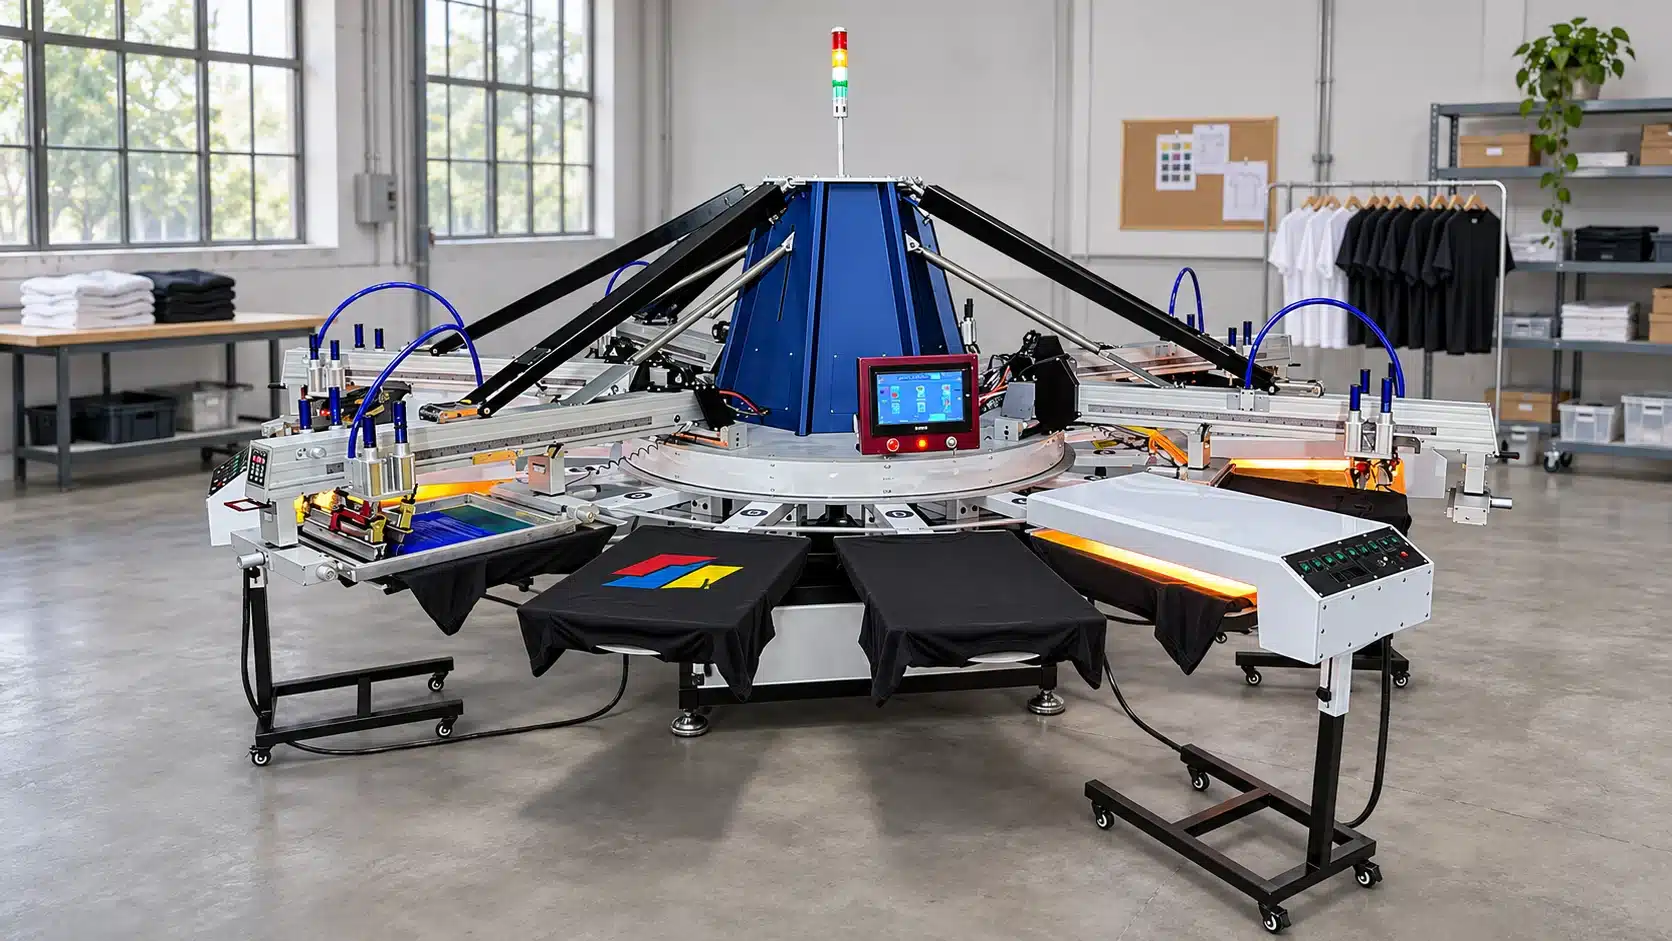
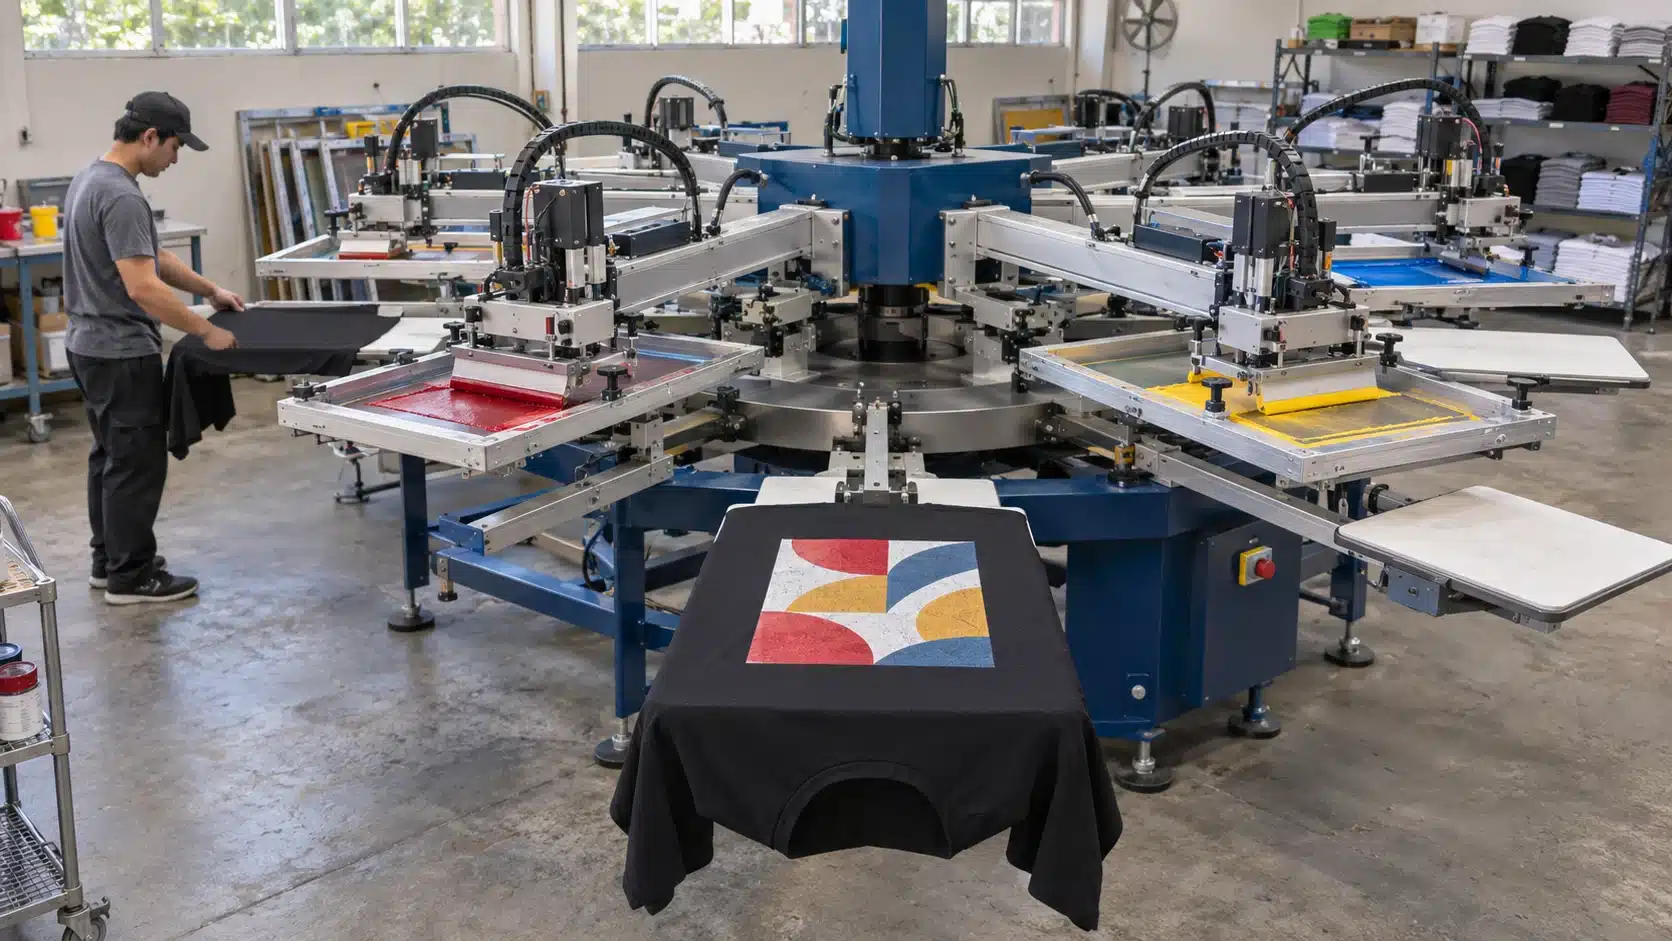
Platens on a carousel press rotate around a center hub. Each platen stops at successive positions for printing, flashing or handling. The shape suits a roughly square work area if the operators can reach the load and unload points and have room to change frames around the machine. When comparing layouts, look at where the operators actually stand and how they feed garments to the next process.
Oval Screen Printing Press
On an oval press, platens move along a closed track with straight runs and curved ends. The elongated path gives you options for arranging operations along the machine. The position of the print heads, flashes and operator access points depends on the configuration. Check the station drawing against your intended load and unload locations before choosing where to set the press.
Browse the available automatic carousel screen printing presses and automatic oval screen printing presses.
Compare Two Six-Color HANZE Presses
The table uses published specifications for the exact platen configurations linked below. Check the specifications on your quote when ordering a different platen size.
| Specification | YP-6-14 Carousel | TY-6-28 Oval |
|---|---|---|
| Print heads | 6 | 6 |
| Stations | 14 | 28 |
| Platen size | 700 × 900 mm | 520 × 1,200 mm |
| Maximum print area | 660 × 800 mm | 480 × 1,000 mm |
| Maximum screen frame size | 700 × 980 mm | 610 × 1,200 mm |
| Overall dimensions (L × W × H) | 4,620 × 4,620 × 2,250 mm | 10,200 × 3,900 × 2,000 mm |
Check Both Artwork Dimensions
Measure the design in the orientation it will sit on the platen. Compare both sides of the artwork against the maximum print dimensions. The following examples use the published dimensions in their listed orientation.
| Example artwork | YP-6-14 Carousel | TY-6-28 Oval |
|---|---|---|
| 600 × 650 mm wide panel graphic | Fits the listed print area. | The graphic is 120 mm wider than the print area. |
| 450 × 900 mm long panel graphic | The graphic is 100 mm longer than the print area. | Fits the listed print area. |
| 550 × 850 mm panel graphic | The graphic is 50 mm longer than the print area. | The graphic is 70 mm wider than the print area. |
Once the design fits on paper, check it on the smallest garment or panel in the order. Mark the edges of the print near seams, pockets and collars. Make sure the garment sits flat at that position. For designs close to a machine’s limit, check the frame opening, screen clamps, squeegee travel and the area the flash can cover. See the screen printing frame size guide.
If you consider turning a job 90 degrees on the press, rotate the garment and artwork together on the drawing so the graphic stays in its intended position on the fabric. Check that the garment can be loaded flat and that the screen and squeegee travel fit that orientation.
Map Every Operation on the Station Drawing
Consider an order on dark garments with a white underbase and five top colors. The job calls for two flashes, one dedicated cooling position, and separate loading and unloading. Assuming each operation has its own position and the print finishes in one circuit, the job uses six print heads and 11 stations.
Draw the ink and flash sequence on the proposed station plan. Mark where the underbase goes down, where it passes under the first flash, and which head prints over it. Place the second flash where the job requires it. Confirm that all six heads remain usable with the flash equipment fitted. A position can serve as a flash station when the mounting and controls on the quoted machine support it.
Then mark where garments enter and leave the press. A longer loop can give you options for cooling, garment handling or more space between operations. The value of those positions depends on where they fall in the sequence. Ask the supplier to walk through the path of one garment on the drawing and identify any operation that needs a change to the proposed setup.
Check the Press, Operators and Dryer on One Floor Plan
Draw each shortlisted machine to scale in the proposed bay. Show the walls, columns, existing equipment and doors. Use the installation drawing for the operating clearances around the press, including platen movement, access to controls, frame changes and service. Check the dimensions of the packed sections against the route into the building, including turns and doorways.
Suppose the bay measures 12.00 × 4.40 m clear. The TY-6-28’s listed machine dimensions leave 1.80 m along the two ends combined and 0.50 m across the two sides combined. Check those margins against the required clearances and the planned position of the dryer. The YP-6-14’s listed width of 4.62 m exceeds the width of that bay.
Trace the route of blank garments from staging to the loading position. Then trace the route from unloading to the conveyor dryer, inspection and packing. Where the layout allows, position the dryer infeed close to unloading. Check whether a garment cart, an operator changing screens or a batch waiting for the dryer would interrupt either route during a shift.
Compare Output With a Timed Production Trial
Pick a representative design that fits both machines. Use the same garment, ink system, print sequence and staffing for the initial comparison. Start the setup timer at the same point on each trial and record the time to the first approved print. Once the line is running, count cured garments that pass inspection. Record pauses for loading, flash dwell and any backlog at the dryer.
For example, 225 accepted garments in 30 minutes equals 450 accepted garments per hour during that timed trial. Report setup time alongside that rate. Then compare total time from setup to the last accepted piece on a batch of the same size. That second measure helps when your schedule includes frequent short runs.
If the layouts require different staffing, compare accepted garments per operator-hour as well. Two operators working throughout that 30-minute example contribute one operator-hour, giving 225 accepted garments per operator-hour. Include anyone needed to feed the dryer or inspect finished pieces in both trials. For a broader checklist, see the automatic screen printing press buying guide.
Compare Quotes for the Same Job
Ask each supplier to price the station layout and accessories needed for your artwork and garments. Check the number and size of platens, frame clamps, flash units and any equipment needed for final curing. Confirm what the quote includes for delivery, installation, operator training and spare parts. Include the cost of required site work, such as electrical or compressed air provisions, based on the installation documents for the quoted equipment.
If you plan to keep a conveyor dryer, share its belt width, infeed position and the ink system you use. Ask how the proposed press will feed it at your target rate. For an existing shop, account for the cost and downtime of relocating equipment or extending utilities when you compare installed prices.
Send HANZE your floor plan, largest recurring artwork, color separations, garment types and expected batch sizes. Ask for a layout that marks platen travel, loading and unloading, print heads and flash positions. Send your job and site details to HANZE.
Frequently Asked Questions
Can I reuse screens and platens from my current press?
Check the screen frame’s outside dimensions, profile thickness and clamping edge against the new print head. Check the platen mounting interface and board dimensions. Share measurements or a sample if you plan to reuse tooling across both presses.
Can an oval press be expanded later?
Some oval presses are built with modular sections. If you expect to add stations, ask which changes the quoted model supports, which components are needed, and how the expanded machine would fit your shop. Include the planned load and unload positions in that review.
How should I compare registration on the two presses?
Use the same artwork and compare the alignment of the underbase and top colors across several consecutive garments after the line reaches its working pace. If registration tolerance matters to the order, agree on how it will be measured and record the test conditions.
 Screen Printing Press Colors vs. Stations: How Many Do You Need?