Screen Printing Press Colors vs. Stations: How Many Do You Need?
Screen Printing Press Colors vs. Stations: How Many Do You Need?
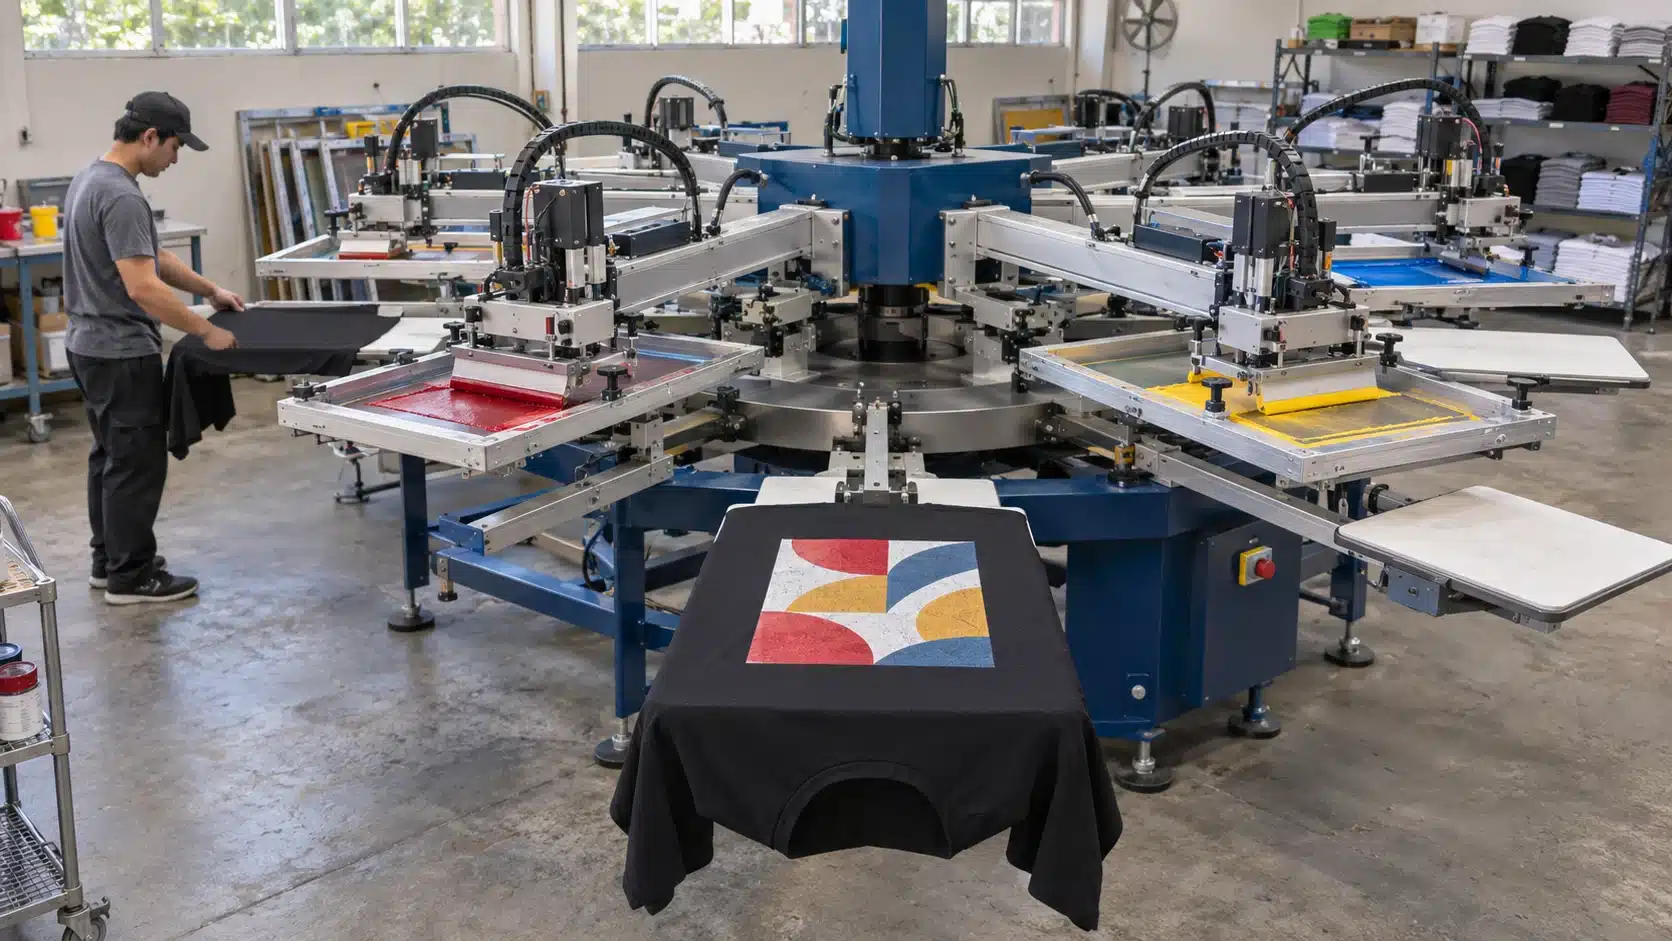
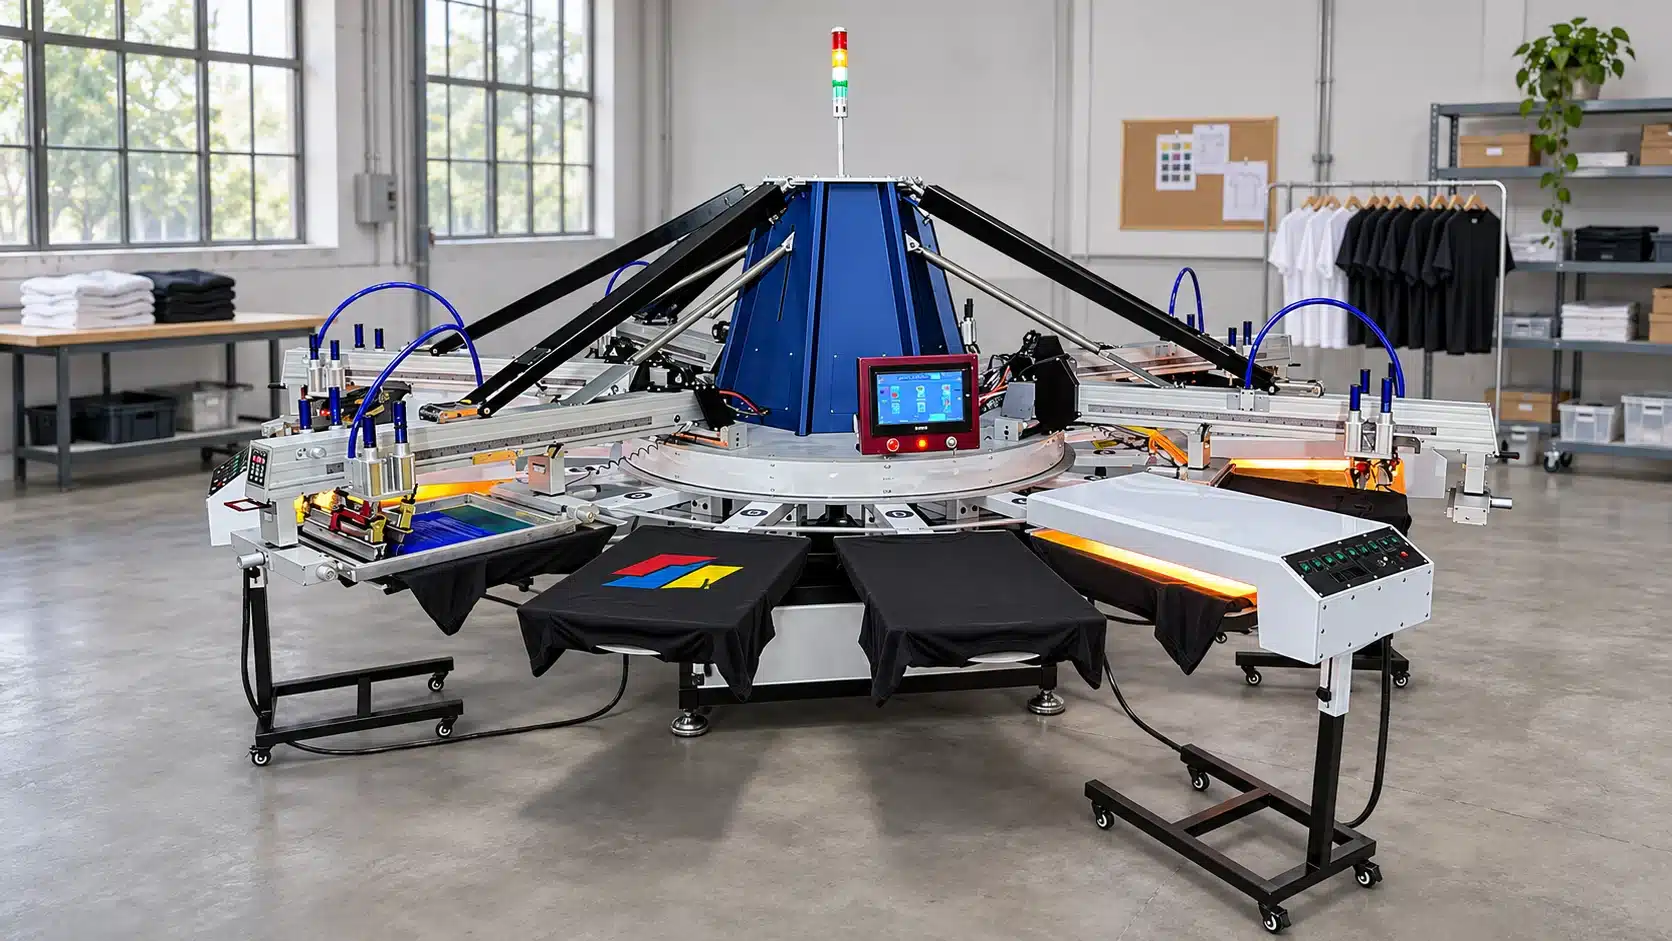
On an automatic carousel screen printing press, the advertised color count refers to its print heads. The station count tells you how many positions a garment can move through around the press. To choose a configuration, count the screens in your design and map where printing, flashing, cooling, loading and unloading will take place.
Count the Screens Your Artwork Needs
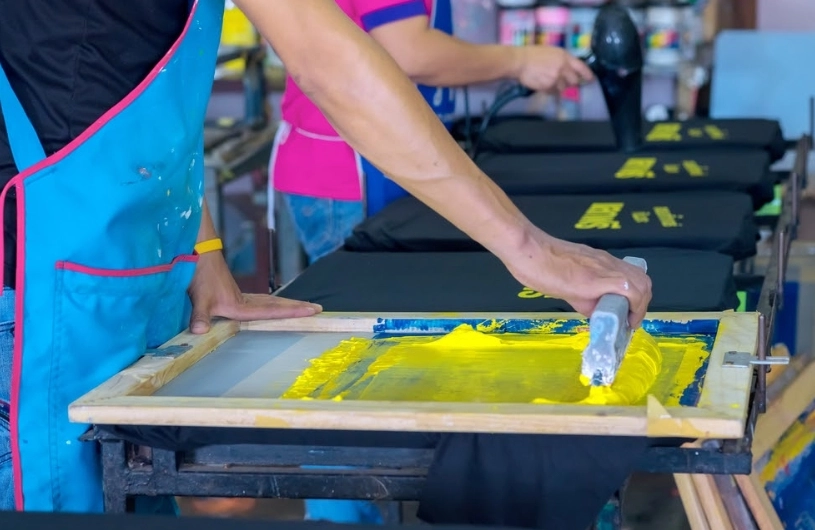
A print head holds a screen and runs the squeegee stroke. The garment sits on a platen that carries it from one station to the next as the carousel indexes. For a job completed in a single trip around the press, assign one head to each screen you plan to print.
A three-color logo on a light shirt might use three screens. If the dark-shirt version needs a white underbase, add a fourth screen. If the artwork also calls for a separate highlight white, add a fifth. The underbase and highlight each use their own head in that setup, even if both screens use the same white ink.
Check the most complex design you expect to print regularly. Get the screen count from the approved color separations or the job sheet. Use that number to compare how many heads remain usable once any required flash units are fitted.
Map the Stations for a Three-Color Print on a Black T-Shirt
Suppose a black cotton T-shirt needs red, blue and yellow over a white underbase. The layout below uses one flash after the white, a separate cooling position and separate load and unload positions. It assumes the three top colors can be printed wet-on-wet after the underbase has set. The color order is illustrative.
| Example position | Operation | What happens at this position |
|---|---|---|
| 1 | Load | Place and align the shirt on the platen. |
| 2 | Print white underbase | Use the first print head to lay down the white base. |
| 3 | Flash | Set the surface of the white ink for the next print. |
| 4 | Cool | Give the flashed print an additional index cycle before overprinting. |
| 5 | Print red | Use the second print head for the first top color. |
| 6 | Print blue | Use the third print head for the second top color. |
| 7 | Print yellow | Use the fourth print head for the third top color. |
| 8 | Unload | Remove the printed garment and transfer it to final curing. |
The example uses four print heads and eight positions. With separate loading and unloading, you can budget seven positions if a trial confirms the first top color can print at the next position after flashing. If the job needs another flash between top colors, mark it where it belongs and check whether it also needs cooling time. Set the final cure according to the ink supplier’s instructions.
Decide whether the job needs its own cooling position
Run a series of shirts with the actual ink and garment at the planned production pace. Once the platens have warmed up, compare the prints for changes in edge definition or coverage. After the trial, inspect the underside of the first top-color screen for white ink transfer. Use the ink supplier’s guidance and the trial results to decide how much time the underbase needs between flashing and overprinting.
Check What the Flash Dryer Does to Head Capacity
A flash unit needs an approved mounting position at the right point in the sequence. On a configuration with a suitable dedicated flash position, a six-head press can keep all six heads available for printing. If the flash takes one of the six print-head positions, five remain available for screens.
Ask for a drawing of the press as quoted, with its print heads and flash units marked. Count the heads you can use and check their order around the carousel. For the black T-shirt example, there must be three usable heads downstream of the flash and before unloading. Also confirm that the flash can cover the full printed area of your largest job.
Compare HANZE Color and Station Configurations
| HANZE model | Listed print heads | Listed stations | What to verify for your job |
|---|---|---|---|
| YP-3-8 | 3 | 8 | A starting point for three-screen work. Confirm the head count once any required flash unit is fitted. |
| YP-4-10 | 4 | 10 | For the black T-shirt example, confirm four active heads and a suitable flash position between the underbase and top colors. |
| YP-6-14 | 6 | 14 | Compare layouts for jobs that add a separate highlight screen or need another intercoat flash. Check the placement of each operation. |
| YP-8-24 | 8 | 24 | A candidate for a seven-screen job, such as six top colors plus a white underbase. Verify that seven heads remain usable with the required flash equipment in place. |
Once you have a shortlist, check artwork dimensions, frame fit, production targets and workshop space. See the automatic screen printing press buying guide.
What to Send When Requesting a Station Layout
• Artwork and separations. Include the maximum print dimensions and identify each screen, including any underbase or highlight.
• Garment details. Provide the fabric, garment color and print location. Include a physical sample or an approved print if available.
• Print sequence. Mark where you expect to flash and where you may need extra cooling. Include the ink system and any existing flash equipment you plan to use.
• Run size and staffing. Share a typical order size, target output and the number of operators available for loading and unloading.
Ask HANZE for an equipment layout that shows the usable print heads, flash locations and handling positions for your job. Send your job details to HANZE.
Frequently Asked Questions
Can loading and unloading share one station?
Some presses support a shared handling position. The operator unloads the printed shirt and loads the next blank at that same position. Count it once in the layout and time the full unload-and-reload step with the garments you plan to print.
Do two squeegee strokes require two print heads?
A head that supports repeated strokes can print through the same screen twice at one position. Include the added stroke time when you estimate the cycle. If the job calls for another print after a flash, map that later print step in the sequence and confirm how the press will handle it.
Do more stations always increase output?
Output depends on how quickly the line can load, print, flash, unload and finish each garment. Additional stations can provide room for a different sequence, such as a cooling position before overprinting. To compare two layouts, time a representative run and count the finished garments that pass inspection.
Should I add the colors on the shirt front and back together?
Plan each side as a separate setup when the operator must turn and reload the shirt between prints. Count the screens and flash steps for each side, then include the extra handling and changeover time in the job estimate.
 How to Choose an Automatic Screen Printing Press for Garment Printing