How to Reclaim Screen Printing Frames
How to Reclaim Screen Printing Frames
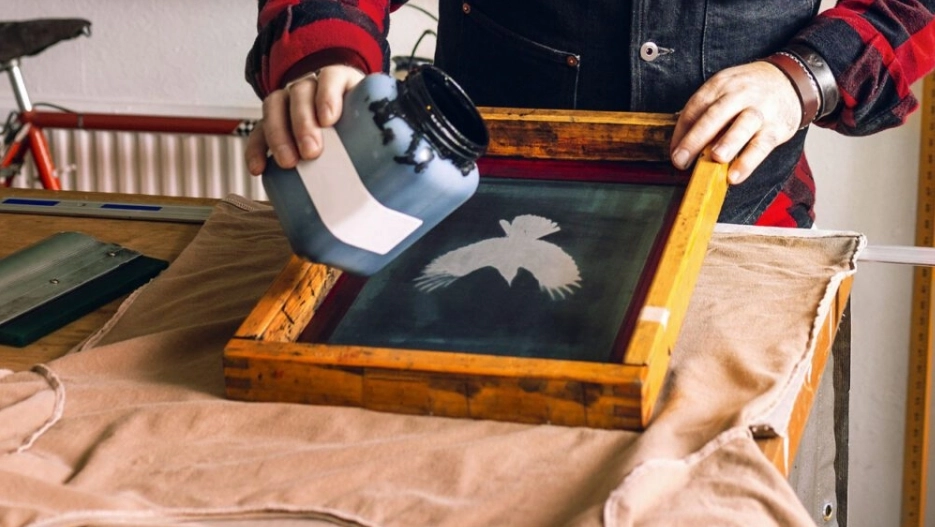
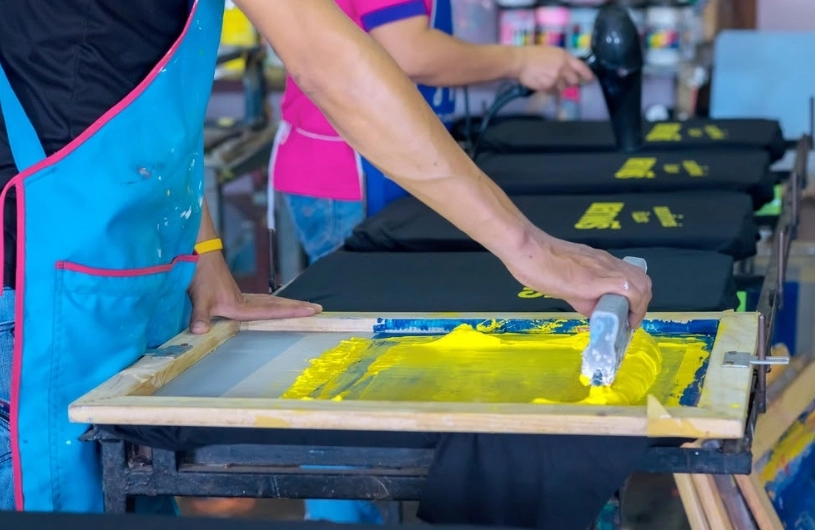
Reclaiming removes the ink and stencil from a used screen so the frame and mesh can be used again. The objective is not simply a clean appearance. The mesh openings must be clear. The screen must also retain suitable tension and remain free of chemical residue.
The basic screen reclaiming process is straightforward:
- Inspect the frame, mesh, and tension.
- Recover excess ink and remove tape.
- Clean the remaining ink from both sides.
- Apply stencil remover and keep it wet.
- Rinse out the loosened emulsion.
- Treat haze only when necessary.
- Degrease, rinse, dry, and inspect the screen.
Always match the chemicals to the ink and stencil system. Follow the current technical data sheet (TDS) and safety data sheet (SDS). There is no universal dilution ratio, dwell time, or water-pressure setting for every screen.
Important: Reclaiming is not the same as developing a newly exposed stencil. If the screen has been exposed but not printed, see How to Wash Out a Screen After Exposure.
Should You Reclaim the Screen or Replace the Mesh?
Inspect the screen before spending time and chemicals on it. Reclaiming is worthwhile only when the frame and mesh still meet the shop’s production standard.
| Screen condition | Recommended action | Reason |
|---|---|---|
| Mesh is intact and tension is within the approved range | Reclaim | The screen may be suitable for another production cycle |
| Small stain remains, but every mesh opening is clear | Test before using haze remover | A cosmetic ghost image may not affect the next stencil |
| Pinhole, cut, or torn thread is inside the working area | Re-mesh or replace | Damage can spread and may affect ink deposit |
| Tension is low or uneven across several measurement points | Re-mesh, retension, or retire | Cleaning cannot restore lost tension |
| Static-frame adhesive is lifting from the rail | Re-mesh or retire | The mesh bond is no longer reliable |
| Frame is twisted, cracked, or damaged at a weld or joint | Retire or repair after technical assessment | Flatness and structural condition affect registration |
| Retensionable hardware is loose, damaged, or seized | Service the frame before reuse | The locking system must hold balanced tension |
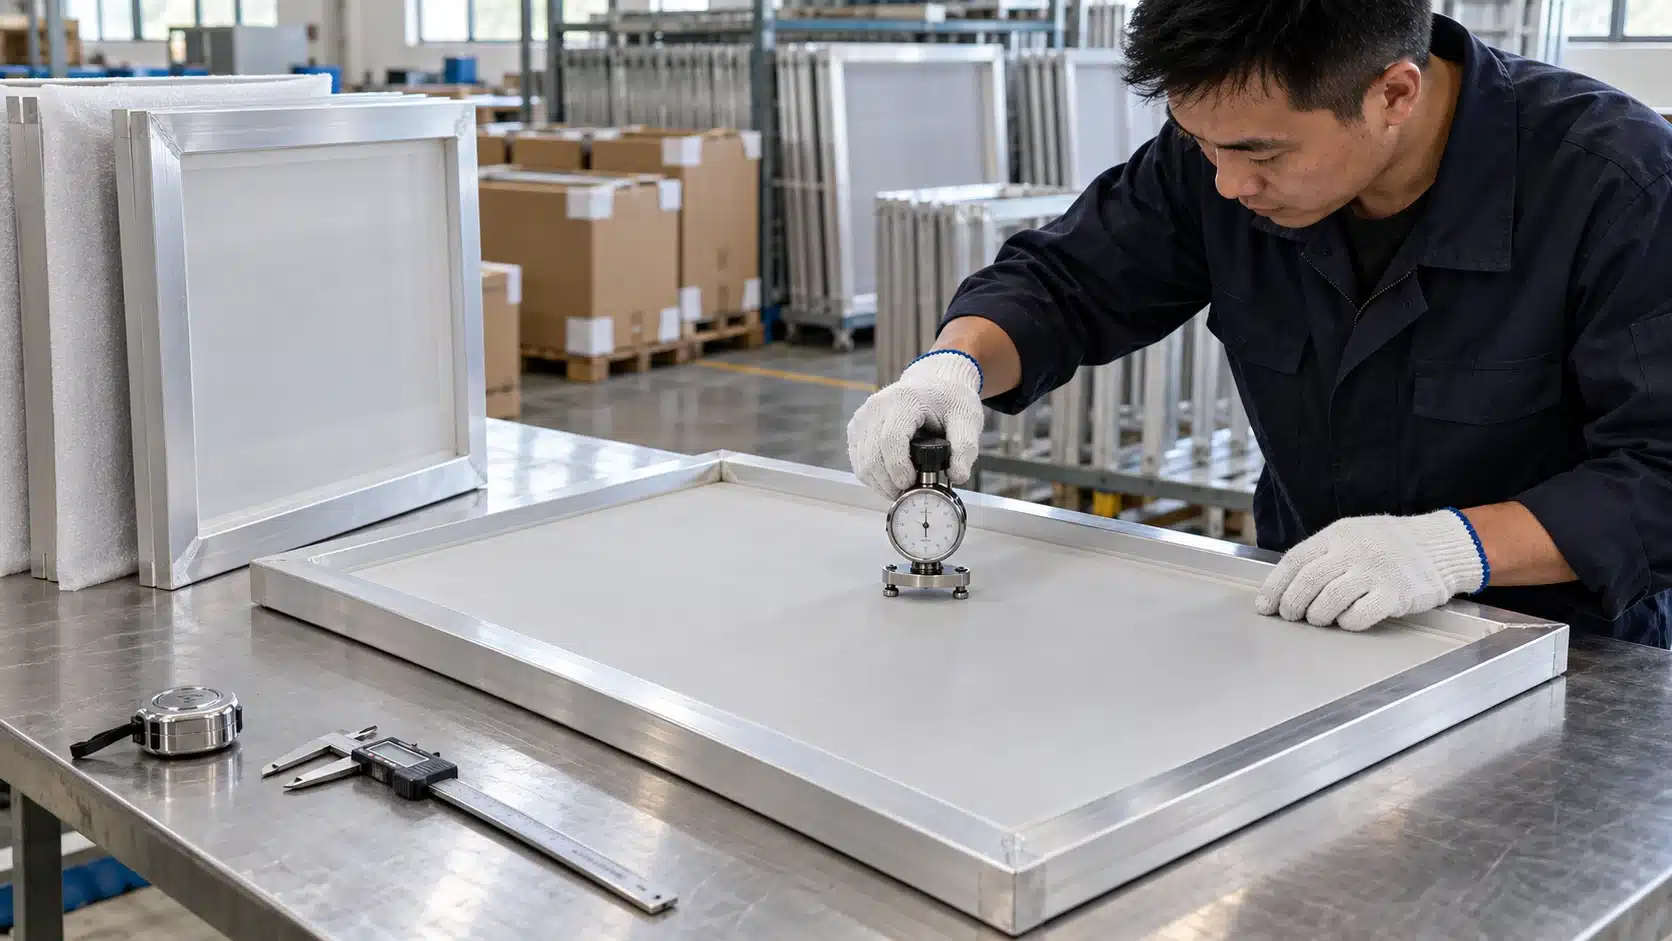
Use a calibrated screen tension meter and a defined measurement pattern. Compare the results with your approved shop specification. Do not rely on finger pressure or sound alone.
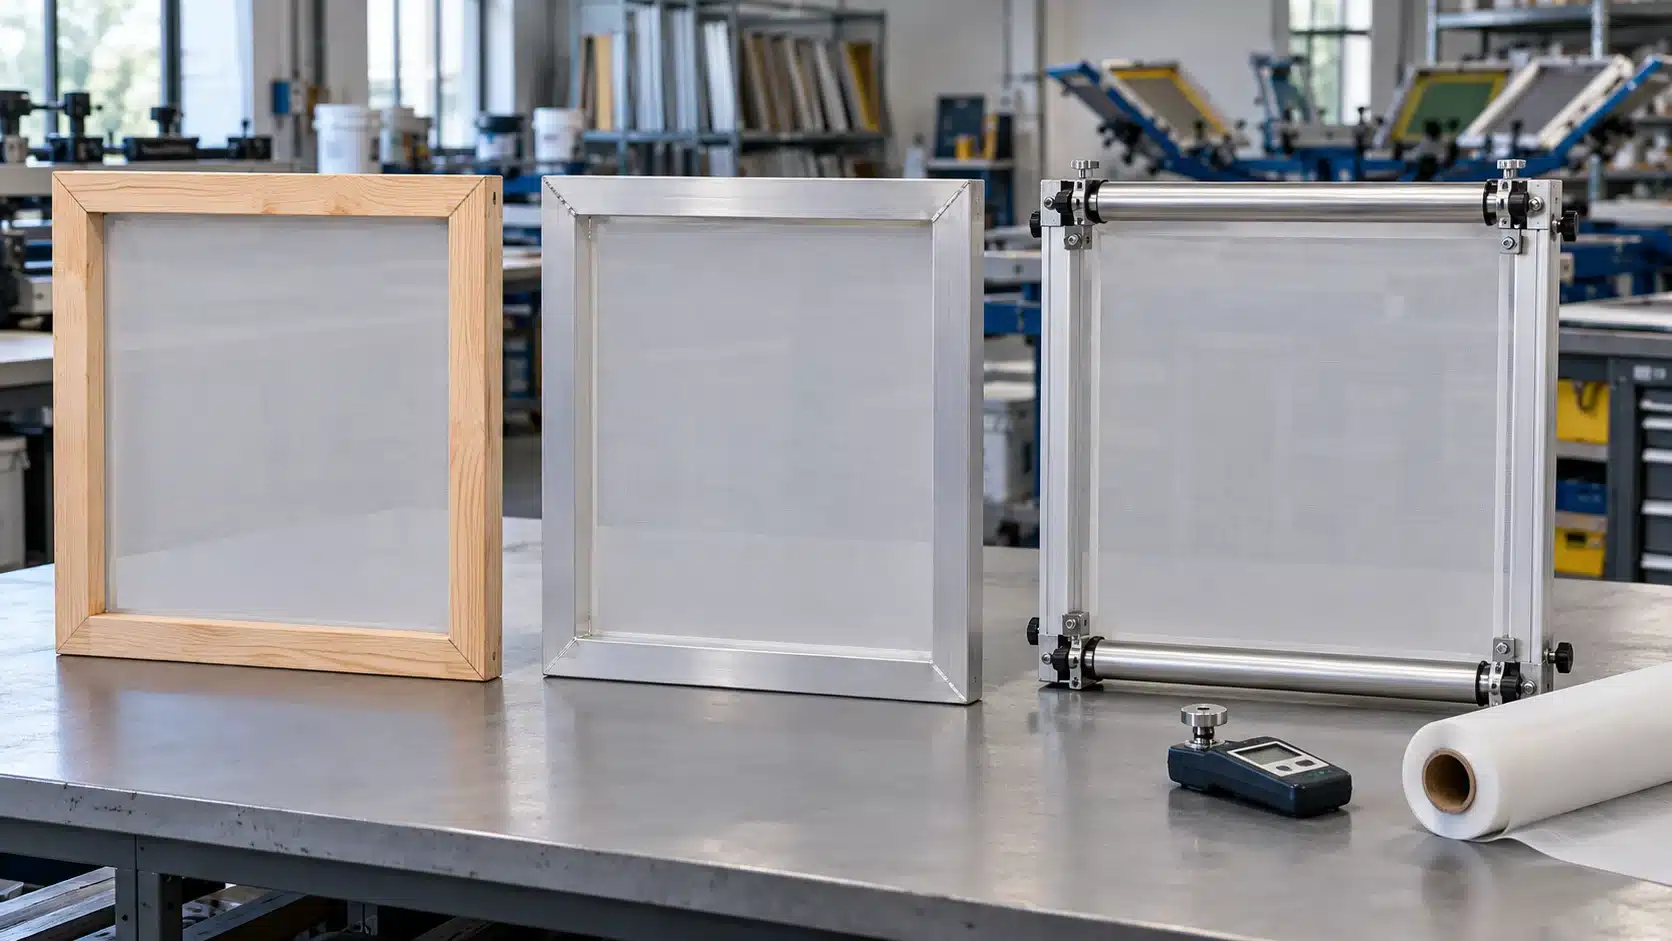
Frame construction also affects the inspection. Aluminum does not absorb water, but its adhesive line still needs chemical care. Wood needs sound sealing, flat joints, and controlled wet exposure. Retensionable frames need clean, serviceable locking parts. See Aluminum vs Wood vs Retensionable Screen Printing Frames for a detailed comparison.
What You Need to Reclaim Screen Printing Frames
| Item | Purpose | What to check |
|---|---|---|
| Washout booth | Contains spray and supports the frame | Internal clearance, frame support, drain capacity, and splash control |
| Ink spatula or card | Recovers usable ink | Smooth edge that will not cut the mesh |
| Ink remover | Breaks down residual ink | Compatibility with the ink type and stencil system |
| Stencil remover | Breaks down photo emulsion or capillary film | Correct product, dilution, and application method |
| Haze remover | Treats remaining ink or stencil stains | Use only when needed and only on compatible mesh and frame components |
| Screen degreaser | Removes process residue before coating | Suitability for final mesh preparation |
| Dedicated brushes or pads | Distributes each chemical | Soft, clean, labeled, and reserved for one chemical stage |
| Adjustable water supply | Performs the initial and final rinse | Even spray and enough flow for the screen size |
| Pressure washer, if required | Removes loosened stencil and residue | Validated pressure, nozzle pattern, distance, and frame support |
| Inspection light | Reveals blocked openings and residue | Bright, even light behind the complete mesh area |
| Personal protective equipment | Reduces operator exposure | Select from the SDS and site risk assessment |
| Drain screen or filtration system | Captures solids before discharge | Capacity, maintenance access, and local wastewater requirements |
A screen printing washout booth contains overspray and runoff. It does not replace a pressure washer, ventilation system, or wastewater treatment system. Plan each of those functions separately.
Set Up a Safe Reclaiming Area
Read every product’s current TDS and SDS before starting. Check the required gloves, eye protection, ventilation, storage, and first-aid measures. Keep the floor dry enough for safe movement and use slip-resistant footwear where required.
Label all working solutions. Use accurate measuring containers for concentrates. Keep a dedicated brush or pad for each chemical. Cross-contamination can reduce performance and create an unsafe mixture.
Never mix reclaiming chemicals unless the manufacturer explicitly approves the exact products and ratio. A combination allowed by one supplier is not a general rule for other brands.
Keep reclaiming away from coating and clean-screen storage when possible. Chemical mist and dirty runoff should not reach screens that are ready for emulsion. Confirm local rules before discharging ink, emulsion, solvent, or haze-remover residue.
How to Reclaim Screen Printing Frames Step by Step
Step 1: Inspect and Identify the Screen
Record the frame ID, mesh count, ink type, stencil type, and job status. Confirm that the artwork is no longer needed. Some repeat jobs are less expensive to store than to reclaim and remake.
Inspect the mesh under good light. Check for cuts, broken threads, loose edges, and previous repairs. Then measure tension at the same points used by your quality procedure. Stop if the screen already fails the release standard.
This first check prevents wasted labor. It also helps the shop separate reclaiming failures from screens that were already damaged.
Step 2: Recover Ink and Remove Tape
Return excess ink to the correct container when your ink-handling procedure permits it. Use a smooth-edged spatula. Do not drive the blade into the mesh.
Remove pallet tape, masking tape, registration tabs, and removable blockout. Tape left on the frame can trap ink and leave adhesive residue. If a tape is difficult to remove, use a compatible adhesive-removal method approved for the mesh bond and frame finish.
Keep different ink systems separate. Mixing returned inks can make color, cure, and waste control less predictable.
Step 3: Remove Residual Ink
Choose an ink remover designed for the ink system. Water-based, plastisol, solvent-based, and UV inks may need different chemistry. Confirm that the cleaner is also compatible with the stencil and frame adhesive.
Apply the product as its TDS directs. Cover the squeegee side and printing side. Agitate gently with the dedicated ink-removal brush or pad. Give the cleaner only the stated contact time, then rinse or wipe it as instructed.
Pay close attention to corners, frame rails, and the ink well. Residual ink can block stencil remover from reaching the emulsion. It can also create a misleading ghost image later.
Do not use stencil remover as a substitute for this stage unless the chemical supplier specifies a compatible combined process.
Step 4: Apply the Stencil Remover
Prepare the stencil remover at the manufacturer’s stated concentration. If the product is ready to use, do not dilute it without written guidance. If it is a concentrate, measure the water and chemical accurately. A stronger mix is not automatically faster or safer.
Wet or prepare the screen only as the TDS requires. Apply the remover evenly to both sides of the stencil. Use a clean, dedicated brush or pad. Work the product over the full coated area without damaging the mesh.
Allow the stated dwell time. Stay with the screen during this stage.
Never let stencil remover dry on the screen. Drying can harden or lock emulsion residue into the mesh. If the product begins to dry, follow the manufacturer’s recovery instructions. In many systems, the safer response is to rinse and apply fresh solution rather than extending the dwell time.
Step 5: Rinse Out the Emulsion
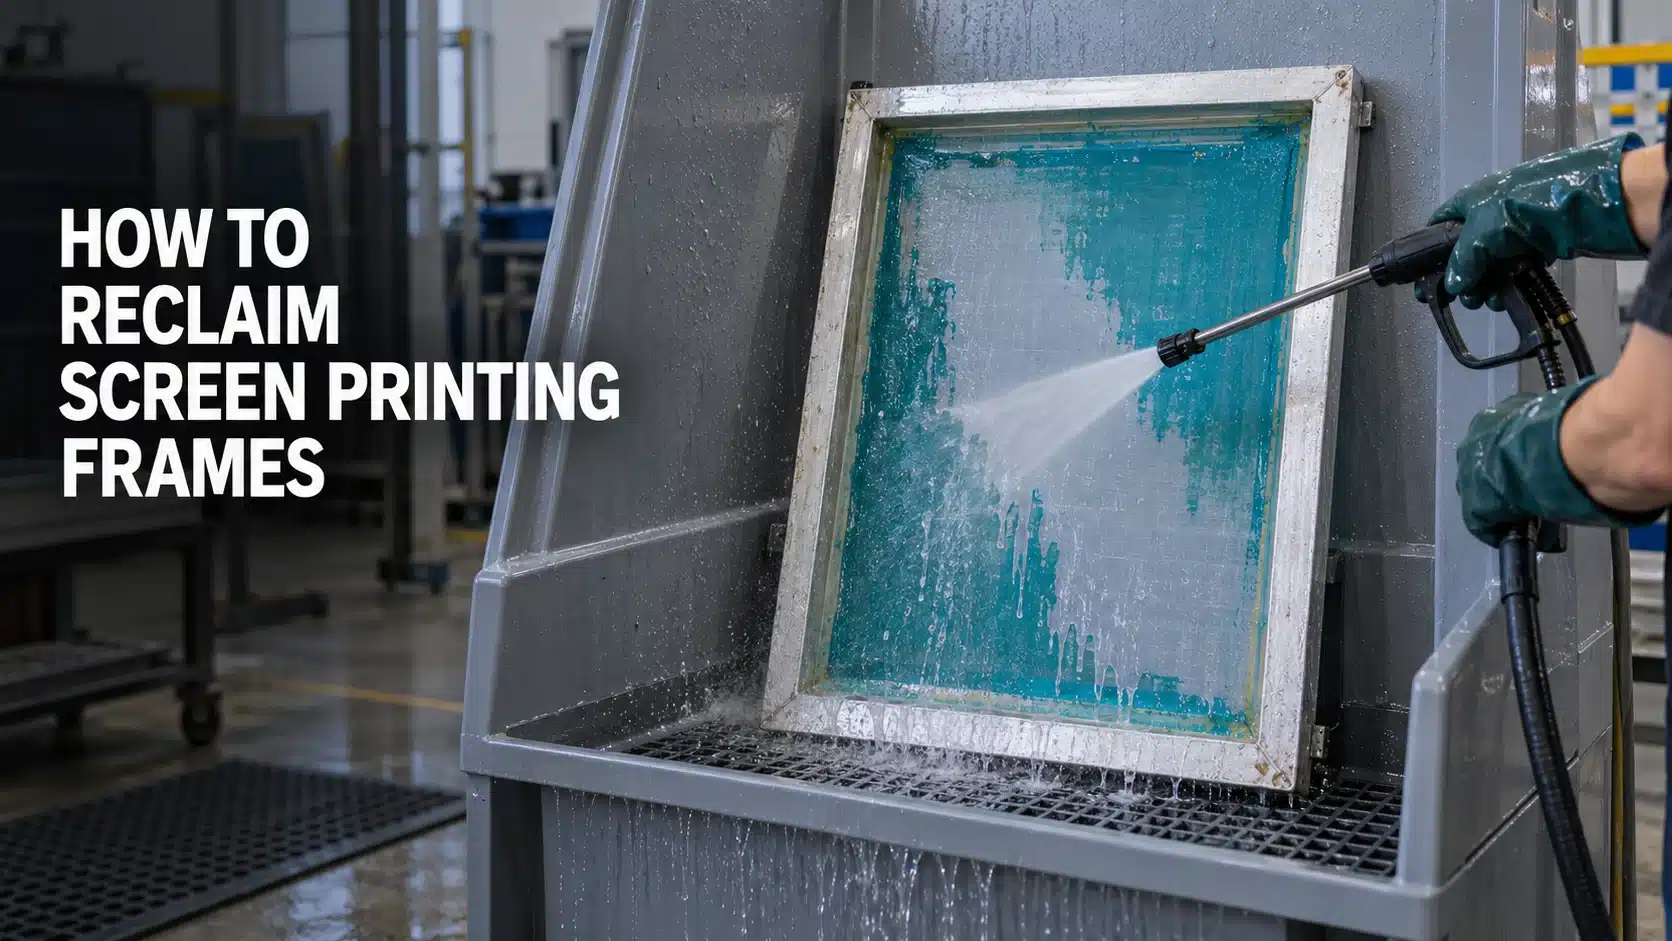
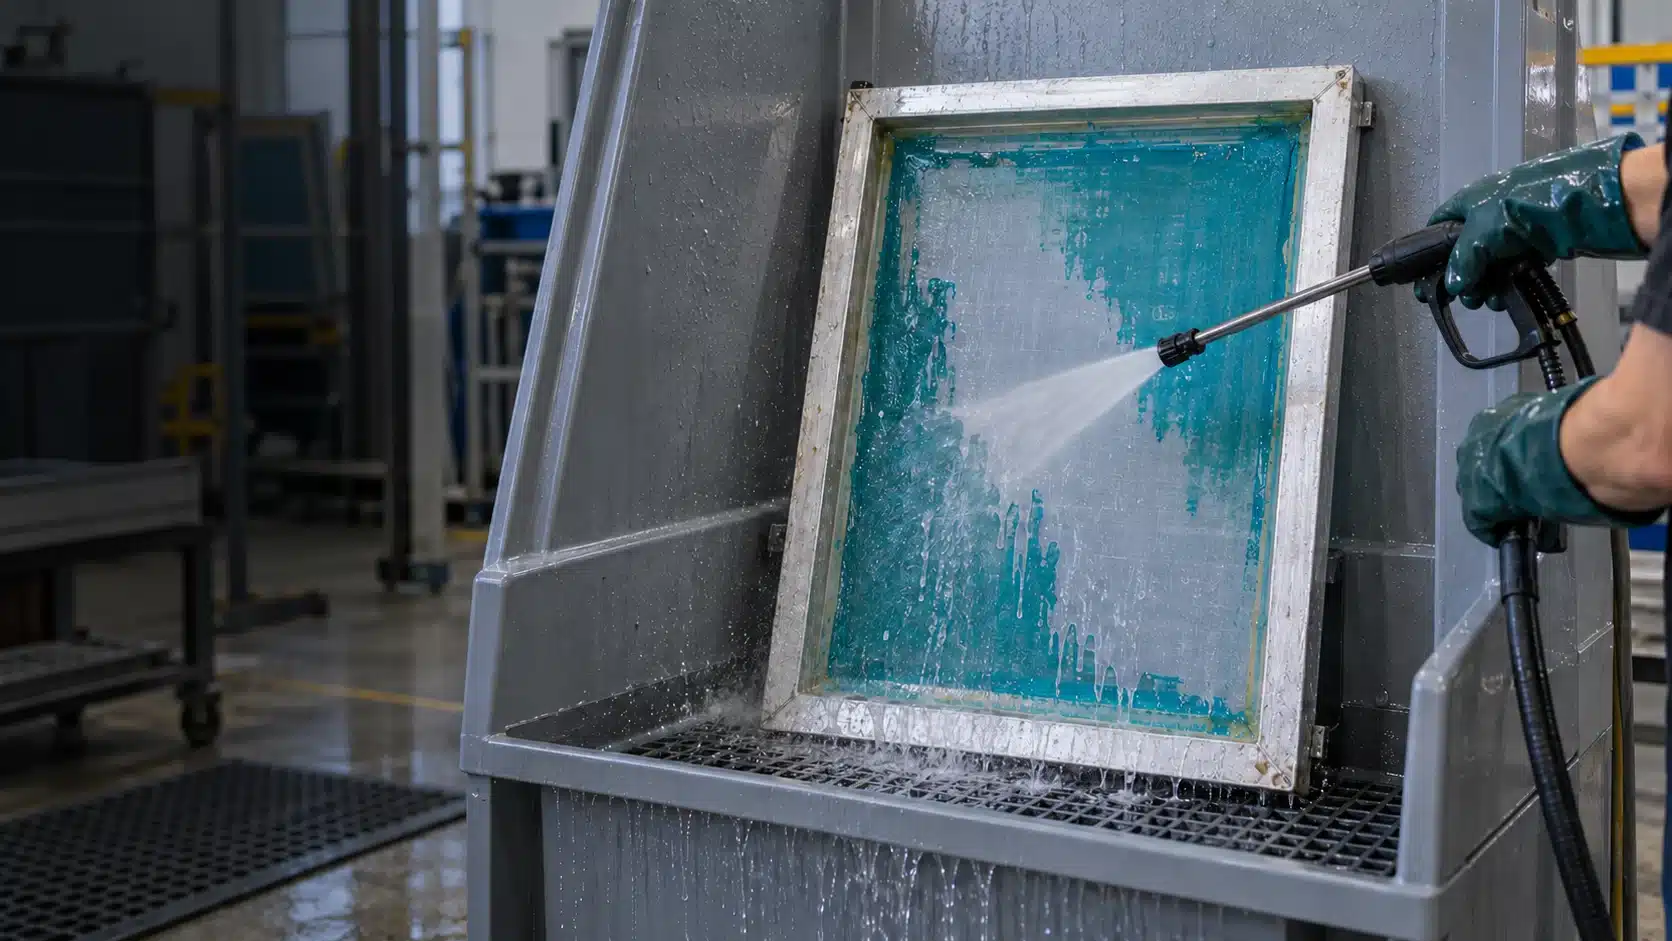
Rinse away the loosened stencil inside the washout booth. Work across the full screen so dissolved emulsion does not remain at the edges. A strong water spray may be enough for some systems. Water-resistant stencils may require validated high-pressure equipment.
Use pressure to remove chemistry-weakened material, not to compensate for the wrong chemical or an incomplete dwell. Keep the nozzle moving. Maintain the distance and angle defined by your process. Support the frame securely and avoid directing extreme force at one small area.
There is no useful universal pressure setting. Mesh count, thread diameter, screen age, stencil type, nozzle, distance, and equipment output all change the result. Validate the lowest effective setting on a representative screen.
Inspect the screen with backlight. If emulsion remains, identify the likely cause before repeating the cycle. Do not keep increasing pressure against a damaged or chemically locked stencil.
Step 6: Treat Haze Only If It Matters
A ghost image can be an ink stain, stencil residue, or a combination of both. It does not always mean the mesh openings are blocked.
First, inspect the screen wet and dry under strong light. Check whether the stain interferes with open mesh, coating, exposure, or image inspection. If it is only cosmetic, an aggressive treatment may add cost without improving print performance.
When treatment is needed, choose a haze remover for the identified residue. Follow its TDS exactly. Observe the stated dwell time and rinse method. Some haze removers are more aggressive than routine ink or stencil removers. Excess contact can shorten mesh life or affect adhesive, finishes, and retensionable parts.
Do not combine a haze remover with other reclaiming chemicals unless the supplier approves the complete process.
Step 7: Degrease and Perform the Final Rinse
After ink, stencil, and required haze treatment are complete, apply a dedicated screen degreaser. Use a clean brush that has not touched ink remover or haze remover. Cover both sides and the edges of the mesh.
Rinse thoroughly with clean water. Remove foam, loosened solids, and chemical residue. Water should spread consistently across a clean mesh surface. Persistent beading or an oily-looking area can indicate contamination. Repeat the approved cleaning step if needed.
Finish with a controlled rinse from top to bottom. Check the drain screen or filter and service it before flow becomes restricted.
Step 8: Dry, Measure, and Release the Screen
Move the screen to a clean drying area. Keep dirty spray, dust, and reclaiming chemicals away from the wet mesh. Support the frame so it does not rest on or rub against the mesh.
Inspect the screen again after it is fully dry. Dry residue can be easier to see than wet residue. Check the complete mesh area, frame rails, corners, welds or joints, and the mesh bond.
Measure tension again using the approved pattern. Record the result and the reclaiming cycle if your shop tracks screen life. Release the screen only when it meets the coating department’s acceptance standard.
Final Quality-Control Checklist
| Check | Acceptance question | Action if it fails |
|---|---|---|
| Open mesh | Are all required openings free of ink and emulsion? | Identify the residue and repeat only the relevant stage |
| Chemical residue | Is the mesh free of foam, oily patches, and visible cleaner? | Rinse or degrease again according to the TDS |
| Mesh condition | Are there no cuts, broken threads, or weak repairs in the working area? | Re-mesh or retire the screen |
| Tension | Are readings within the approved range and reasonably balanced? | Retension, re-mesh, or segregate the screen |
| Frame condition | Is the frame flat, sound, and free of critical joint or weld damage? | Repair after assessment or retire it |
| Mesh bond or locking system | Is the bond secure, or is the retensionable hardware serviceable? | Stop and repair before coating |
| Cleanliness after drying | Is the mesh ready for uniform coating? | Reclean, rinse, and dry in a cleaner area |
Screen Reclaiming Problems and Solutions
| Problem | Likely cause | Corrective action |
|---|---|---|
| Emulsion will not release | Ink remains on the stencil, remover is unsuitable, dilution is wrong, or the remover dried | Rinse, review the TDS, remove remaining ink, and apply fresh compatible remover |
| Small areas remain blocked | Uneven chemical coverage, dried residue, or insufficient rinsing | Inspect under backlight and repeat the affected stage without over-treating the full screen |
| A dark ghost image remains | Ink stain may remain even when the mesh is open | Confirm whether it affects function before using haze remover |
| Mesh breaks during rinsing | Existing damage, excessive pressure, close nozzle distance, or aggressive scrubbing | Stop the process and re-mesh or retire the screen |
| The next emulsion coat is uneven | Cleaner, oil, or haze-remover residue remains | Degrease with a clean tool, rinse thoroughly, and dry in a clean area |
| Tension is lower after reclaiming | Mesh fatigue, bond failure, damage, or an unstable frame | Compare multi-point readings and re-mesh, retension, or retire as appropriate |
| Reclaiming takes longer each cycle | Poor ink recovery, aging chemistry, blocked filters, or inconsistent work methods | Audit each stage, chemical control, water delivery, and maintenance record |
Manual Reclaiming or a Dip Tank?
Both methods can work. The better choice depends on daily screen volume, chemical system, floor space, labor, and wastewater plan.
| Factor | Manual process | Dip-tank or automated process |
|---|---|---|
| Initial investment | Lower | Higher |
| Operator control | High, but results depend on technique | More repeatable after the process is validated |
| Best fit | Low to moderate volume or mixed screens | Repetitive, higher-volume production |
| Chemical control | Small batches are easy to change | Concentration, loading, and bath life need records |
| Main risk | Skipped areas and variable dwell time | Cross-contamination, exhausted solution, or incompatible screens |
Use only the chemical system approved for the tank. Do not assume that every frame, adhesive, ink, or stencil can be submerged. Wood frames and screens with questionable bonds need particular care.
For equipment planning, compare the largest outside frame size, working clearance, daily screen volume, drainage, filtration, ventilation, and maintenance access. The washout booth buyer’s guide explains these checks in more detail.
How to Standardize Reclaiming in a Production Shop
A written process is more reliable than operator memory. Record the variables that affect quality and cost:
- frame ID and mesh specification;
- ink and stencil system;
- chemical name, batch, dilution, and preparation date;
- dwell time required by the current TDS;
- tension before and after reclaiming;
- number of reclaiming cycles, if tracked;
- defects, repeated steps, and retirement reason;
- operator and completion date.
Use these records to find recurring failures. For example, repeated haze on one ink system may point to delayed cleaning. Frequent bond failure may point to incompatible chemistry or an aging screen inventory. Data makes the next purchasing or process decision easier to defend.
Frequently Asked Questions
What is the difference between screen washout and screen reclaiming?
Washout develops the image in a newly exposed stencil by removing unexposed emulsion. Reclaiming happens after printing. It removes ink, the used stencil, and any functionally important residue so the screen can be coated again.
Can a pressure washer remove emulsion without stencil remover?
A pressure washer should support the chemical process, not replace it. Water force alone may fail to remove a cured stencil and can damage the mesh. Use a compatible stencil remover, allow the specified dwell time, and then rinse at a validated setting.
How long should emulsion remover stay on the screen?
Use the dwell time in the product’s current TDS. The correct time varies by remover, dilution, stencil, temperature, and process. Do not copy a time from a different chemical system.
Can stencil remover dry on the mesh?
No. Stencil-remover suppliers warn that drying can harden emulsion residue and make it much harder to remove. Work in manageable batches and keep control of the stated dwell time.
Does every reclaimed screen need haze remover?
No. Use haze remover when remaining residue affects mesh openings or the next production cycle. A harmless visual stain may not justify an aggressive treatment.
When should a screen be re-meshed instead of reclaimed?
Re-mesh or retire a screen when it has torn mesh, unacceptable or uneven tension, a failing adhesive bond, damaged locking hardware, or a distorted frame. Reclaiming removes print materials. It cannot restore structural condition.
Can a screen be coated immediately after reclaiming?
Only after it has been fully rinsed, degreased, dried, and inspected. The mesh and tension must meet the shop’s release standard. Keep reclaimed screens away from dirty spray and chemical mist before coating.
Build Reclaiming Around Repeatable Control
Effective screen reclaiming is a controlled sequence. Recover ink first. Remove residual ink before attacking the stencil. Keep stencil remover wet. Use haze chemistry only when needed. Then degrease, rinse, dry, and inspect the screen before release.
This sequence protects usable frames and makes failures easier to diagnose. It also gives purchasing teams better data on chemical use, labor, mesh life, and equipment capacity.
HANZE supplies screen printing frames, tension-control tools, and polypropylene washout booths for commercial screen rooms. To request an equipment recommendation, send the largest outside frame dimensions, daily screen volume, ink and stencil systems, available space, utilities, drainage plan, and destination. Contact HANZE for a suitable configuration and quotation.