Apparel Tagging Mistakes That Damage Fabric
Apparel Tagging Mistakes That Damage Fabric
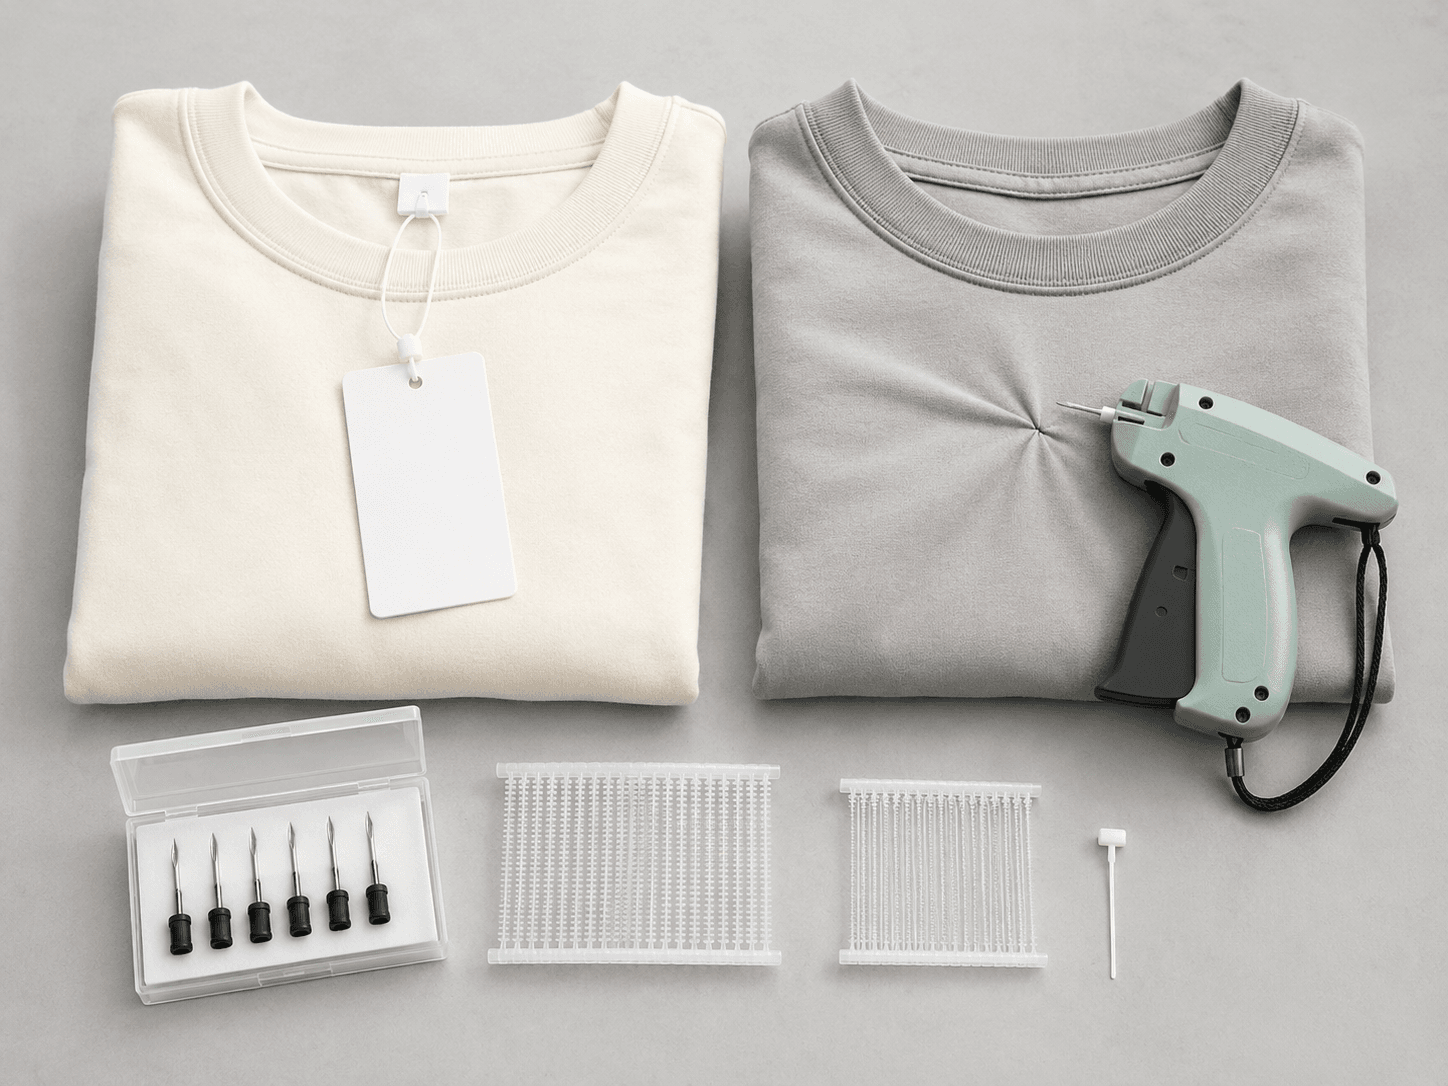
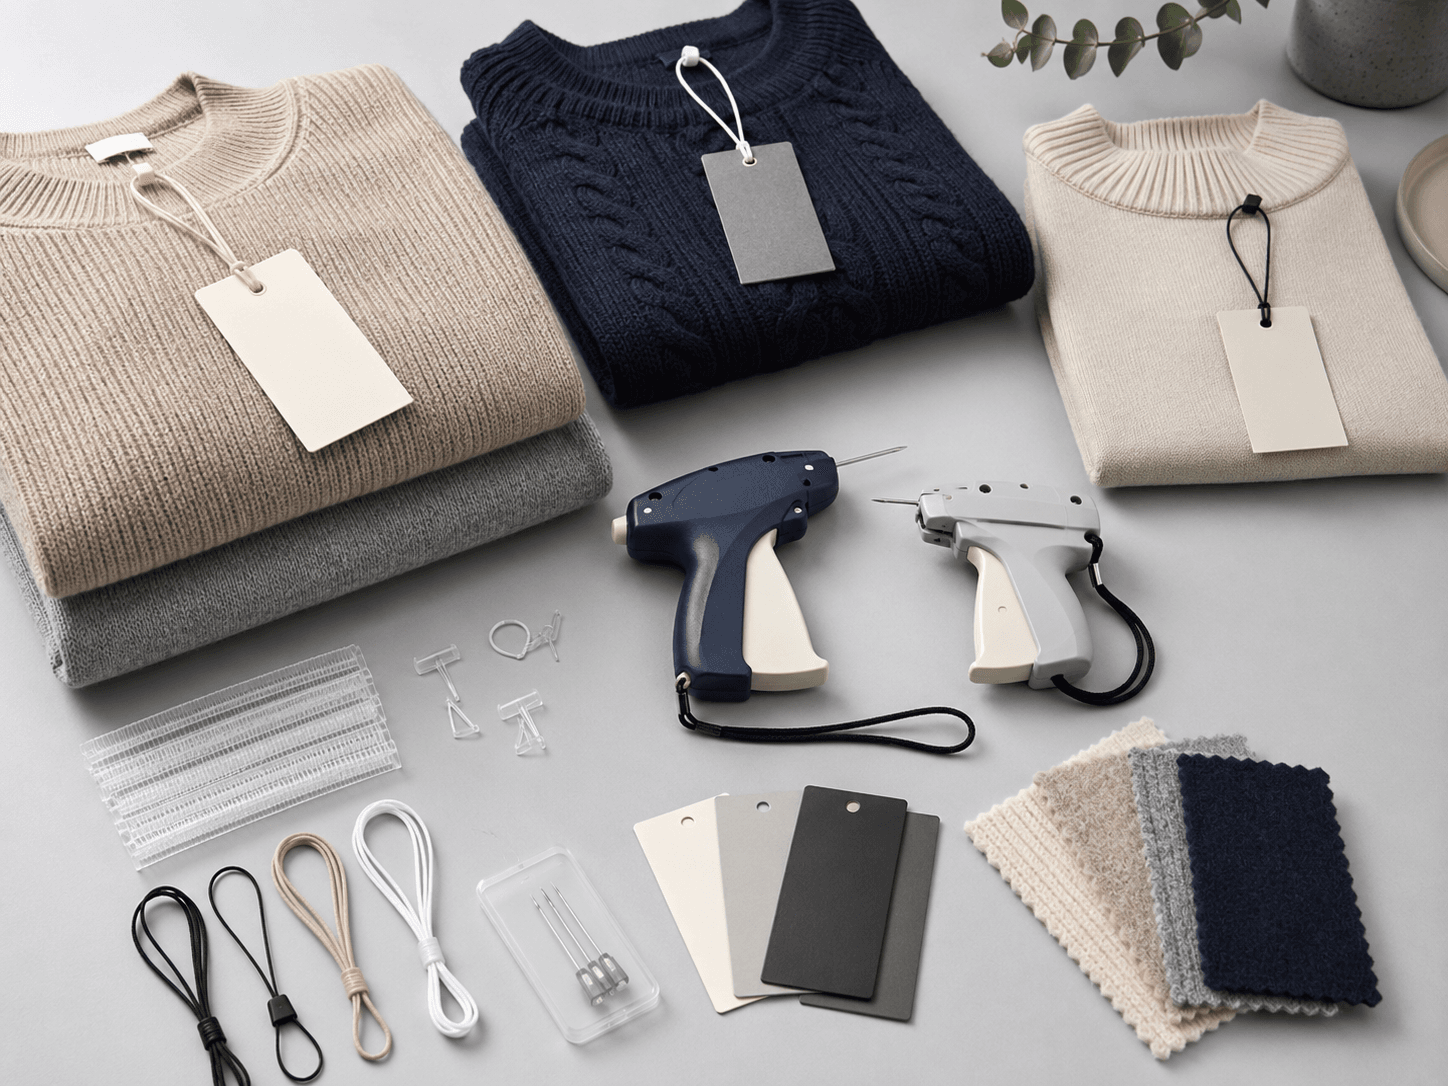
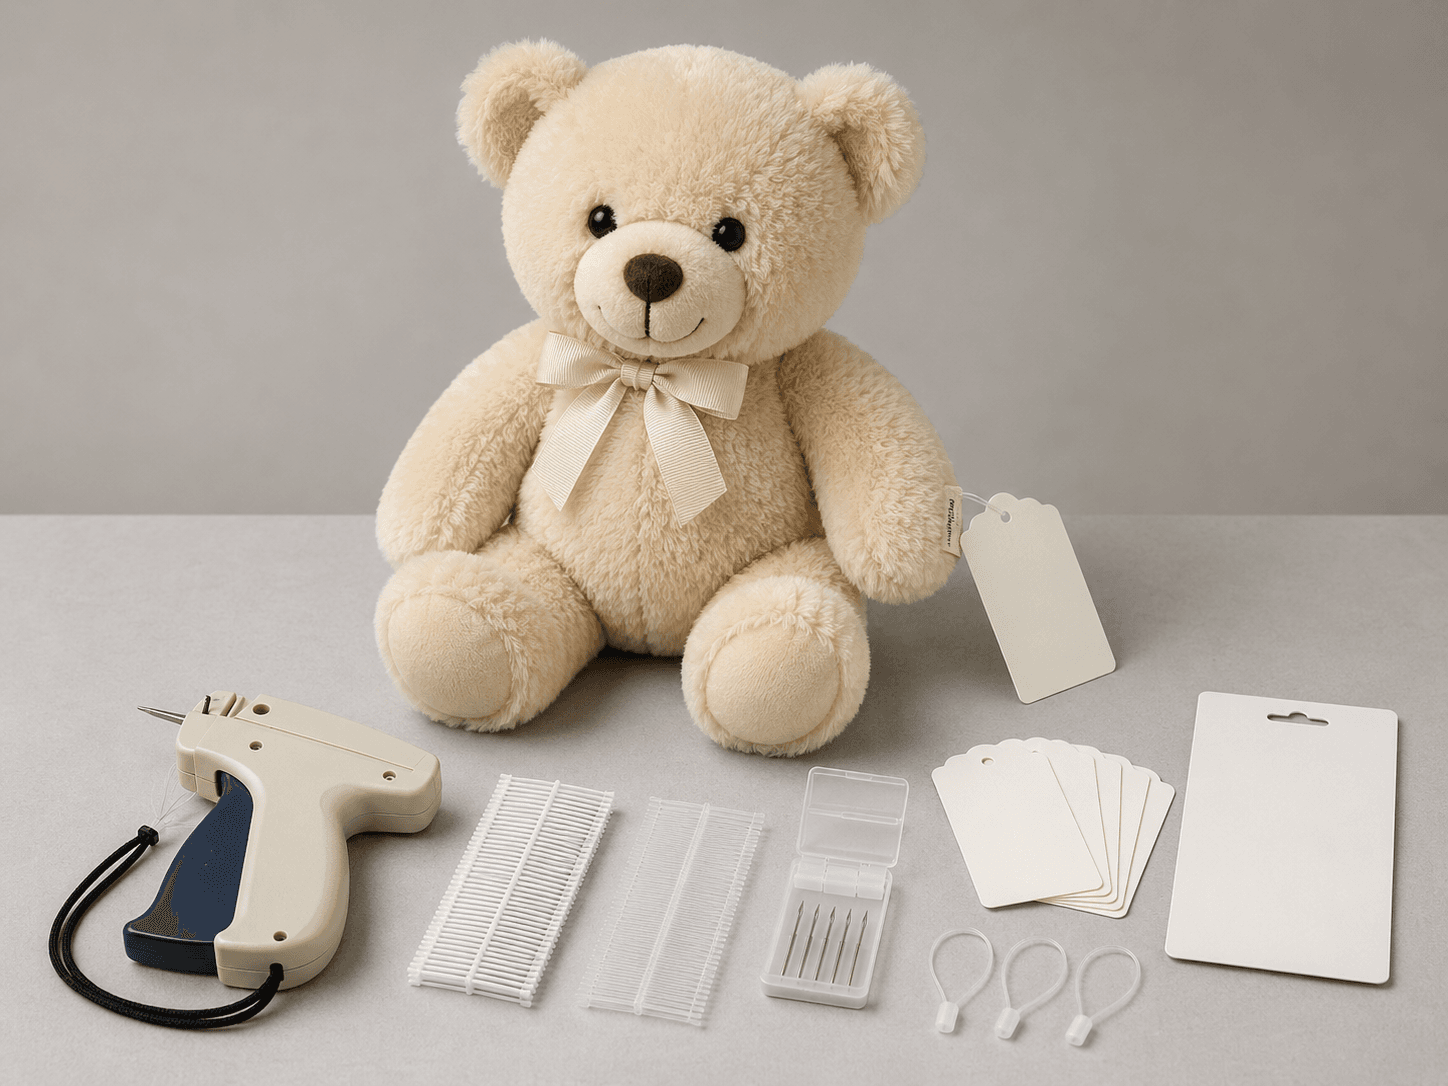
Attaching a hang tag may seem like a simple packaging step, but the wrong tool, needle, fastener or attachment point can leave visible holes, pull yarn, snag delicate fabric or distort a garment.
The tagging gun itself is not always the main cause of damage. Problems often begin when operators use one fastening system for every fabric, tag through a highly visible area, continue using a damaged needle or skip testing on the actual garment.
Standard, fine-fabric, long-needle and non-piercing systems are designed for different applications. None of them should be treated as a universal solution.
This guide explains the most common apparel tagging mistakes and shows how manufacturers, retailers, wholesalers and packaging teams can reduce fabric damage before full production begins.
Why Fabric Damage Happens During Apparel Tagging
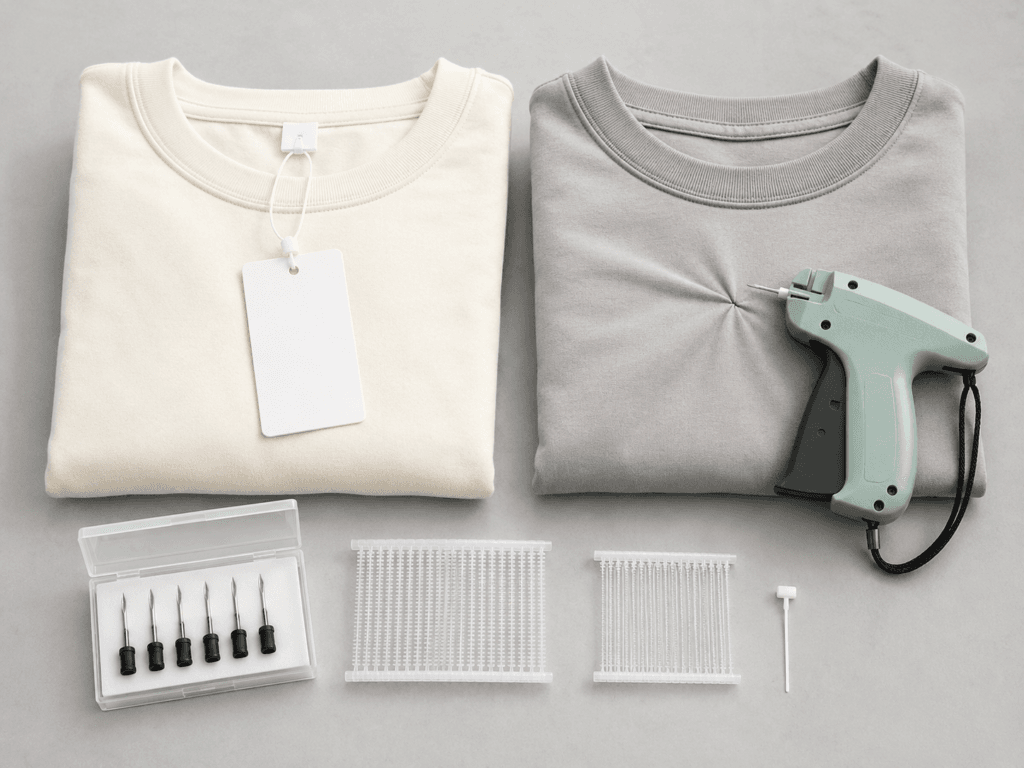
Different fabrics respond differently to a tagging needle. Cotton jersey, denim, polyester, silk, lace, wool, lingerie fabrics and stretch knits do not share the same structure or resistance.
A stable cotton garment may accept a standard tagging system through a care label or side seam. A delicate satin blouse, open-knit sweater or lace garment may require a finer or non-piercing attachment method.
Tool manufacturers make the same distinction. Uline recommends its standard tagging gun for cotton, knits, cotton twill and corduroy, while its fine-fabric model uses a smaller-profile needle and fasteners to reduce the risk of damaging silk, linen, lingerie and infant clothing.
The attachment point also affects the result. The same needle may perform safely through a woven care label but leave a noticeable hole in the visible front panel of the garment.
Damage may not become obvious until the fastener is removed. Sample inspection should therefore check both the initial attachment and the condition of the fabric after removal.
Mistake 1: Using One Tagging System for Every Fabric
One of the most common errors is assuming that a single tagging gun can handle every garment.
A standard system may work well for regular cotton clothing, stable polyester fabrics and some tightly structured knits. It may be too aggressive for silk, lace, lingerie, chiffon or lightweight wool.
A fine-fabric system can reduce the risk of holes and snags on delicate materials, but it is not automatically suitable for thick seams, dense denim or bulky layers.
A practical starting point is:
| Fabric or Product | Suggested Starting Direction |
|---|---|
| Regular cotton and stable polyester | Standard system after testing |
| Denim and workwear | Standard or suitable long-reach system |
| Silk, lace and lingerie | Fine or non-piercing attachment |
| Knitwear and wool | Label, seam, fine or long system depending on construction |
| Shoes, handbags and leather goods | Loop fastener or string |
| Highly sensitive garments | Packaging card, sewn label or non-piercing method |
These are testing directions, not universal rules. The actual garment must determine the final method.
Mistake 2: Mixing Standard and Fine Components
Standard and fine-fabric tools use different needles and fasteners. Similar appearance does not mean that the parts are interchangeable.
Common mistakes include:
- Loading standard fasteners into a fine-fabric gun
- Installing a fine needle in a standard gun
- Using fine fasteners with a standard needle
- Ordering replacement needles only by appearance
- Mixing standard and fine fastener clips at one workstation
Uline explicitly states that its standard gun is not compatible with fine-fabric needles or fasteners and that using them will jam the tool. Its fine-fabric gun carries the same warning for standard components.
The basic compatibility rule is:
- Standard gun + standard needle + standard fastener
- Fine gun + fine needle + fine fastener
- Long-needle gun + specified long needle + compatible fastener
- Micro tool + compatible micro system
- Loop tool + compatible loop fastener
Factories and packing departments can reduce errors by using separate bins, tool identification labels and model-specific needle boxes.
Mistake 3: Tagging Through the Most Visible Part of the Garment
The easiest point to reach is not always the safest place to attach a tag.
Avoid direct attachment through areas such as:
- Front chest panels
- Visible sleeves
- Printed graphics
- Decorative embroidery
- Lace panels
- Open-knit patterns
- Fine ribbing
- Sequins and embellishments
- Silk or satin presentation surfaces
A safer order of preference is often:
- Packaging card or band
- Buttonhole, zipper pull or existing loop
- Sewn care label
- Brand label
- Inner seam or seam allowance
- Main garment fabric only after successful testing
Even labels should be tested. A short fastener or weak label can pull, tear or distort the seam.
Mistake 4: Holding the Fabric Directly Behind the Needle
Operators sometimes support a garment by placing their fingers or palm directly behind the tagging point. Apart from the personal safety risk, this can also affect the fabric.
Pressure from behind may stretch the material, distort knitted loops or push unnecessary layers into the needle path. The needle may then pass through the lining, a folded edge or several layers that were not intended to be joined.
A better method is to:
- Place the garment on a stable work surface
- Support it from the side
- Keep the material relaxed
- Separate unnecessary layers
- Use a label or seam when available
- Use a manufacturer-provided support or guard where applicable
The supporting hand should remain outside the needle path.
Mistake 5: Tagging Fabric While It Is Stretched
Stretching a garment changes the distance between yarns and knitted loops. When the fabric returns to its natural shape, the puncture point may become distorted or more visible.
This is particularly important for:
- Jersey knit
- Rib knit
- Lycra blends
- Swimwear
- Hosiery
- Lingerie
- Fine-gauge sweaters
- Elastic cuffs
Place the garment flat without pulling it tight. Smooth the immediate tagging area, but do not stretch it to make needle insertion easier.
If the needle cannot enter the selected point smoothly while the fabric is relaxed, reconsider the tool or attachment location.
Mistake 6: Using a Bent, Dull or Damaged Needle
A needle does not need to break completely before it becomes unsuitable.
Signs of damage include:
- A visible bend
- A blunt point
- A rough edge or burr
- Corrosion
- A loose needle base
- A changed insertion angle
- Repeated fabric snagging
- Incomplete fastener release
A damaged needle can catch individual fibers, pull yarn, enlarge the puncture or tear a care label. It may also cause fastener feeding problems.
Do not straighten a bent needle and return it to service. Replace it with the correct needle for the tagging gun, secure the needle lock and test the tool on sample material.
Mistake 7: Forcing the Needle Through Resistance
Unexpected resistance is a warning sign, not a signal to push harder.
Resistance may be caused by:
- A thick seam intersection
- A hidden zipper or button
- Multiple folded layers
- Embroidery backing
- Elastic
- Padding
- An unsuitable needle
- A damaged needle
- Material that should not be pierced
Stop when the needle bends, the trigger becomes difficult, the fabric bunches or the yarn starts to pull.
Select a different location, such as a care label, thinner seam allowance, buttonhole, packaging point or loop attachment.
A long needle provides additional reach, but it does not make every dense or delicate material safe to pierce.
Mistake 8: Choosing the Wrong Fastener Length
Fastener length affects both fabric tension and retail presentation.
A fastener that is too short can:
- Compress the garment
- Pull the tag tightly against the fabric
- Distort a care label
- Place tension on delicate yarn
- Make customer removal difficult
A fastener that is too long can:
- Tangle during packing
- Catch on nearby garments
- Rub against delicate fabric
- Look untidy on display
Choose the fastener according to the thickness of the approved attachment point and the space required for the tag to hang naturally.
A thick sweater tagged through a thin care label may not require the longest available fastener.
Mistake 9: Ignoring Hidden Components
The area behind the visible fabric may contain parts that cannot be seen from the outside.
Examples include:
- Zippers
- Metal snaps
- Buttons
- Elastic bands
- Shoulder pads
- Foam padding
- Embroidery backing
- Reinforcement tape
- Electronic components
- Thick seam intersections
Blind insertion can bend the needle, scratch hardware or trap a fastener inside the lining.
Before tagging:
- Feel the area carefully
- Inspect pockets and linings
- Separate unnecessary layers
- Avoid hard objects
- Use an approved sample garment as a reference
Mistake 10: Choosing Tag Placement for Operator Convenience
A tag placed for speed may hang across a printed design, pull the neckline, distort the sleeve or cover an important product feature.
Tagging position should be selected according to the finished retail appearance, not only the operator’s reach.
Each product should have an approved specification covering:
- Tool model
- Needle type
- Fastener type
- Fastener length
- Attachment point
- Tag direction
- Finished appearance
- Removal method
A physical approved sample at the workstation can reduce inconsistent placement.
Mistake 11: Skipping Material and Removal Testing
The name of the fabric is not enough to predict the result. Two garments both described as polyester, wool or knitwear may have different yarn sizes, coatings, finishes and construction.
Testing should cover the full combination:
- Tagging gun
- Needle
- Fastener
- Hang tag
- Attachment point
- Fabric
- Garment construction
- Removal method
Check the product before and after removing the fastener.
| Before Removal | After Removal |
|---|---|
| Tag security | Visible puncture |
| Correct orientation | Pulled yarn |
| Suitable tension | Torn label |
| No garment distortion | Enlarged knit loop |
| Limited surface contact | Permanent surface mark |
Approval should be based on the final garment condition, not only whether the tag stayed attached.
Mistake 12: Reusing Damaged Fastener Clips
A damaged fastener clip can create repeated feeding problems.
Do not reuse clips showing:
- A bent connecting bar
- Misaligned fasteners
- Distorted fasteners
- Cracks
- Partially detached pieces
- Damage from a previous jam
Do not mix damaged clips back into the normal supply box.
Fabric-Specific Mistake Prevention
| Fabric or Product | Common Mistake | Better Starting Point |
|---|---|---|
| Cotton T-shirt | Tagging through the front panel | Side seam or care label |
| Denim jeans | Forcing through the thickest seam | Waistband label or suitable belt-loop area |
| Silk blouse | Using a standard needle on visible fabric | Fine system through a sewn label or packaging |
| Lace garment | Piercing a decorative lace panel | Care label, strap or packaging card |
| Knit sweater | Tagging through a visible yarn loop | Inner label, seam, buttonhole or string |
| Wool coat | Assuming thickness always requires a long needle | Test the inner label or reinforced seam |
| Lingerie | Tagging through stretch-sensitive fabric | Fine system through label or non-piercing attachment |
| Babywear | Using a large fastener on the main fabric | Sewn label or packaging attachment |
| Shoes and handbags | Piercing a finished surface | Loop fastener through an eyelet, handle or zipper pull |
These recommendations should be verified on the actual product.
How to Build a Garment Tagging Standard
Classify Products by Material Risk
A practical classification may include:
- Regular woven fabric
- Stable knit
- Delicate woven fabric
- Fine or elastic knit
- Thick or layered textile
- Non-piercing accessories
- Premium or highly visible garments
Approve a Physical Sample
Keep one correctly tagged reference product for each style. The sample should show the approved attachment point, tag direction and fastener tension.
Record the Complete System
Document:
- Tool model
- Needle model
- Fastener category
- Fastener length
- Approved attachment point
- Product orientation
- Inspection standard
- Removal method
Separate Incompatible Components
Standard and fine-fabric consumables should not share an open bin. Uline’s compatibility information confirms that mixing these systems can jam the gun.
Inspect Initial Production
At the beginning of a production run, inspect a small group of tagged garments before the full batch continues. This is an internal quality-control recommendation rather than a universal manufacturer requirement.
Check for:
- Snagged fibers
- Visible holes
- Incorrect tag position
- Label distortion
- Excessive fastener tension
- Damage after removal
Quick Fabric-Damage Prevention Checklist
- Identify the fabric construction
- Find a label, seam or non-piercing point
- Confirm tool, needle and fastener compatibility
- Inspect the needle
- Keep the garment flat and relaxed
- Check for hidden components
- Avoid decorative and visible areas
- Stop when resistance changes
- Select a suitable fastener length
- Test the actual garment
- Remove the test fastener
- Inspect the fabric again
- Approve one method before full production
Related Reading
For complete product selection, read How to Choose the Right Tagging Gun and Fasteners.
For standard and fine systems, see Standard vs Fine Tagging Gun.
For needle replacement and compatibility, read the Tagging Gun Needle Guide.
For attachment length, review the Tagging Gun Fastener Sizes Guide.
For sensitive garments, see How to Tag Delicate Clothing Without Leaving Holes.
For sweaters and wool clothing, read How to Attach Hang Tags to Knitwear.
For thicker textiles, review Tagging Gun for Denim, Towels and Thick Fabrics.
Frequently Asked Questions
Can a tagging gun damage clothing?
Yes. Damage can occur when the wrong needle, fastener, tool system or tag position is used. Testing and attachment through a suitable label or seam can reduce the risk.
Why does a tagging gun leave visible holes?
Possible causes include a needle that is too large for the fabric, tagging through a visible panel, stretching the garment, using a damaged needle or selecting an unsuitable position.
Why does the needle pull yarn from knitwear?
The needle may be bent, dull or burred, or it may have caught a visible knitted loop. Use an undamaged compatible needle and test through a label, seam or non-piercing point.
Can standard and fine fasteners be mixed?
No. Standard and fine-fabric systems use different needles and fasteners. Mixing incompatible components can jam the tool.
Does a fine-fabric tagging gun guarantee no damage?
No. Fine systems reduce the risk of holes and snags but cannot guarantee damage-free results on every fabric. Actual garments must be tested.
Where is the safest place to attach a garment tag?
A sewn care label, brand label, inner seam, buttonhole, zipper pull or packaging card is often a safer starting point than the visible garment surface.
Should the garment be stretched while tagging?
No. Keep the garment relaxed and flat. Stretching can distort knitted loops and make puncture marks more visible.
Can a bent tagging needle be reused?
No. Replace a bent, dull, rough or loose needle with a compatible replacement.
How can factories prevent repeated tagging damage?
Approve one tool, needle, fastener and attachment point for each product. Separate incompatible systems, train operators and inspect the first tagged products before full production.
What should be tested before bulk tagging?
Test tag security, puncture visibility, yarn snagging, garment distortion, fastener tension and the condition of the fabric after tag removal.
Conclusion
Fabric damage during apparel tagging is usually caused by a combination of poor tool selection, unsuitable tag placement, damaged needles, incompatible fasteners and insufficient testing.
Standard systems can work well on regular fabrics, while fine-fabric tools can reduce the risk of holes and snags on delicate materials. Neither system is universal.
The safest starting point is usually a sewn label, reinforced seam or non-piercing attachment feature. Before full production, test the complete fastening system on the actual garment and inspect the fabric again after removing the tag.
Looking for compatible tagging guns, fine-fabric tools, replacement needles and garment fasteners? HANZE supplies standard, fine, long-needle and non-piercing tagging solutions for clothing manufacturers, retailers, wholesalers and packaging teams. Contact us for samples, compatibility guidance and volume pricing.