Platen Size vs. Max Print Area on an Automatic Screen Printing Press
Platen Size vs. Max Print Area on an Automatic Screen Printing Press
When choosing an automatic screen printing press, check both the platen dimensions and the maximum print area. A platen measuring 500 × 700 mm can support a garment across that surface, while the press configuration may specify a smaller image limit.
The difference affects oversized graphics, garment loading, screen selection, and the equipment included in your quotation. It also explains why presses sharing a model number can have different printing capabilities.
Start with your largest recurring artwork and smallest garment size. Then match the design to the machine’s printable area and check how the garment sits on the proposed platen.
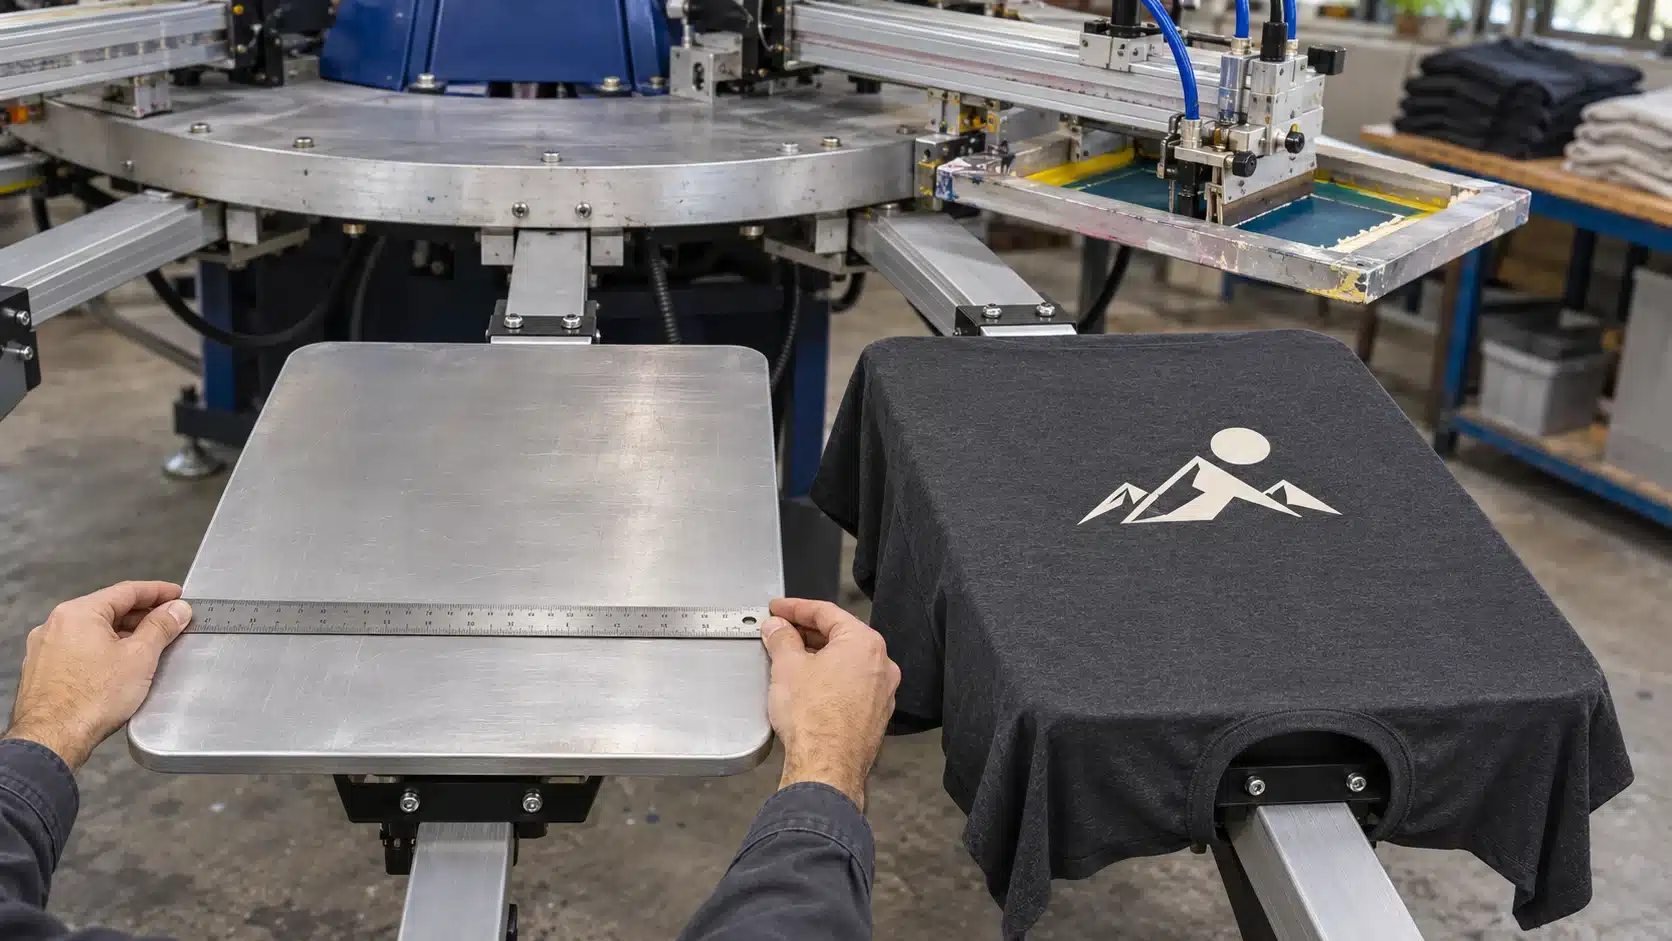
What Platen Size and Maximum Print Area Mean
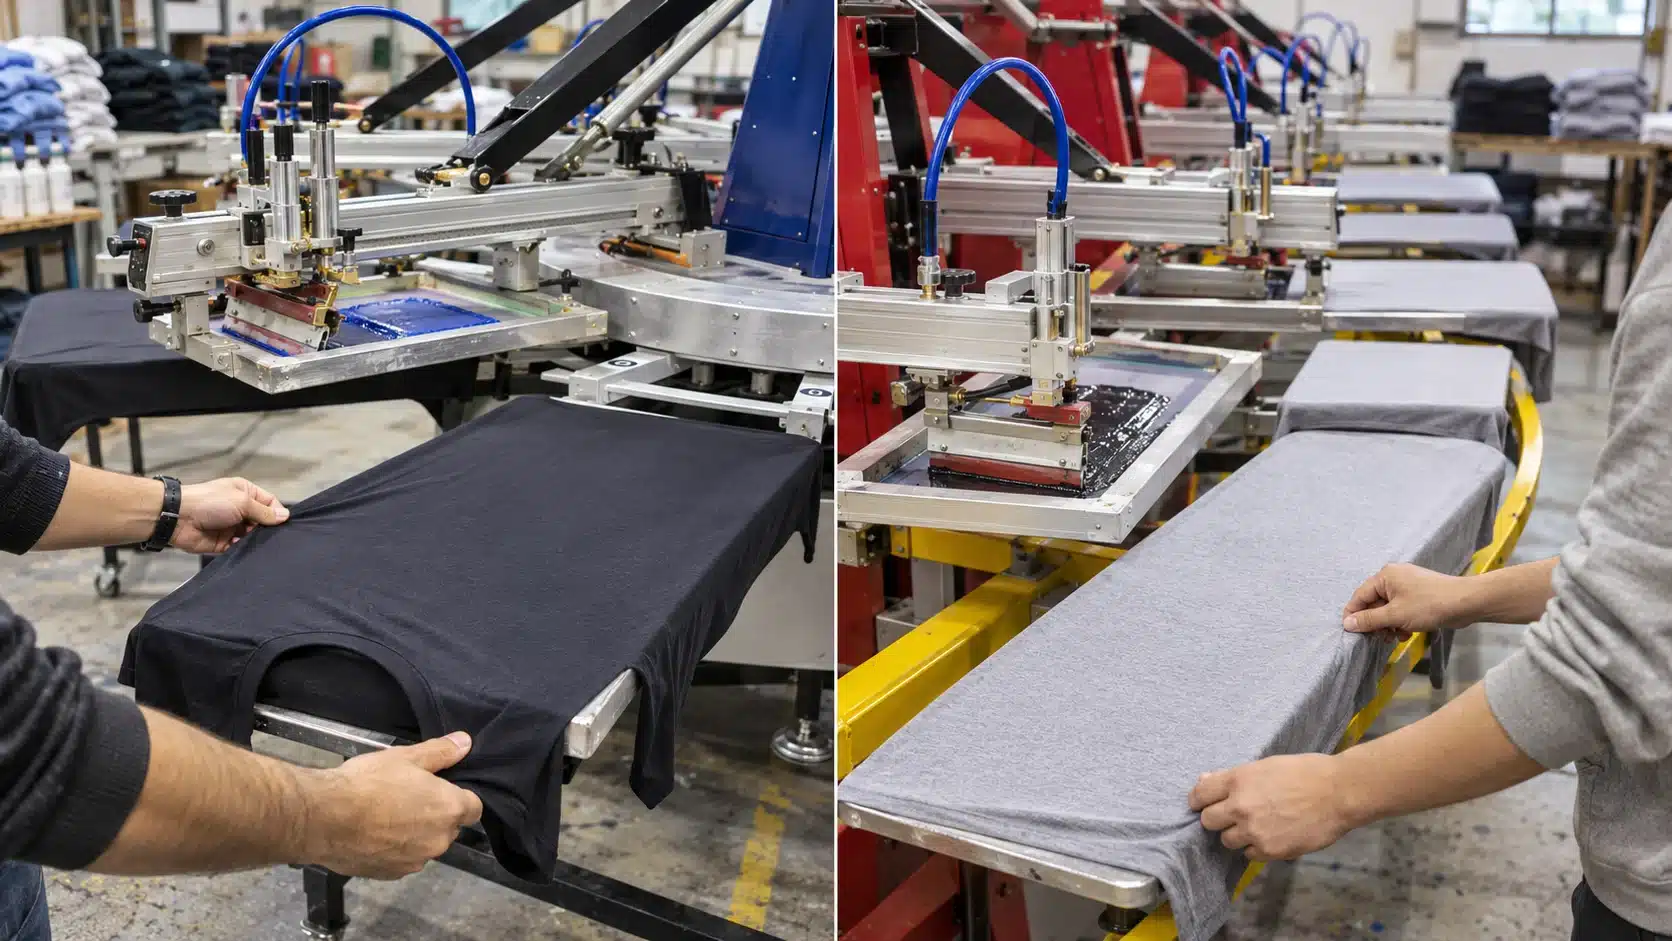
The platen, also called a pallet, is the board supporting the garment during printing. Its size describes the physical working surface. A suitable platen supports the image area and lets the operator load the garment in its intended position.
The maximum print area is the published image envelope for a particular press configuration. Its width and length must accommodate the artwork in the required printing direction.
Screen frame dimensions add another measurement. The outside frame must fit the clamps, while the usable mesh opening must provide room for the stencil and printing tools.
| Measurement | What to check |
|---|---|
| Platen size | Physical support beneath the garment and artwork |
| Maximum print area | Published image dimensions for the selected configuration |
| Frame outside dimensions | Compatibility with screen clamps and surrounding equipment |
| Usable screen image area | Space for artwork, registration marks, and tool clearance |
| Garment’s flat printing area | Available fabric between seams, pockets, collars, and other obstructions |
Record these measurements separately when comparing quotations.
Compare Four HANZE YP-6-14 Configurations
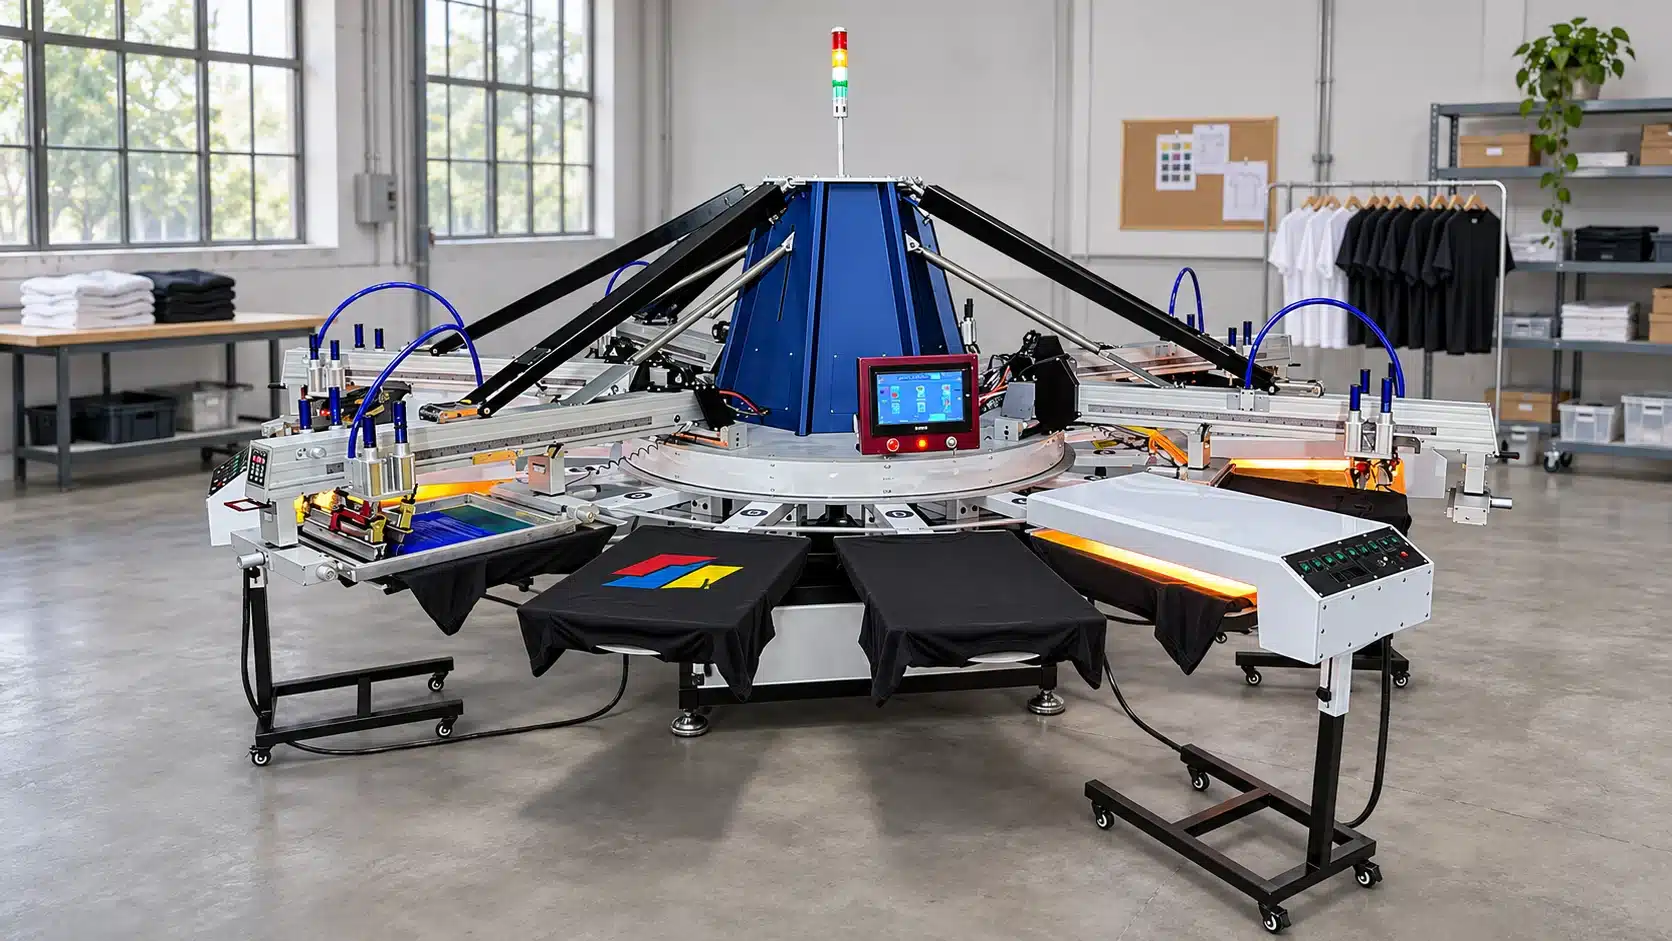
HANZE lists four YP-6-14 configurations with six colors and fourteen stations. Their platen dimensions and maximum pattern areas differ.
| YP-6-14 configuration | Published platen size | Published maximum print area |
|---|---|---|
| 45 × 65 cm tabletop | 450 × 650 mm | 410 × 550 mm |
| 50 × 70 cm tabletop | 500 × 700 mm | 460 × 550 mm |
| 60 × 85 cm tabletop | 600 × 850 mm | 560 × 700 mm |
| 70 × 90 cm tabletop | 700 × 900 mm | 660 × 800 mm |
Dimensions follow the order used in HANZE’s product specifications. Ask for a drawing identifying the print direction and the printable rectangle’s position on the platen.
For the 500 × 700 mm configuration, the published image limit is 460 × 550 mm. The differences total 40 mm across one dimension and 150 mm across the other. The setup drawing establishes how that space is distributed around the image.
Specify the platen and maximum image dimensions alongside the model number on the quotation. For an existing machine, have HANZE check any proposed platen change against its original configuration.
If your orders include several print locations, list the required platen sizes for each job. Include quantities and mounting details so the quotation covers the boards your production team will use.
Match Artwork Dimensions to the Printing Direction
Measure the finished artwork at its intended production size. For a multicolor design, use the complete image envelope across all separations, including the underbase and any highlight screen. Allow space in the stencil layout for registration targets used during setup.
Compare the artwork width and length separately. Total square area provides little guidance when a wide design exceeds the available print width.
Consider an illustrative 480 mm wide × 600 mm long back graphic. Assuming these axes match the published print direction, it exceeds the 460 × 550 mm limit of the 500 × 700 mm configuration. The 560 × 700 mm configuration provides sufficient nominal image dimensions for further evaluation.
That evaluation still needs a compatible screen, suitable garment support, and correct image placement. Check the proposed orientation on a drawing before preparing films. Rotating the artwork also changes its relationship to the garment’s neckline, hem, and loading direction.
Test the Smallest Garment on the Proposed Platen
A wide platen can support large graphics, while smaller garments need a loading check. Fit an actual sample from the smallest size in the order onto the proposed board. Observe whether the fabric lies flat and whether loading pulls the garment out of shape.
Place a full-size paper template at the intended print position. Check the image against the neckline, armholes, side seams, and hem. Include the largest garment size if the order covers a broad size range, since the same design can sit differently across sizes.
Hoodies and bags need additional attention. Pockets, zippers, thick seams, and folded fabric can raise part of the printing surface. Check whether the proposed platen or fixture keeps these features outside the image while supporting the fabric beneath it.
For sleeve, youth, or pocket work, ask about a suitable platen shape and mounting arrangement. Confirm its fit on the selected machine and repeat the loading test with the actual product.
Use the actual garment style when checking fit. Two products carrying the same size label can have different cuts and seam positions. Photograph the sample both laid flat and loaded, with a ruler beside the intended image. The loaded view shows the support available under production conditions.
Check Screen Frames and Squeegee Travel
A large image needs sufficient working room inside the screen. Confirm the frame’s outside width, length, profile depth, and clamping orientation. Then check the stencil position against the squeegee and flood-bar travel.
The blade must cover the image width, and the stroke needs room to start and finish beyond the artwork. Holders, clamps, and frame rails also need clearance throughout movement.
If you plan to reuse existing screens, send their dimensions and photographs with the equipment inquiry. Check that any larger replacement frames also fit your exposure unit, drying cabinet, washout booth, and racks. The frame sizing checks are explained in HANZE’s screen printing frame size guide.
Verify Flash Coverage for Large Designs
Where a job requires intercoat flashing, ask whether the installed flash unit covers the complete printed image at its working position. Include the proposed artwork dimensions when confirming the flash configuration.
During a trial, inspect the edges and corners as well as the center before overprinting. Use the actual garment, ink system, and planned production sequence. Follow the ink supplier’s technical guidance when assessing flash performance and final curing requirements.
Approve the Setup with a Representative Print Trial
Prepare the trial around your largest recurring design and a demanding garment size. Agree on the image dimensions, placement reference, screens, ink system, and flash sequence before printing.
Run a sequence of samples and inspect coverage, edge definition, registration, and placement. Observe whether the operator can load and remove garments consistently. Keep photographs showing the garment on the platen and the finished print after removal.
Record the approved platen, screen dimensions, image position, and relevant settings. These records give purchasing and production teams a shared reference for accepting the equipment and repeating the job.
What to Send HANZE for a Size Check
An inquiry becomes easier to evaluate when it includes the actual job dimensions. Provide the following information.
• Artwork — Maximum finished width and length, intended orientation, and color separations.
• Garment — Product type, fabric, smallest and largest sizes, and sample photographs.
• Print placement — Front, back, sleeve, or another location, with measurements from a clear reference point.
• Existing equipment — Press model, platen mounting details, screen frame dimensions, and flash information where applicable.
• Production requirements — Typical order quantity and the other designs the proposed configuration must handle.
Ask for confirmation of the platen dimensions, maximum print area, compatible frame size, and required accessories in the quotation. Compare the available automatic carousel screen printing presses, then send your artwork and garment details through HANZE’s inquiry form.
For example, an inquiry for the illustrative back graphic could read as follows.
We need a 480 × 600 mm back print on cotton T-shirts, with the 480 mm dimension running across the garment. Please assess the YP-6-14 configuration with a 600 × 850 mm platen. We will supply the smallest garment sample and artwork separations. Please confirm the print direction, image placement, suitable screen dimensions, and flash coverage, and identify the platen configuration in your quotation.
Frequently Asked Questions
Can I print across the entire platen surface?
Plan the image within the configuration’s published maximum print area. Use the platen dimensions to assess fabric support, then confirm the image position and working clearances with a setup drawing or trial.
Will fitting a larger platen increase the maximum print size?
A larger platen adds support surface. Increasing image capacity also requires sufficient screen clearance, squeegee travel, and compatibility with the press structure and surrounding equipment. Have the complete proposed change checked for your machine.
What platen size works best for oversized T-shirt printing?
Choose from the artwork dimensions, intended placement, and smallest garment that must carry the design. Confirm a configuration whose image limit accommodates the artwork and whose platen supports comfortable, repeatable loading.
Why do machines with the same model number have different print areas?
A model family can include several size configurations. HANZE’s four YP-6-14 listings illustrate this variation. Include the exact platen size and maximum print area when identifying the equipment you want quoted.
 Automatic Carousel vs. Oval Screen Printing Press: Which Fits Your Shop?