How to Clean Screen Printing Mesh: Ink Removal and Care
How to Clean Screen Printing Mesh: Ink Removal and Care
To clean screen printing mesh, remove excess ink, apply a cleaner compatible with your ink and stencil, then wipe or rinse as directed. Check that the image openings are clear and the emulsion remains intact. Finish by drying the screen in a clean area before reuse or storage.
The first decision is whether to keep the existing design or remove it. Cleaning for another run of the same artwork preserves the stencil. Reclaiming removes it so the mesh can be coated for a new job.
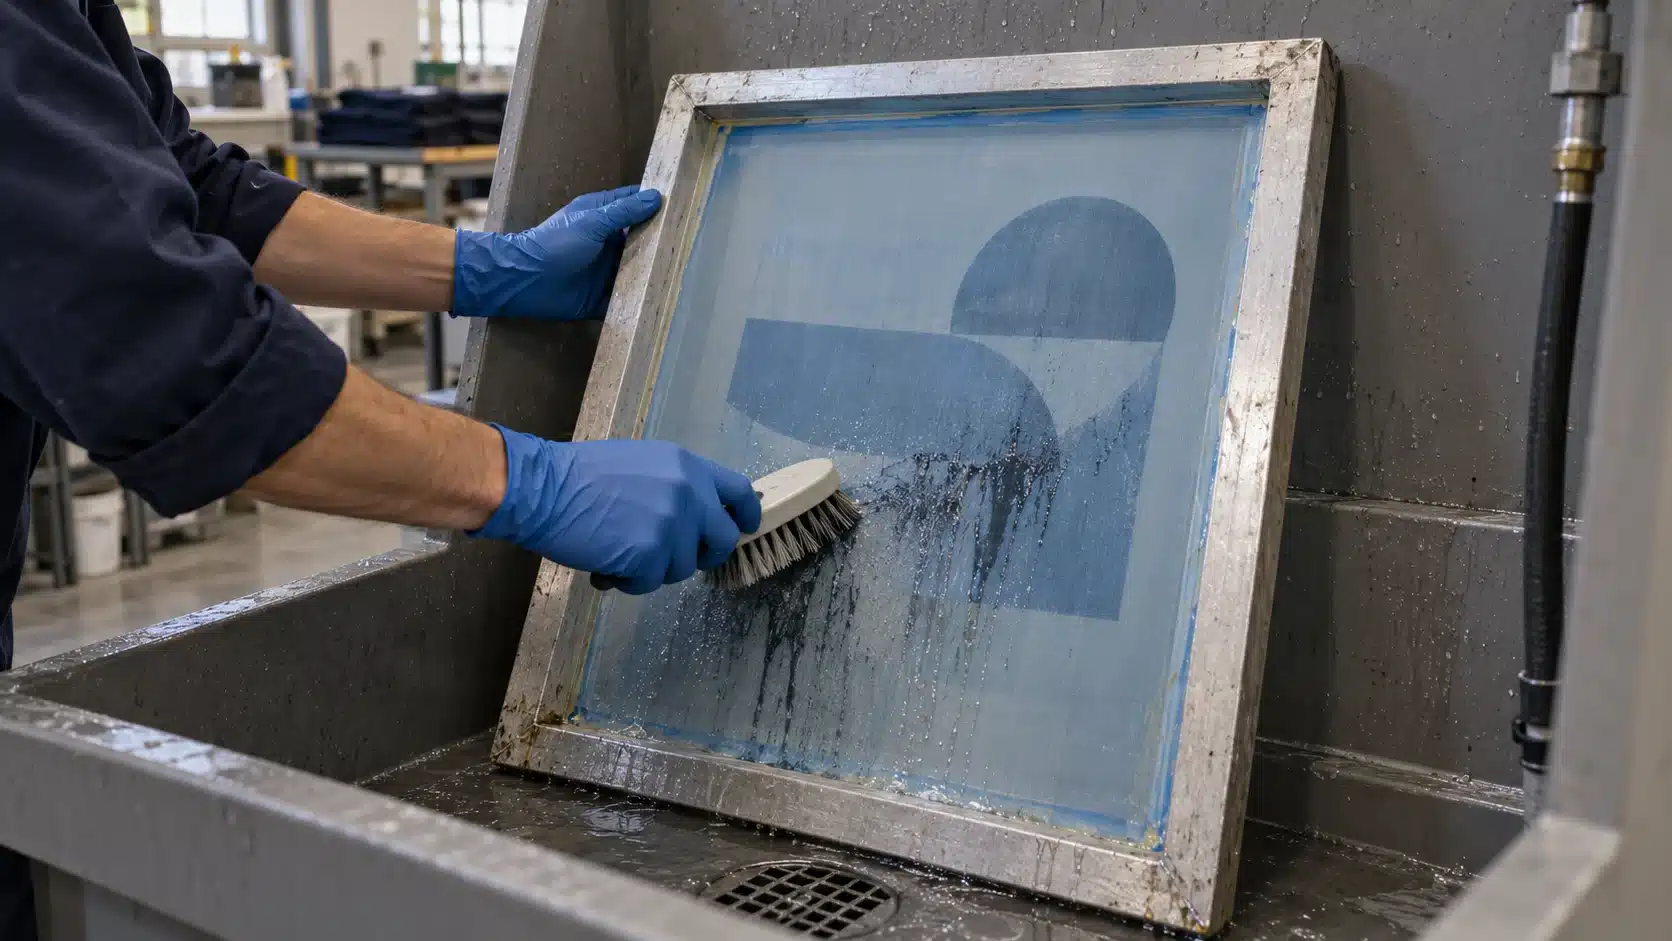
Before You Start: Keep the Stencil or Reclaim the Screen?
A screen can look dirty for several reasons. Wet ink may remain in the image area, dried ink may block openings, or pigment may stain the threads. Each condition needs a different response.
Choose your goal before applying chemicals:
| Your goal | What needs to come off? | Suitable process |
|---|---|---|
| Print the same design again | Ink and cleaner residue | Clean while preserving the stencil |
| Prepare a new design | Ink, old stencil and relevant residue | Reclaim, inspect and prepare for recoating |
| Develop a newly exposed screen | Unexposed emulsion in the image area | Wash out the exposed screen |
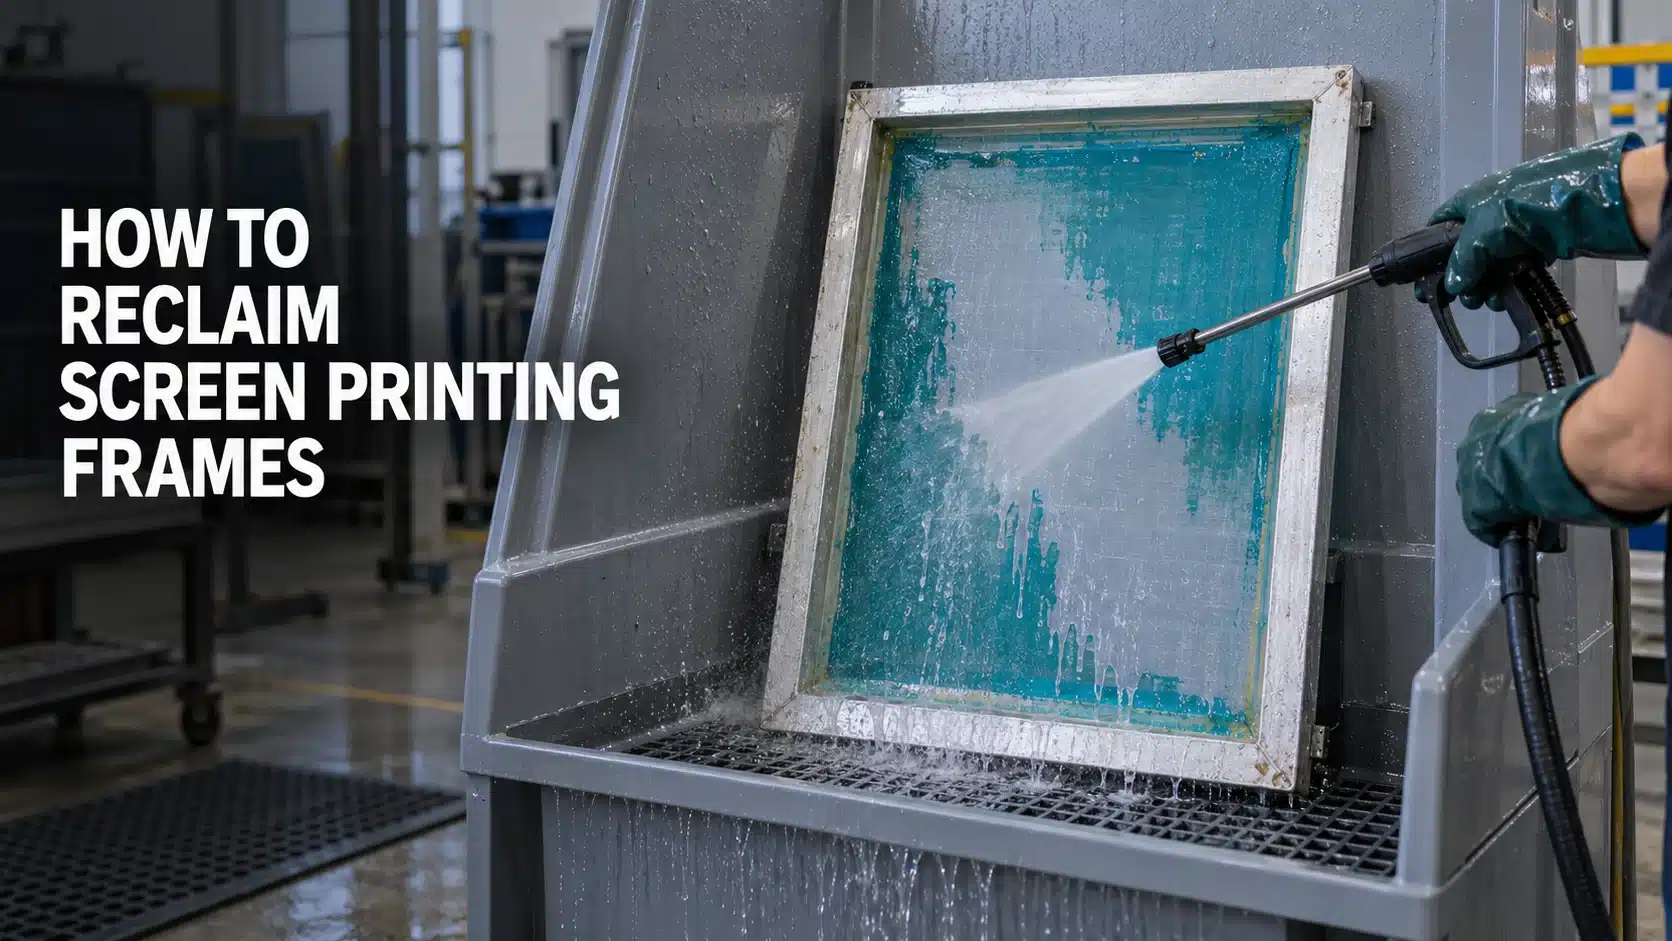
For a new design, follow our guide on how to reclaim screen printing frames. If you have just exposed a stencil, read how to wash out a screen after exposure.
The steps below focus on removing ink while keeping a usable design.
What You Need to Clean Screen Printing Mesh
Prepare the supplies before starting. A dedicated cleaning area makes it easier to contain residue and keep clean screens away from dirty tools.
| Tool or supply | Main purpose | Selection point |
|---|---|---|
| Smooth-edged ink card or spatula | Collect excess ink | No sharp corners or damaged edges |
| Compatible ink cleaner | Dissolve remaining ink | Suitable for the ink, stencil and frame adhesive |
| Approved brush or lint-free cloth | Work in cleaner or collect dissolved ink | Appropriate for the cleaning stage |
| Washout booth and rinse supply | Contain spray during water-rinse processes | Enough clearance and drainage for the frame |
| Inspection light and drying support | Check openings and prepare for storage | Clean surfaces that support the frame |
Ink removers, stencil removers, haze removers and degreasers perform different jobs. Some products combine functions, but that does not make every cleaner interchangeable.
Check the technical data sheet, or TDS, for compatibility, application and removal instructions. Use the safety data sheet, or SDS, to select handling precautions, ventilation and protective equipment. Keep brushes assigned to their cleaning stages; a brush used for stencil removal should not migrate into routine ink cleanup.
For tool selection, see our screen cleaning brushes.
How to Clean Screen Printing Mesh Without Removing Emulsion
Use this process when the artwork is still needed and the stencil is in serviceable condition. Choose a cleaner specifically suitable for that task. An ink wash intended for use before reclaiming is not automatically the right product for preserving every stencil.
Step 1: Recover Excess Ink and Inspect the Screen
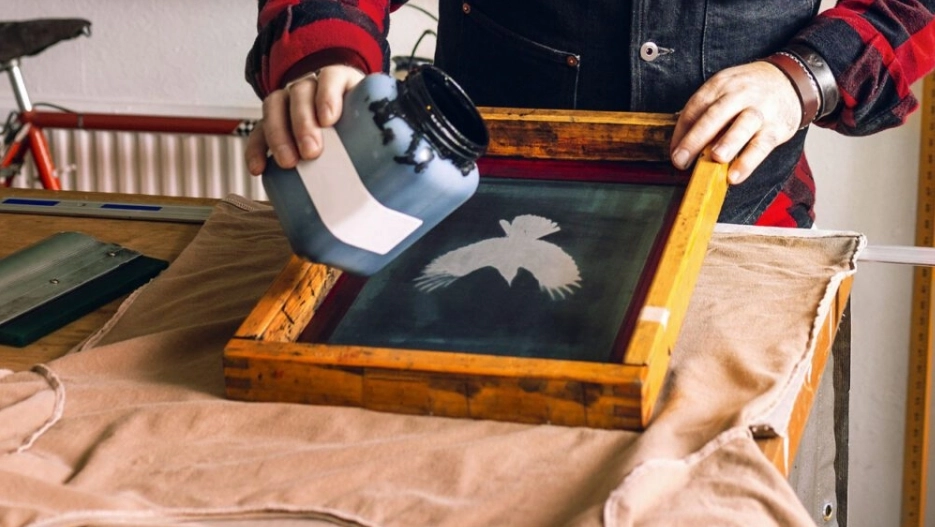
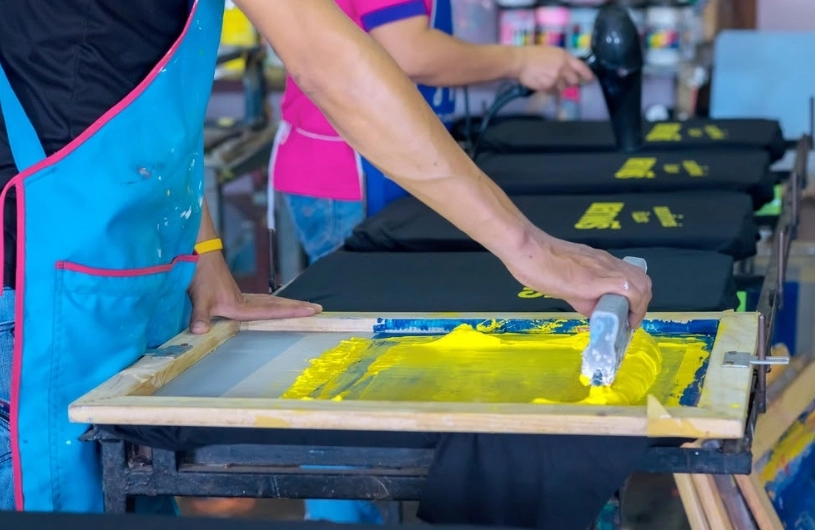
Use a smooth-edged card or spatula to collect the bulk of the ink. Return usable ink only under your shop’s ink-handling procedure, keeping contaminated or incompatible material separate.
Inspect the mesh and stencil as the image becomes visible. Look for broken threads, loose edges, softened emulsion and damaged image detail. Note existing defects before continuing. Leave tape or blockout that is still needed in place, unless it prevents cleaning or needs replacement.
Step 2: Apply a Compatible Ink Cleaner
Confirm the ink type and the cleaner’s intended use. Water-based ink, plastisol and industrial ink systems can require different products.
Check compatibility with the stencil and mesh-to-frame adhesive as well as the ink. Apply the specified amount over the affected area and observe the stated contact time. Test an unfamiliar combination on a representative screen before adding it to the shop’s regular process.
Step 3: Clean Both Sides Gently
Work the cleaner through the ink using an approved brush or a soft, absorbent cloth. Clean the squeegee side and print side as the product instructions require. Pay attention to corners and the area where ink collects against the frame.
Change to a clean section of cloth as it loads with dissolved ink. Repeatedly wiping with a saturated, dirty cloth redistributes residue. For delicate screens, use the mesh supplier’s cleaning method and avoid pressing against unsupported mesh.
Step 4: Wipe or Rinse as Directed
Follow the cleaner’s removal method. Some on-press products are designed to be wiped away and must not be water-rinsed. Other screen washes use a water-rinse process. The product name alone does not establish the correct method.
For a wipe process, collect dissolved ink with fresh cloths and complete the final wipe. For an approved water-rinse process, support the frame in a washout booth and use the specified spray conditions. Do not borrow a pressure setting from a stencil-stripping process when you need to preserve the image.
Collect waste ink, used cleaner and wash water through the shop’s designated waste system. Water-rinsable chemistry still needs an appropriate disposal route.
Step 5: Check the Mesh Openings and Stencil
Hold the screen against even backlighting. Inspect the areas that must pass ink, particularly fine lines, small text and previously blocked spots.
Look for clear openings and stable image edges. A colored thread can remain visible even when the opening beside it is clear. Judge the screen by its condition and printing requirements.
If contamination remains, identify it before choosing another treatment. If the stencil has softened or image detail has failed, set the screen aside for assessment.
Step 6: Dry and Label the Screen for Reuse
Remove the remaining cleaner as instructed, then let the screen dry in a clean area. Use supports that carry the frame without rubbing the mesh. Keep wet screens away from reclaiming spray and dusty airflow.
Label the screen with the artwork or job number before storage. Before the next run, inspect it again and confirm that the image and screen tension meet the shop’s requirements. A sample print provides a final check where fine detail is critical.
Cleaning Different Types of Screen Printing Ink
The cleaning sequence stays similar, but the ink determines which chemistry and handling method will work.
Water-Based Ink
Clean water-based ink promptly. As water evaporates, residue can become harder to remove from the mesh. For an ink whose instructions specify water cleanup, remove the excess first and clean while the remaining ink is still wet.
Dried water-based ink needs separate assessment. Repeated rinsing may leave a film in fine openings. Use a compatible cleaner intended for the residue, and confirm that it is appropriate for keeping the stencil. Take stubborn localized deposits through the blockage checks below.
Plastisol Ink
Use a cleaner intended for plastisol and the current stencil system. Removing bulk ink first reduces the amount left for the cleaner to dissolve.
For on-press color changes, select an approved wipe cleaner and complete its removal before printing or applying fresh tape. Products designed for this use can have different removal instructions from those used in the reclaim area.
Distinguish ordinary uncured residue from ink that has been heated and gelled or cured. If a deposit resists the normal cleaner, establish what happened before increasing chemical strength or scrubbing pressure.
UV, Solvent-Based and Specialty Inks
Identify the exact ink system when cleaning UV, solvent-based, discharge, silicone or other specialty inks. A cleaner that works on one ink may be unsuitable for another stencil or adhesive.
Ask the ink or cleaner supplier whether the intended method preserves the stencil or prepares it for stripping. Compatibility lists are a starting point; application instructions define how the product is used.
How to Remove Dried Ink and Unclog Screen Printing Mesh
If ink still will not pass through an image area after routine cleaning, investigate the affected area before repeating the full cleaning cycle.
Identify What Is Blocking the Mesh
Check the screen under backlighting and compare the deposit with the job history. Was water-based ink left to dry? Was the screen exposed to heat? Has the problem existed since exposure?
Ink residue, remaining emulsion and foreign particles need different treatment. A stain may color the threads while leaving openings clear. When the openings are clear but printing remains poor, also check the printing setup and ink condition before blaming contamination.
Use an Approved Cleaner or Screen Opener
A screen opener may help with ink buildup when its instructions cover the ink and stencil combination. Apply it by the approved method, remove the dissolved residue and reinspect the image.
Change one controlled part of the process at a time. If a repeat treatment does not improve the blockage, review the diagnosis with the supplier. Continually extending contact time or pushing harder on the mesh can turn a cleaning problem into screen damage.
Know When to Reclaim or Replace the Mesh
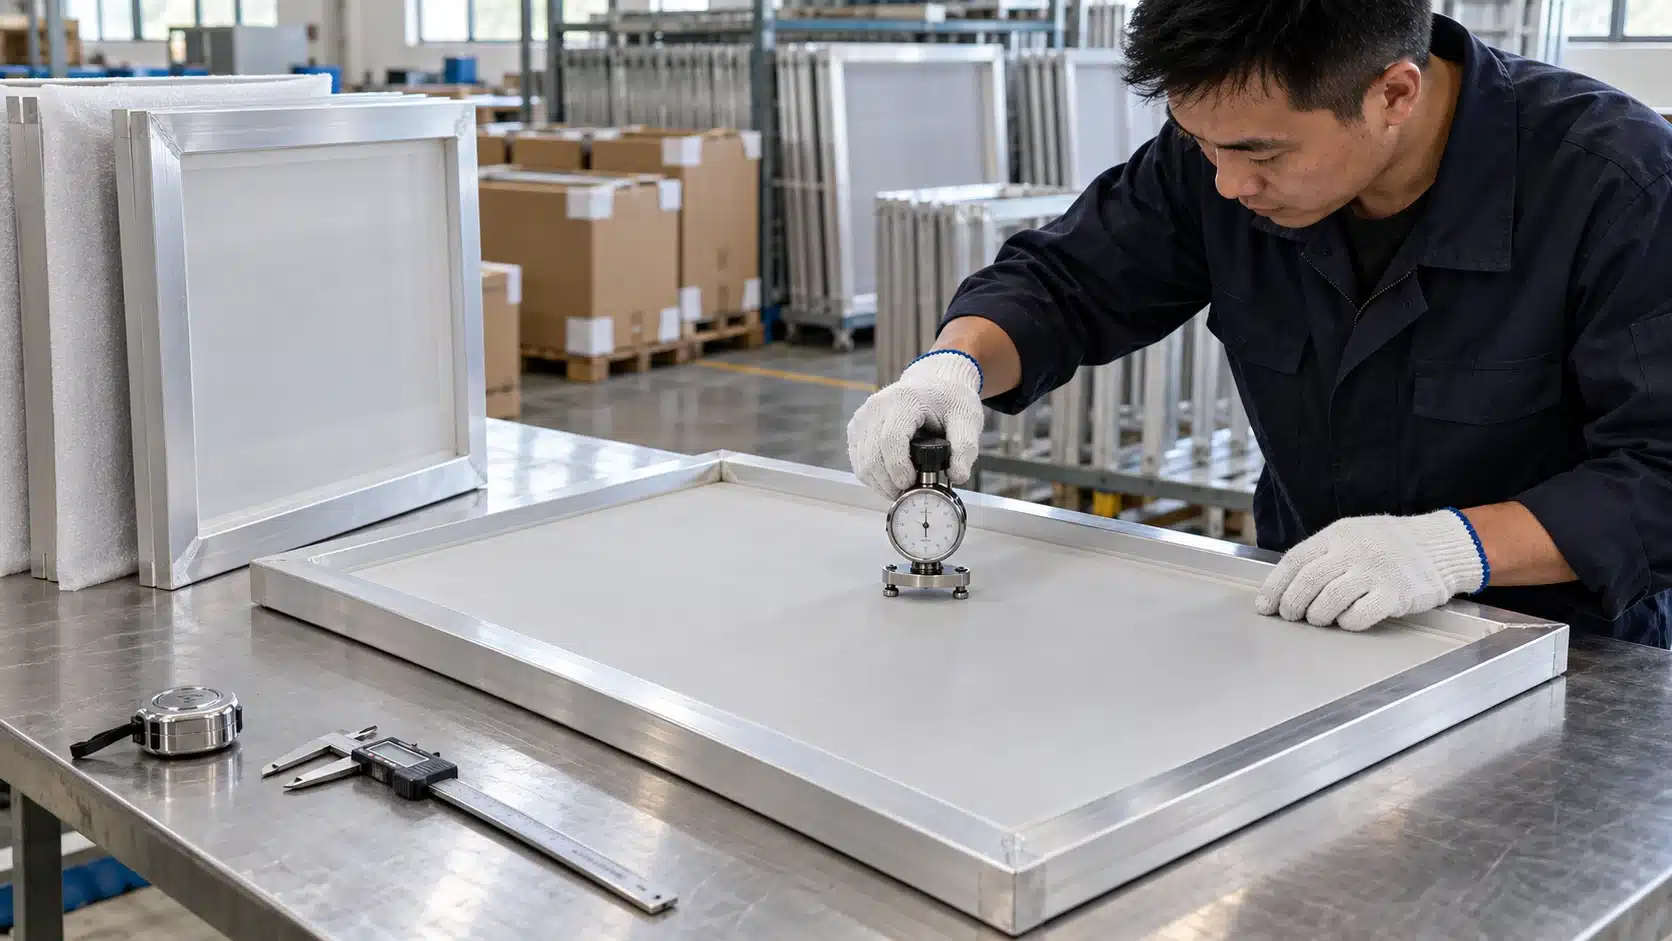
Reclaim the screen when the stencil must be remade and the mesh remains suitable for use. Torn mesh, an unreliable adhesive bond or unacceptable tension calls for repair, retensioning where possible, or re-meshing.
Cleaning removes contamination; it cannot repair broken threads. If replacement is needed, match the new polyester screen printing mesh to the ink, image detail and production requirements.
When to Reclaim, Dehaze or Degrease the Screen
Once a design is retired, the screen can enter the reclaiming process. Remove ink, strip the old stencil with compatible chemistry, and prepare the bare mesh for another coating. Do not allow stencil remover to dry on the screen during stripping.
| Screen condition or next task | Appropriate next step |
|---|---|
| Old artwork is no longer required | Remove the stencil and reclaim the screen |
| Haze or staining remains after ink and stencil removal | Assess whether a suitable haze treatment is needed |
| Bare mesh is ready for a new emulsion coat | Complete degreasing, rinsing, drying and inspection |
Haze removers target residues left after ink and stencil removal. Their formulations and application methods vary, so use the instructions for the selected product. Assess whether remaining staining affects preparation or print quality before adding treatment.
These are preparation stages for a new stencil, rather than mandatory additions to every cleanup of a screen kept for repeat orders.
Common Screen Cleaning Mistakes to Avoid
Several habits make screen cleaning less predictable:
- Choosing by ink type alone. The cleaner must also suit the stencil, mesh and adhesive.
- Using stripping chemistry on a design still needed. Confirm the screen’s job status before starting.
- Scraping or scrubbing harder when progress stops. Recheck the residue and the selected method.
- Letting cleaner collect around the frame bond. Avoid prolonged pooling and excessive exposure.
- Mixing cleaning tools between stages. Label tools and keep their storage positions separate.
- Putting damp screens into dirty storage. Finish drying before returning them to the clean inventory.
Polyester, nylon and stainless steel mesh also need appropriate handling. Mesh material, thread diameter, screen condition and frame construction all belong in the cleaning procedure. A successful method for one screen does not establish a universal setting for every screen in the shop.
Setting Up a Cleaning Area for a Production Print Shop
Start equipment planning with the largest outside frame dimensions. Allow working clearance so operators can turn a screen, reach both sides and clean without forcing the mesh against the booth.
A screen printing washout booth helps contain spray and collect runoff. Plan water delivery, drainage, ventilation and waste handling alongside it. Specify waste collection and treatment separately from the booth’s frame clearance and splash control.
Organize a clear route from dirty-screen intake to cleaning, inspection and clean storage. Keep labeled tools close to their assigned stage. Choose drying supports or screen drying cabinets that accommodate the frames and keep clean screens away from workshop contamination.
Record the ink, cleaner, recurring defects and any repeated cleaning steps. Comparing those records can help identify which combinations need review. Evaluate larger tanks or automated equipment against actual screen volume, compatible chemistry and maintenance needs.
For sizing and layout decisions, read our guide on how to choose a screen printing washout booth.
Frequently Asked Questions
How Often Should You Clean Screen Printing Screens?
Clean at the end of a job and before storage. During production, clean when a color change or buildup requires it. Water-based systems may need attention during pauses. Set the schedule around the ink supplier’s instructions and the shop’s validated process.
Can You Clean Screen Printing Screens with Dish Soap?
Some formulations may remove light dirt, but household detergents are not interchangeable with ink cleaners or screen degreasers. Check whether the ink, stencil and mesh suppliers allow the product. Any additives or remaining residue must be considered before printing or coating.
Do You Need a Pressure Washer to Clean Screen Printing Mesh?
Routine ink cleanup can use an approved wipe or water-rinse method without a pressure washer. Stencil reclaiming may require pressure-assisted rinsing. Choose the method for the task and screen condition; there is no single pressure setting suitable for every mesh and stencil.
Should You Use Hot or Cold Water to Clean Screens?
Use the water temperature specified for the ink, stencil and cleaner. Hotter water is not automatically more effective or compatible. Establish the temperature as part of the cleaning procedure and keep it consistent rather than changing it to compensate for unsuitable chemistry.
Can You Use Acetone, Alcohol or Bleach on Screen Printing Mesh?
Use them only where the relevant suppliers explicitly approve the application. A chemical’s ability to dissolve ink does not prove compatibility with the stencil or adhesive. Avoid unverified mixtures and choose a purpose-made product with clear application and removal instructions.
Can You Leave Ink on a Screen Overnight?
The answer depends on the ink and storage conditions. Water-based ink can dry in the mesh. Some plastisol systems permit overnight retention, but that allowance is product-specific. Confirm the ink instructions and protect the screen from heat, dust and unintended contact.
Get Help Choosing Screen Cleaning Tools and Equipment
Consistent screen cleaning starts with the correct ink cleaner, careful handling and a clear inspection routine. Suitable tools and a well-planned cleaning area make that process easier to repeat.
For help selecting washout booths, cleaning brushes or replacement mesh, send your largest frame dimensions, daily screen volume, main ink systems, available workspace and destination. We can discuss a suitable configuration, order quantity, packing and delivery requirements.